Once vermicomposted, the volume of material will be much reduced, possibly down to 10% of its original volume. The finished material will brown and earthy-like and the original bedding will no longer recognizable. The vermicompost might require post-screening, especially if coarse green waste was incorporated into the bedding, as this takes longer to break down. This may be carried out manually on a pilot scale, but is identical to the screening and separation operation carried out using commercial, rotating screener. The worms are separated effectively from finished vermicompost, though cocoons and hatchlings are lost. If only the worm casts are required as a fertilizer, any of the following methods are appropriate. In order to separate and retain worms as well as casts, the light separation method or a wire mesh screen will be required. The methods described are best suited to Smaller-scale containerized systems or pilot operations designed to breed initial worm populations. Once the system is expanded, it will be necessary to use a commercial-scale mesh screener.
Light Separation
Earthworms are very sensitive to light and this separation method utilises this nature and the tendency to burrow beneath the surface in order to escape light sources. The finished material may be removed and spread onto a surface or else left in situ, but should be exposed to a light source. The worms will quickly burrow downwards, allowing the surface material to be removed. After repeating this operation, a thin layer of material remains, containing all of the worms. This should be added to the new bedding with a fresh supply of feed. This leaves a harvest of worm castings and un-hatched capsules. These capsules will be lost, as the hatchlings will not survive in garden soil, but the remaining worms quickly replace them. The castings should be stored for a week or two before use as a fertilizer.
Sideways Separation
The finished material is moved to one side, while the fresh bedding mixed with organic waste is placed alongside. During the following 7 to 14 days the worms will migrate from the finished vermicompost into the fresh bedding. The advantage of this method is that it allows the capsules to hatch in the meantime and most will also move across.
Vertical Separation
A nylon mesh screen slightly larger than the surface area of the container is placed onto the surface of the vermicompost. The screen should be large enough to flatten up the sides of the container overlap at the top. The container is filled with fresh bedding on top of the screen and fed with organic waste. The worms will migrate up through the screen into the new bedding as the food source below is depleted.
When the upper part is ready for harvesting, the screen, and the finished material containing the worms is lifted from the container. The remaining material in the lower part of the container will have a very high concentration of worm castings and few if any worms, hatchlings or capsules. Once this is removed, the worm-filled material that was on top of the screen is placed into the bottom of the container with fresh bedding on top of the screen.
Gradual Transfer
This simple method produces castings, but no extra worms. Continue feeding kitchen scraps into the container for up to four months. A second container should be started and primed with fresh bedding and a supply of worms from the first box. The first container continues until the second is full, by which time the first container will contain a very high proportion of fine castings, but very surviving few worms. To ensure there are enough worms for both containers, the second can be prepared about a month earlier, adding some worms to it every time the first container is fed.
Harvesting earthworm
After the vermicompost production, the earthworm present in the tub / small bed may be harvested by trapping method. In the vermibed, before harvesting the compost, small, fresh cow dung ball is made and inserted inside the bed in five or six places. After 24 hours, the cow dung ball is removed. All the worms will be adhered into the ball. Putting the cow dung ball in a bucket of water will separate this adhered worm. The collected worms will be used for next batch of composting.
Worm harvesting is usually carried out in order to sell the worms, rather

Fig.12: Screening and separation operation
than to start new worm beds. Expanding the operation (new beds) can be accomplished by splitting the beds that is, removing a portion of the bed to start a new one and replacing the material with new bedding and feed. When worms are sold, however, they are usually separated, weighed, and then transported in a relatively sterile medium, such as peat moss. To accomplish this, the worms must first be separated from the bedding and vermicompost. There are three basic categories of methods used by growers to harvest worms: manual, migration, and mechanical. Each of these is described in more detail in the sections that follow.
1. Manual Method: This is the method used in units engaged in selling worms and vermicompost on a small-scale to the local market. It involves hand-sorting, or picking the worms directly from the compost by hand. This process can be facilitated by taking advantage of the fact that worms avoid light. If material containing worms is dumped in a pile on a flat surface with a light above, the worms will quickly dive below the surface. The harvester can then remove a layer of compost, stopping when worms become visible again. This process is repeated several times until there is nothing left on the table except a huddled mass of worms under a thin covering of compost. These worms can then be quickly scooped into a container, weighed, and prepared for delivery.
2. Self-Harvesting or Migration Method: The tendency of worms to migrate to new regions, either to find new food or to avoid undesirable conditions, is utilized in this harvesting method. Unlike the manual methods described above, simple mechanisms such as screens are employed for the purpose.
The screen method is very common and easy to use. A box is constructed with a screen bottom. The mesh is usually ¼”, although 1/8” can be used. There are two different approaches. The downward-migration system is similar to the manual system, in that the worms are forced downward by strong light. The difference with the screen system is that the worms go down through the screen into a prepared, pre-weighed container of moist peat moss. Once the worms have all gone through, the compost in the box is removed and a new batch of worm-rich compost is put in. The process is repeated until the box with the peat moss has reached the desired weight. Like the manual method, this system can be set up in a number of locations at once, so that the worm harvester can move from one box to the next, with no time wasted waiting for the worms to migrate.
The upward-migration system is similar, except that the box with the mesh bottom is placed directly on the worm bed. It has been filled with a few centimeters of damp peat moss and then sprinkled with a food attractive to worms, such as chicken mash, coffee grounds, or fresh cattle manure. The box is removed and weighed after visual inspection indicates that sufficient worms have moved up into the material. This system is used extensively in Cuba, with the difference that large onion bags are used instead of boxes. The advantage of this system is that the worm beds are not disturbed. The main disadvantage is that the harvested worms are in material that contains a fair amount of unprocessed food, making the material messier and opening up the possibility of heating inside the package if the worms are shipped. The latter problem can be avoided by removing any obvious food and allowing a bit of time for the worms to consume what is left before packaging.
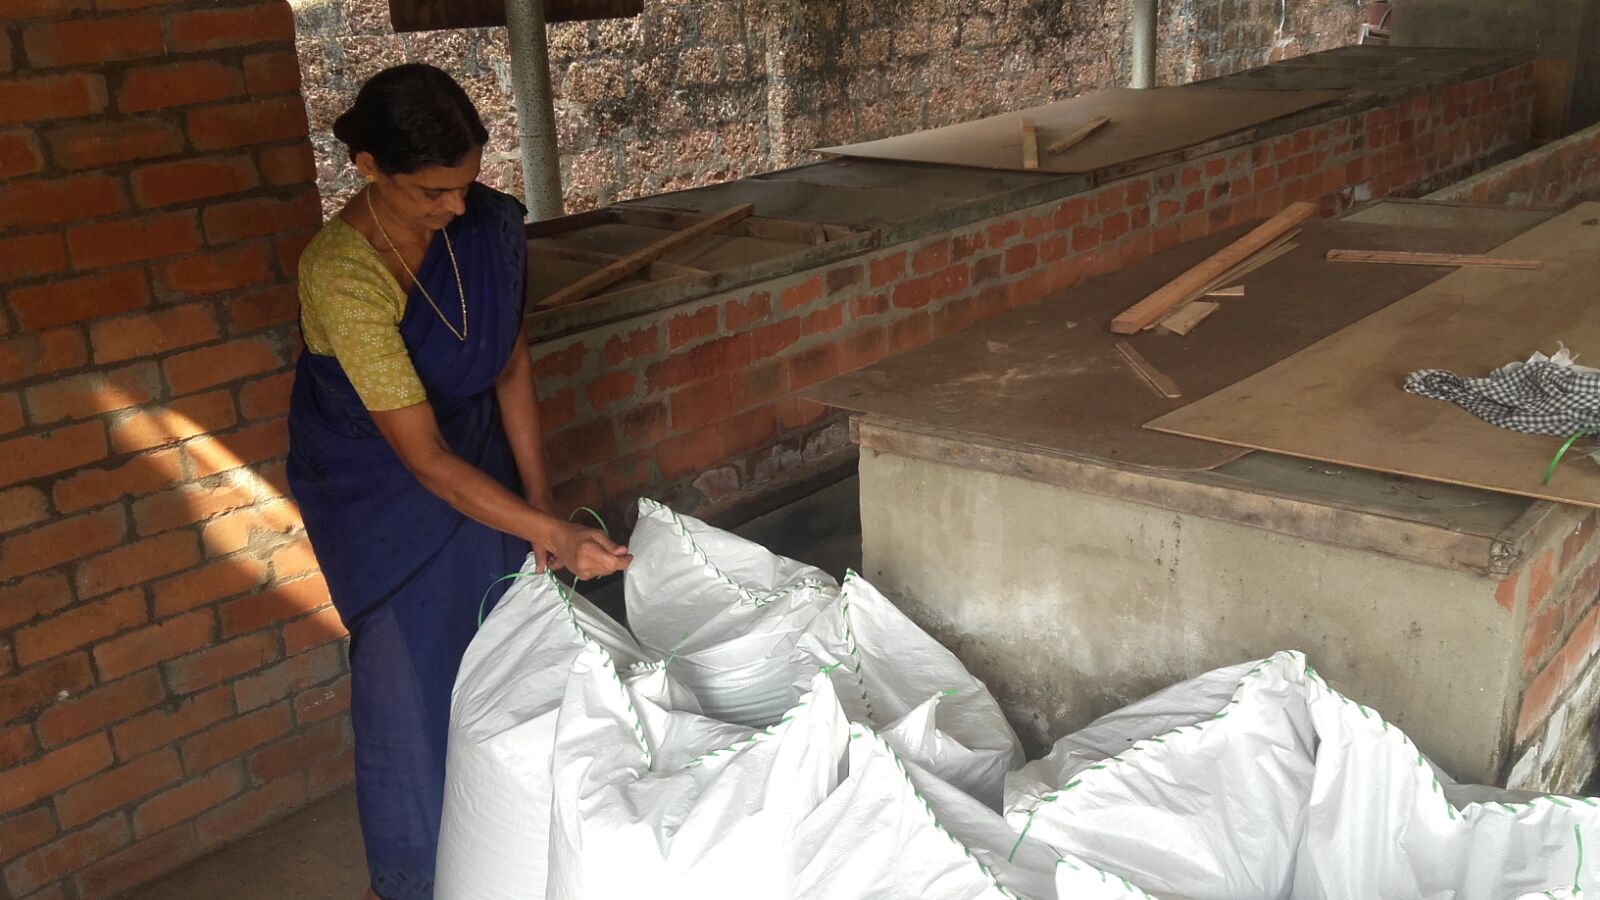
Packing and Storage
The vermicompost should be stored in a dark, cool place. It should have minimum 40% moisture. Sunlight should not fall over the compost. It will lead to loss of moisture and nutrient content. It is advocated that the harvested compost is openly stored rather than packed in over sac. Packing can be done at the time of selling. If it is stored in open place, periodical sprinkling of water may be done to maintain moisture level and also to maintain beneficial microbial population. If the necessity comes to store the material, laminated over sac is used for packing(Fig.13).This will minimize the moisture evaporation loss. Vermicompost can be stored for one year without loss of its quality, if the moisture is maintained at 40% level.
Characteristics of vermicompost
Vermicompost, a product of a non-thermophilic biodegradation of organic material through interactions between earthworms and microorganisms, is a peat like material with high porosity, aeration, drainage, water holding capacity and microbial activity. It contains all nutrients in plant available forms such as nitrates, phosphates, exchangeable calcium, soluble potassium etc and has large particular surface area that provides many microsites for microbial activity and for the strong retention of nutrients. The plant growth regulators and other plant growth influencing materials i.e. auxins, cytokinins, humic substances etc, produced by microorganisms have been reported from vermicompost(Sharma S, et al, 2005).The humic materials extracted from vermicomposts have been reported to produce auxin-like cell growth and nitrate metabolism of carrots (Daucus carota). However humic substances can occur naturally in mature animal manure, sewage sludge or paper-mill sludge but their amount and rates of production are increased dramatically by vermicomposting.
The nutrient level of vermicompost depends on the nature of the organicwaste used as food source for earthworms. It is found that a heterogeneous waste mix will have balanced level of nutrients than from any one particular waste. It contributes to the supply of micronutrients essential for the crops. Apart from this, the stimulatory effect of vermicompost for nutrient uptake, growth and yield of crops is linked to the secretions of earthworms and the associated microbes mixed with the cast.
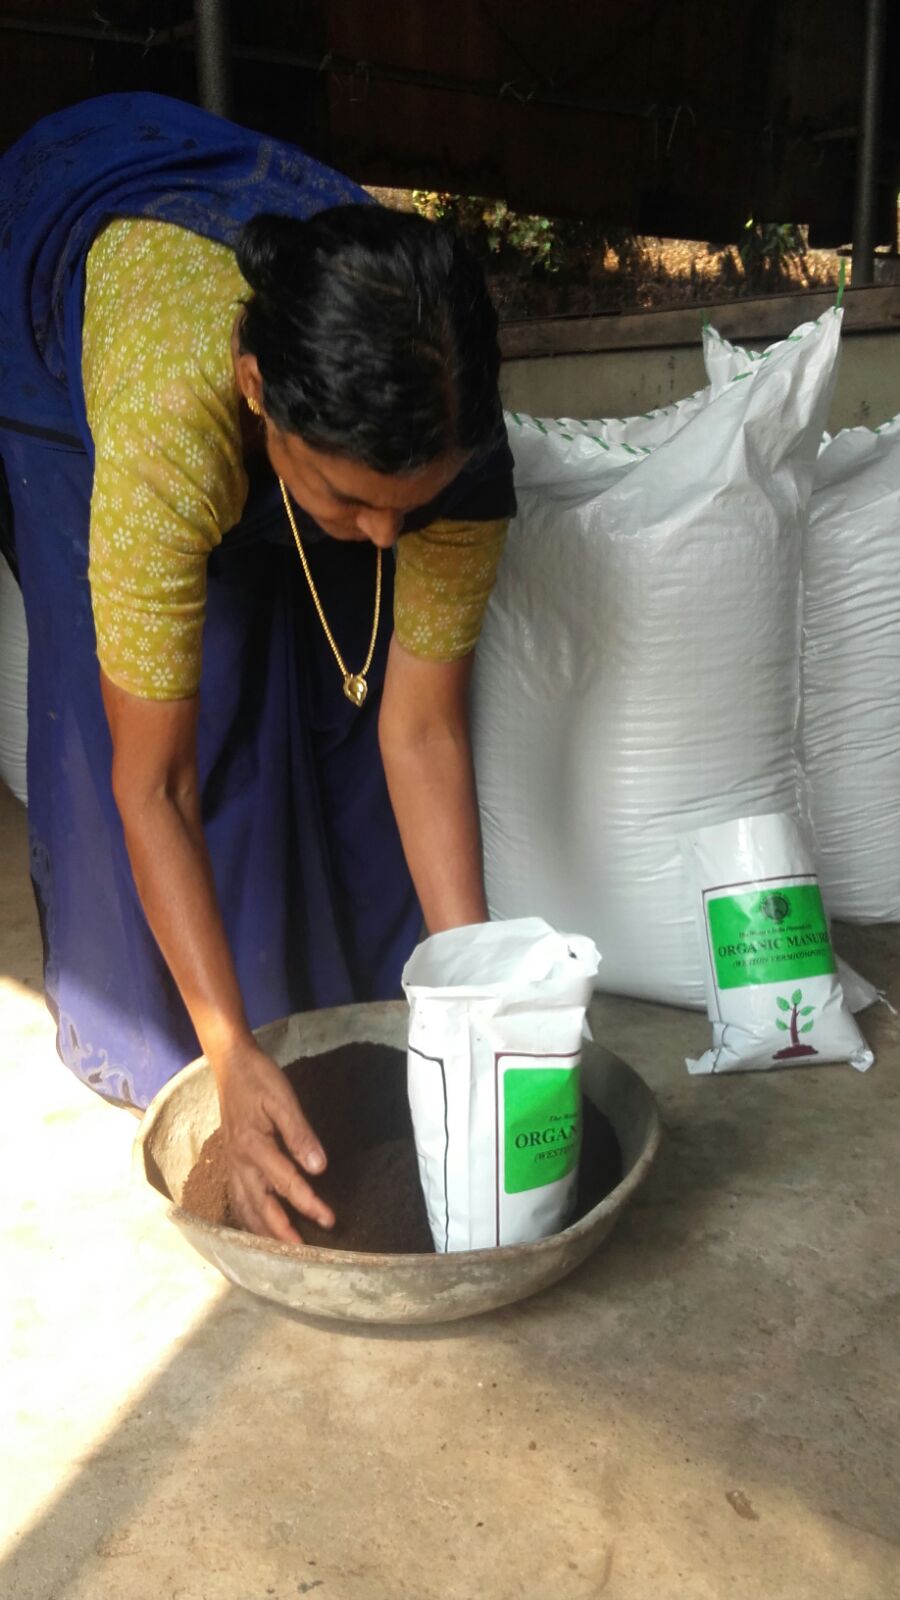
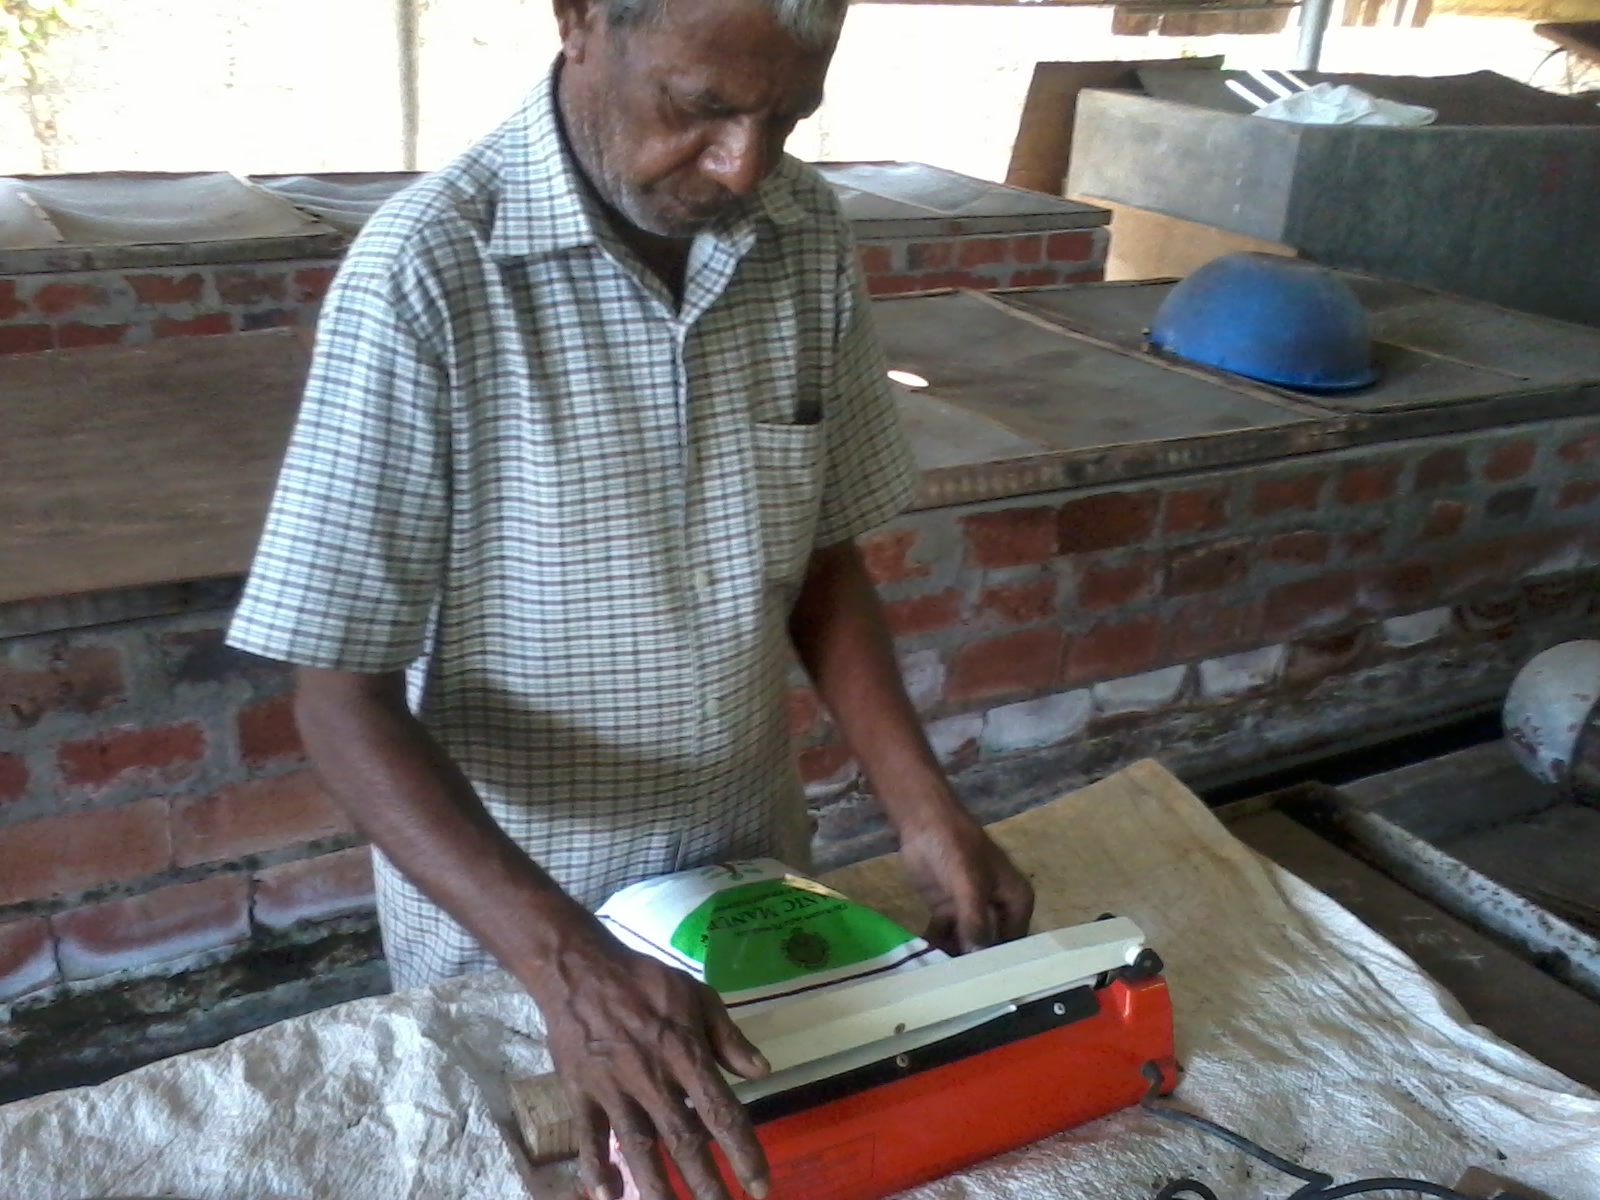
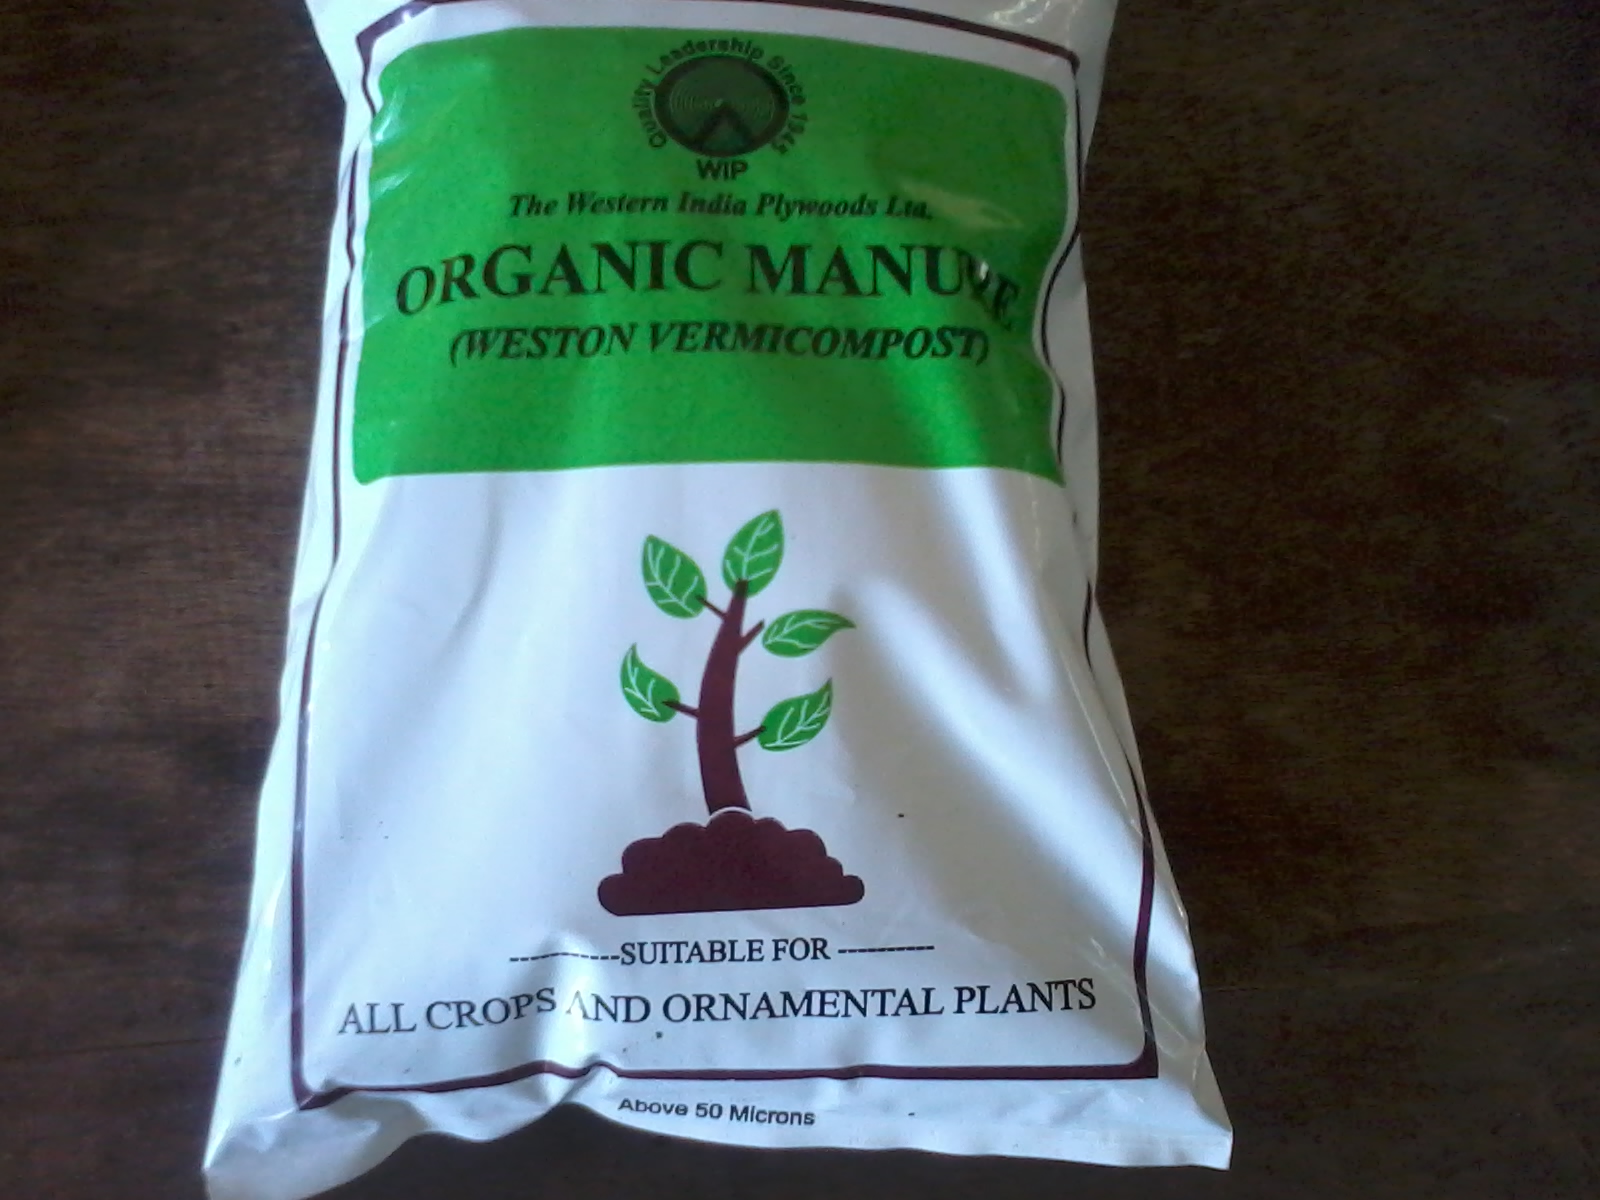
Fig.13: Vermicompost-Packing Operations and a Sample packet of 1Kg
The nutrient status of vermicompost produced with different organic waste is shown in Table.6
Table.6: Chemical Composition of Vermicompost
|
No. |
Nutrient |
Composition |
|
1 |
Organic carbon |
9.5 – 17.98% |
|
2 |
Nitrogen |
0.5 – 1.50% |
|
3 |
Phosphorous |
0.1 – 0.30% |
|
4 |
Potassium |
0.15 – 0.56% |
|
5 |
Sodium |
0.06 – 0.30% |
|
6 |
Calcium and Magnesium |
22.67 to 47.60 mg/100g |
|
7 |
Copper |
2 – 9.50 mg kg-1 |
|
8 |
Iron |
2 – 9.30 mg kg-1 |
|
9 |
Zinc |
5.70 – 11.50 mg kg-1 |
|
10 |
Sulphur |
128 – 548 mg kg-1 |
(Source: Kale,1995).