Sewing
Jacket:

Main fabric and lining fabrics were cut

Medium weight woven fusing was applied using an iron to fuse the fabrics together. This gives the fabric some stiffness and gives the garment a structured look in particular with the collar and cuff.

1.5cm seam allowance was used on all seams.

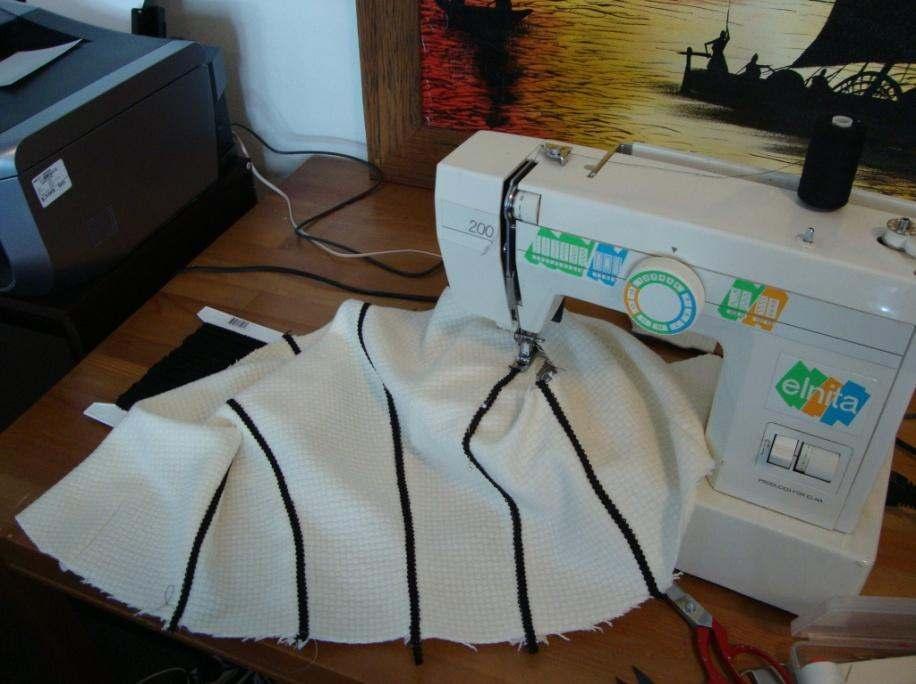
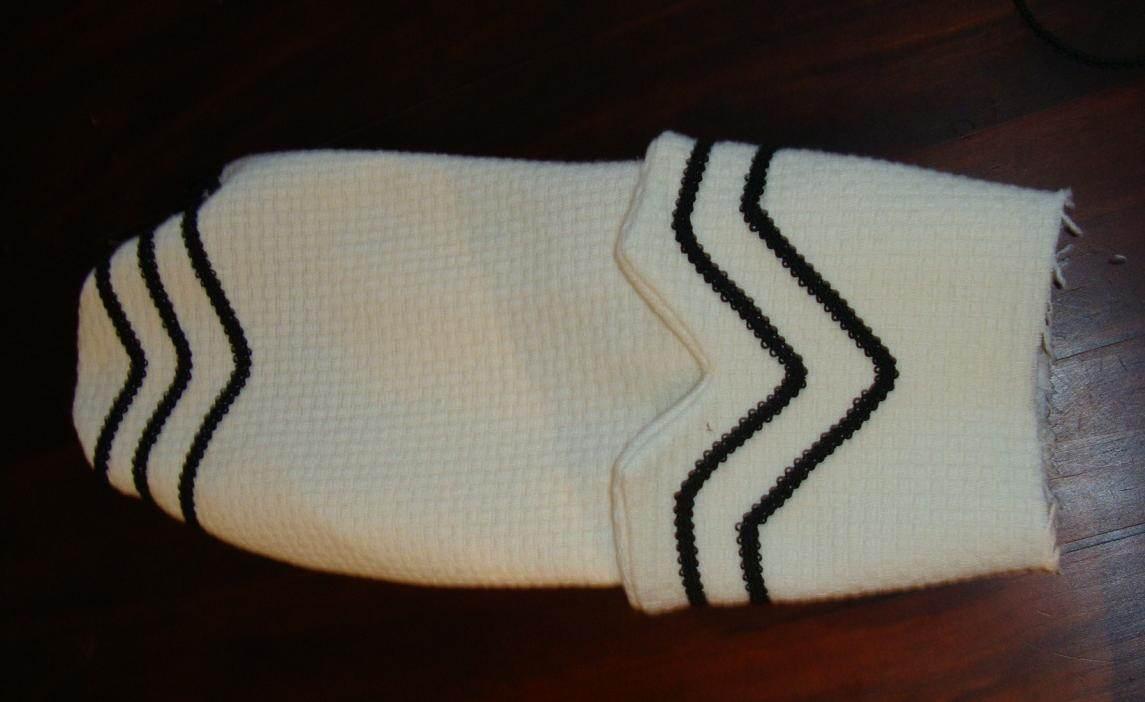
7mm nylon braid was pinned, stitched and sewn to the sleeve heads, cuffs and around collar. The braid was secured using topstitching.

The sleeve head was gathered and set into the armhole.

Main and lining fabrics were sewn right sides together, leaving a small panel on the jacket to turn through.

Inner sleeve lining was slipstitched around the cuff.

Hook and eye was applied to the centre front.
Sewing the jacket
A sleeve of the jacket
24
Dress:

Main fabric and lining fabrics were cut.

1.5cm seam allowance was used for all inner seams.

Darts were sewn.

Front and back panels were joined together at shoulder seam.

The skirt piece was sewn around the bottom of the back panel.

The shell of the garment was placed on the mannequin and left to hang for a period of 24hours to allow the fabric hemline to drop to an even level. After assessing the skirt hemline the fabric had dropped, so the piece was cut around the base of the hem to level out the hemline.

7mm nylon braid was sewn around the hemline of the front panel in 3x layers.

Lining was placed inside the dress and pin-stitched around the outer shell.

Bias binding was sewn around the neckline and outer perimeter of the fabric.

Roulette loops and buttons were attached to Back Panel (which fastens to the front)

Button was attached to CB of Front panel.
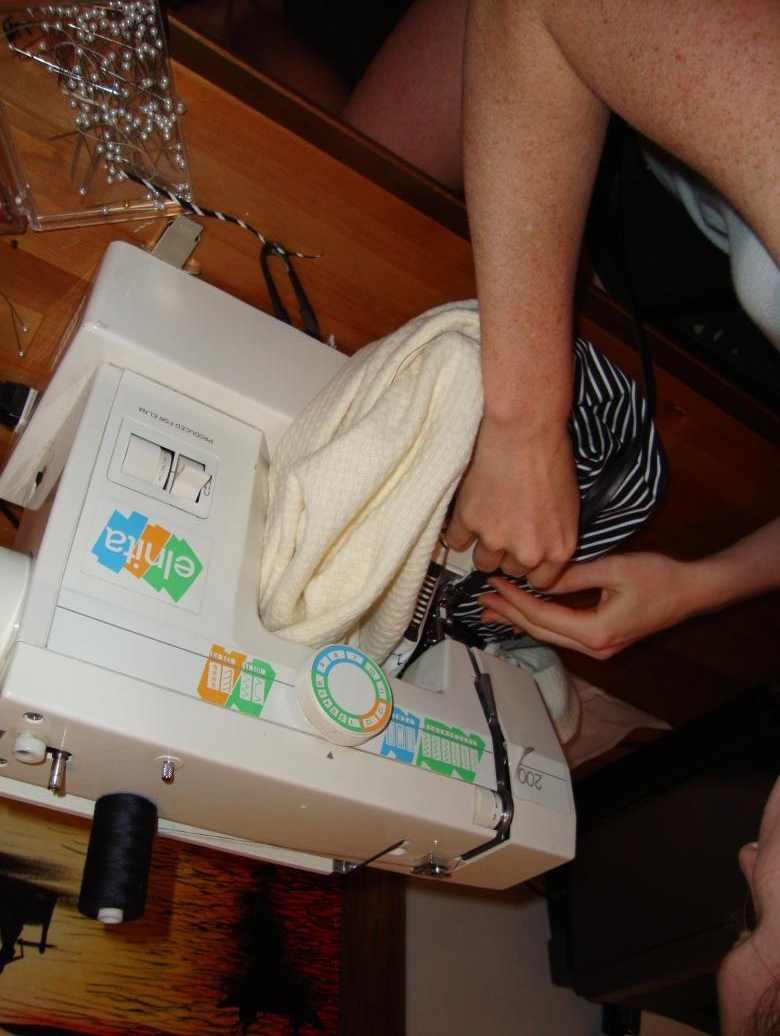
Sewing the dress
25
Gloves:

Gloves were purchased from MYER

7mm nylon braid was sewn around the knuckles of the gloves in 2 rows
Hat:

Straw hat was purchased from EBAY

Main wool fabric was cut to size to cover hat.

Striped lining was cut and sewn to the underside of the hat.

2x rows of 7mm nylon braid were applied around the crown of the hat.

Bias binding was sewn around the perimeter of the hat
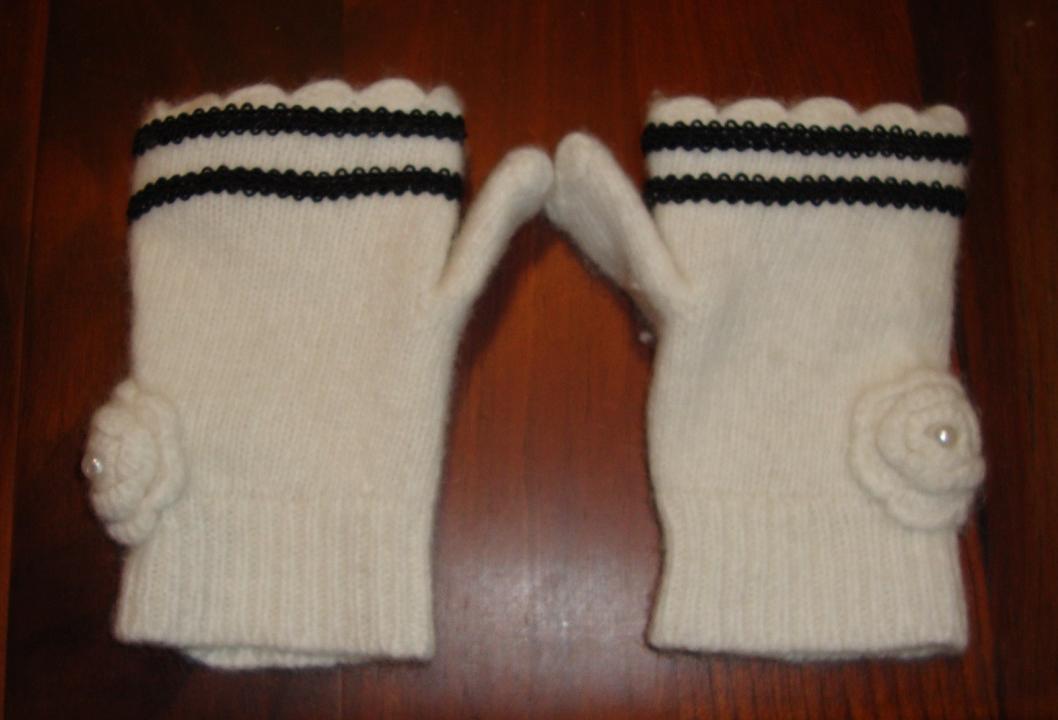
Gloves
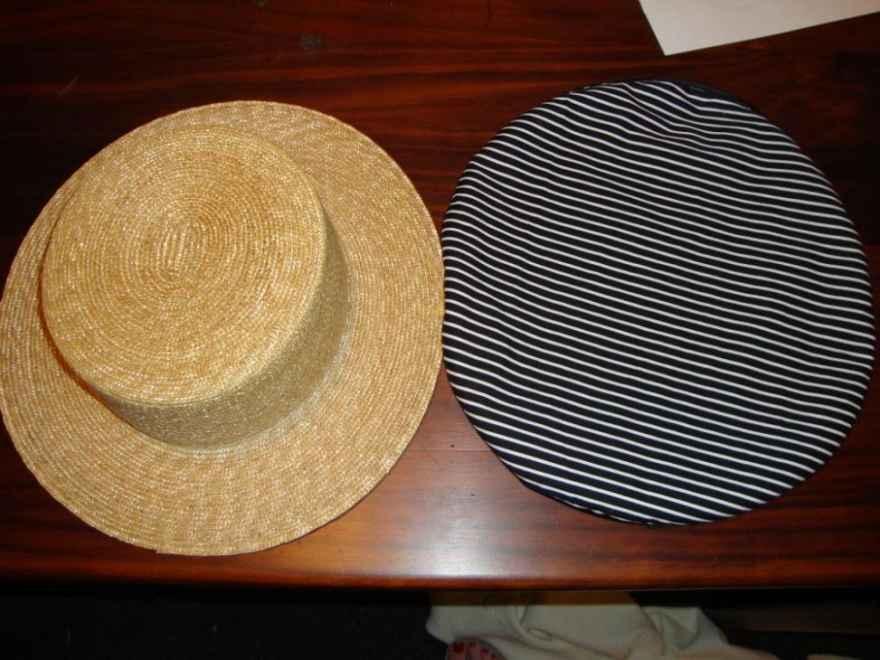
The boater hat with the under lining
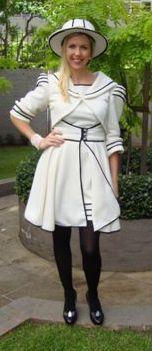


 A sleeve of the jacket
 24
24


 25
25 Gloves were purchased from MYER


 Gloves
 The boater hat with the under lining