Setting up your website for SEO
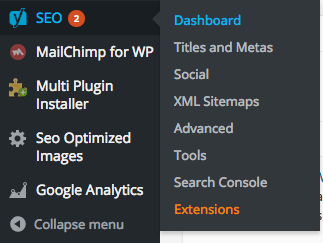
Head to the dashboard for your Yoast SEO plugin
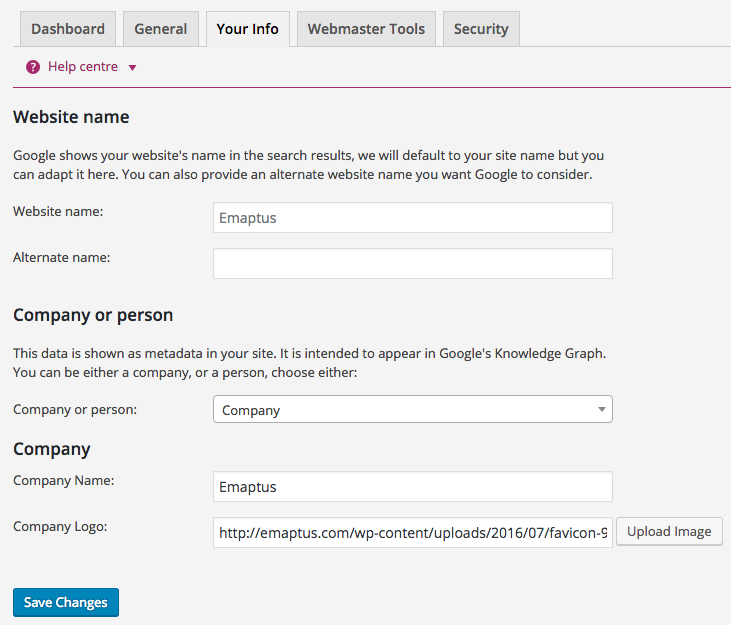
Under the Your Info tab, enter your Website name, an alternate name if you have one, and choose whether you are a company or person. If you select Company, you can then upload your logo.
The Webmaster Tool section is where you will verify the ownership of your website to Google. Head to
https://www.google.com/webmasters/tools/home?hl=en
And log in using your Gmail account. Click Add a Property

Enter your website name and click Add. Continue to press verify using the GoDaddy.com verification tool.
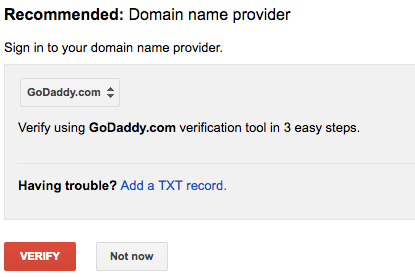
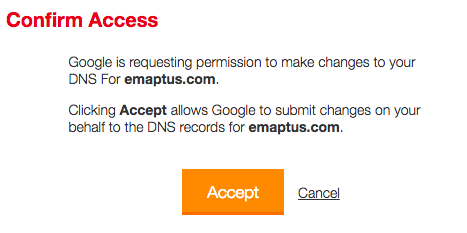
Log in using your GoDaddy username or Customer # and password and then press Accept to continue. This should take around 60 seconds to verify.
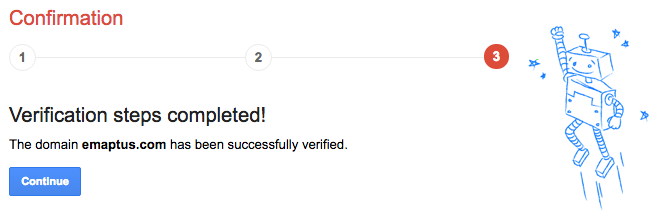
Once this is finished, you should be notified that your domain has been successfully verified, click continue.
You should be then redirected to the Google Search Console dashboard. You can navigate away from this now but we will be revisiting it when we submit our XML sitemap and set up analytics on our website.

Back to Yoast SEO
Navigate to the Titles and Meta section under Yoast SEO.
General
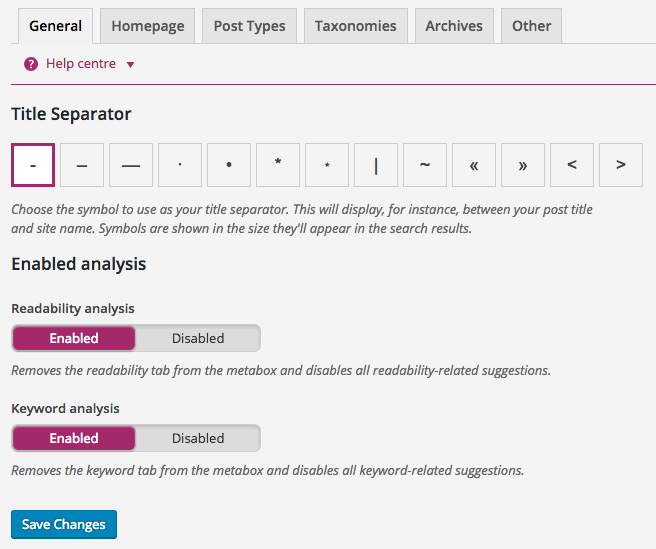
This is where you can select the Title separator that will appear between your site name and site description.


You can leave the readability analysis and keyword analysis enabled.
Homepage
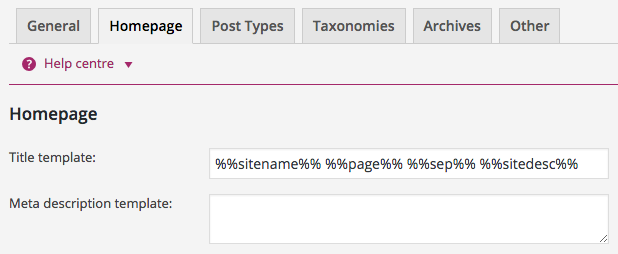
This is where you enter how your homepage will show on Google, you can leave the default values for the title template and it will be generated automatically. Alternatively you can add your own values as well as a meta description.

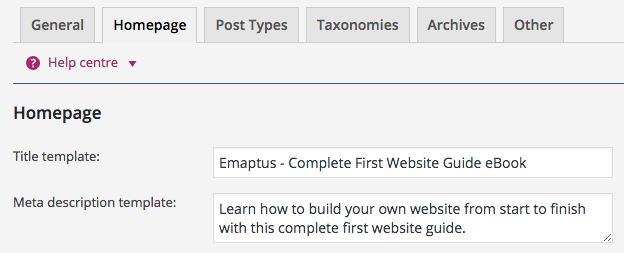
The result is this

Post Types
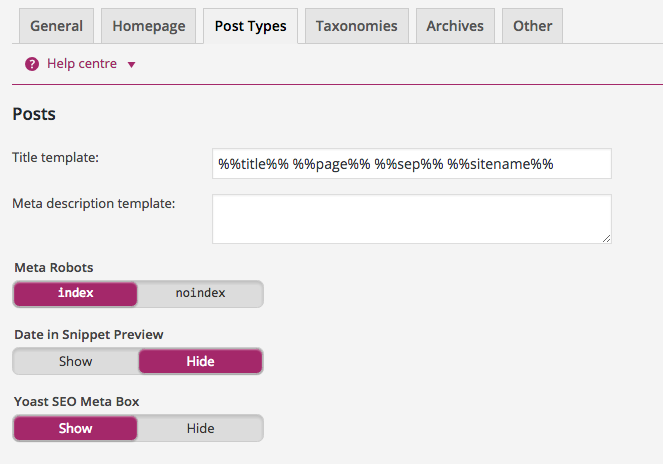
You can change the default settings for your posts, pages, media etc. pages here. You can input information into these parameters when you create a new post. If you want the date of the post to be shown in search engine results (recommended) then enable the Date in Snippet Preview. You can use a number of variables for title templates as shown below.
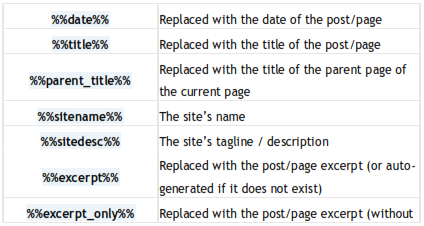
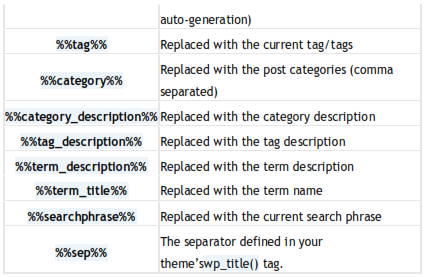
Advanced Variables: https://kb.yoast.com/kb/yoast-wordpress-seo-titles-metas-template-variables/
Taxonomies, Archives & Other
You shouldn’t need to change these settings. Many people haven’t heard the word taxonomy before. An explanation of WordPress taxonomies can be found here: https://codex.wordpress.org/Taxonomies
The same goes for Archives, but the principle is the same as the other post types.
Other Yoast Settings
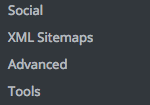
At this point we will not be adjusting the settings for Social, XML Sitemaps, Advanced & Tools. When we reach the stage of creating social media accounts to link to our website we will revisit this section. When we have some content on our website we will then submit the XML sitemap to Google.
Search Console
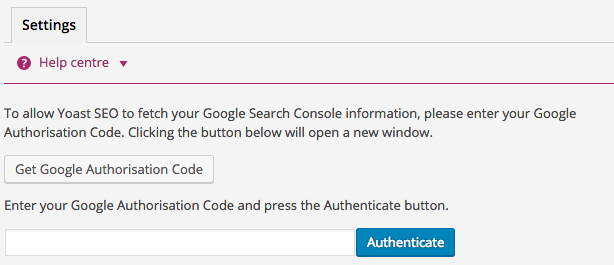
To allow your website to fetch the Google Search Console information, press the ‘Get Google Authorization Code’ button. A pop up window should appear, press allow to continue. Copy and paste the code given into the box, then press Authenticate. This should now show your website profile, press Save Profile to finish.
