3. Views and Models
So far we’ve just been returning strings from controller actions. That’s a nice way to get an idea of how controllers work, but it’s not how you’d want to build a real web application. We are going to want a better way to generate HTML back to browsers visiting our site – one where we can use template files to more easily customize the HTML content send back. That’s exactly what Views do.
Adding a View template
To use a view-template, we’ll change the HomeController Index method to return an ActionResult, and have it return View(), like below:
public class HomeController : Controller
{
//
// GET: /Home/
public ActionResult Index()
{
return View();
}
}
The above change indicates that instead of returned a string, we instead want to use a “View” to generate a result back.
We’ll now add an appropriate View template to our project. To do this we’ll position the text cursor within the Index action method, then right-click and select “Add View”. This will bring up the Add View dialog:

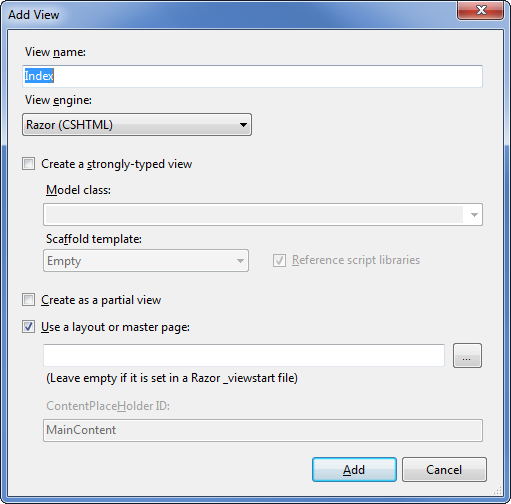
The “Add View” dialog allows us to quickly and easily generate View template files. By default the “Add View” dialog pre-populates the name of the View template to create so that it matches the action method that will use it. Because we used the “Add View” context menu within the Index() action method of our HomeController, the “Add View” dialog above has “Index” as the view name pre-populated by default. We don’t need to change any of the options on this dialog, so click the Add button.
When we click the Add button, Visual Web Developer will create a new Index.cshtml view template for us in the \Views\Home directory, creating the folder if doesn’t already exist.
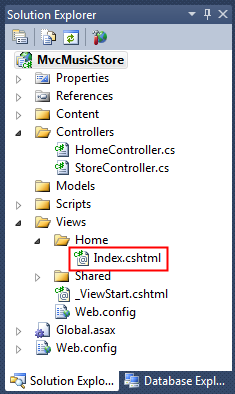
The name and folder location of the “Index.cshtml” file is important, and follows the default ASP.NET MVC naming conventions. The directory name, \Views\Home, matches the controller - which is named HomeController. The view template name, Index, matches the controller action method which will be displaying the view.
ASP.NET MVC allows us to avoid having to explicitly specify the name or location of a view template when we use this naming convention to return a view. It will by default render the \Views\Home\Index.cshtml view template when we write code like below within our HomeController:
public class HomeController : Controller
{
//
// GET: /Home/
public ActionResult Index()
{
return View();
}
}
Visual Web Developer created and opened the “Index.cshtml” view template after we clicked the “Add” button within the “Add View” dialog. The contents of Index.cshtml are shown below.
@{
ViewBag.Title = "Index";
}
<h2>Index</h2>
This view is using the Razor syntax, which is more concise than the Web Forms view engine used in ASP.NET
Web Forms and previous versions of ASP.NET MVC. The Web Forms view engine is still available in ASP.NET MVC 3, but many developers find that the Razor view engine fits ASP.NET MVC development really well.
The first three lines set the page title using ViewBag.Title. We’ll look at how this works in more detail soon, but first let’s update the text heading text and view the page. Update the <h2> tag to say “This is the Home Page” as shown below.
@{
ViewBag.Title = "Index";
}
<h2>This is the Home Page</h2>
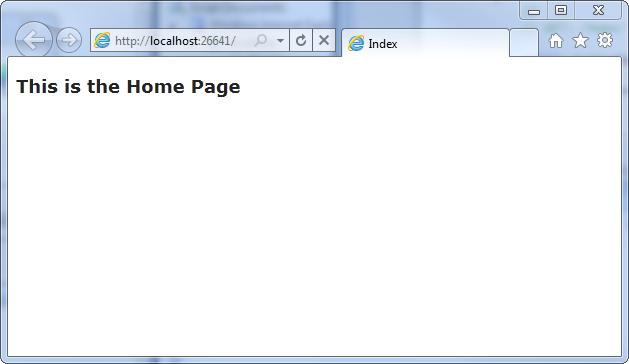
Running the application shows that our new text is visible on the home page.
Using a Layout for common site elements
Most websites have content which is shared between many pages: navigation, footers, logo images, stylesheet references, etc. The Razor view engine makes this easy to manage using a page called _Layout.cshtml which has automatically been created for us inside the /Views/Shared folder.

Double-click on this folder to view the contents, which are shown below.
<!DOCTYPE html>
<html>
<head>
<meta charset="utf-8" />
<title>@ViewBag.Title</title>
<link href="@Url.Content("~/Content/Site.css")" rel="stylesheet" type="text/css" />
<script src="@Url.Content("~/Scripts/jquery-1.5.1.min.js")"
type="text/javascript"></script>
<script src="@Url.Content("~/Scripts/modernizr-1.7.min.js")"
type="text/javascript"></script>
</head>
<body>
@RenderBody()
</body>
</html>
The content from our individual views will be displayed by the @RenderBody() command, and any common content that we want to appear outside of that can be added to the _Layout.cshtml markup. We’ll want our MVC Music Store to have a common header with links to our Home page and Store area on all pages in the site, so we’ll add that to the template directly above that @RenderBody() statement.
<!DOCTYPE html>
<html>
<head>
<meta charset="utf-8" />
<title>@ViewBag.Title</title>
<link href="@Url.Content("~/Content/Site.css")" rel="stylesheet" type="text/css" />
<script src="@Url.Content("~/Scripts/jquery-1.5.1.min.js")"
type="text/javascript"></script>
<script src="@Url.Content("~/Scripts/modernizr-1.7.min.js")"
type="text/javascript"></script>
</head>
<body>
<div id="header">
<h1>
ASP.NET MVC MUSIC STORE</h1>
<ul id="navlist">
<li class="first"><a href="/" id="current">Home</a></li>
<li><a href="/Store/">Store</a></li>
</ul>
</div>
@RenderBody()
</body>
</html>
Updating the StyleSheet
The empty project template includes a very streamlined CSS file which just includes styles used to display validation messages. Our designer has provided some additional CSS and images to define the look and feel for our site, so we’ll add those in now.
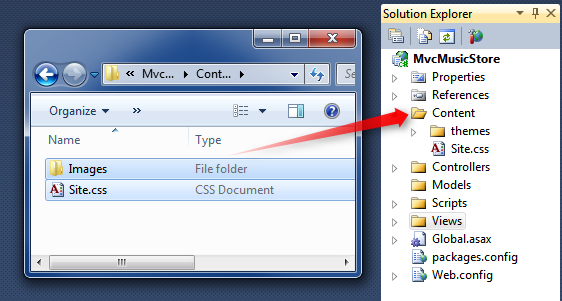
The updated CSS file and Images are included in the Content directory of MvcMusicStore-Assets.zip which is available at http://mvcmusicstore.codeplex.com. We’ll select both of them in Windows Explorer and drop them into our Solution’s Content folder in Visual Web Developer, as shown below:
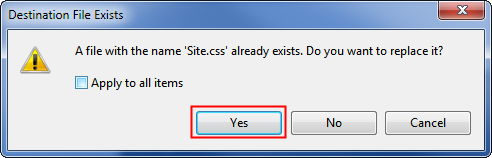
You’ll be asked to confirm if you want to overwrite the existing Site.css file. Click Yes.
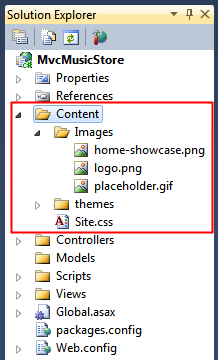
The Content folder of your application will now appear as follows:
Now let's run the application and see how our changes look on the Home page.

Using a Model to pass information to our View
A View template that just displays hardcoded HTML isn’t going to make a very interesting web site. To create a dynamic web site, we’ll instead want to pass information from our controller actions to our view templates.
In the Model-View-Controller pattern, the term Model refers to objects which represent the data in the application. Often, model objects correspond to tables in your database, but they don’t have to.
Controller action methods which return an ActionResult can pass a model object to the view. This allows a Controller to cleanly package up all the information needed to generate a response, and then pass this information off to a View template to use to generate the appropriate HTML response. This is easiest to understand by seeing it in action, so let’s get started.
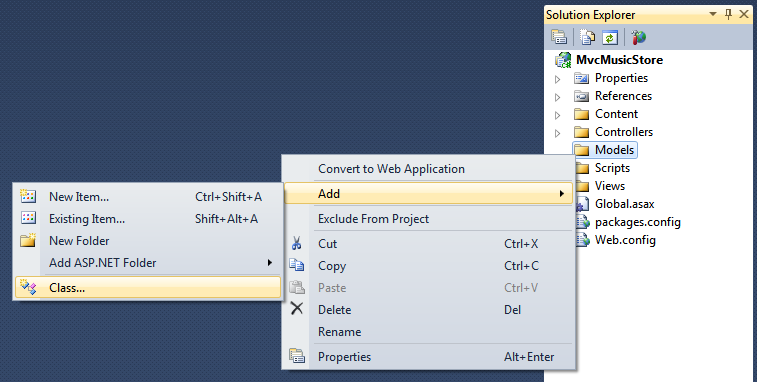
First we’ll create some Model classes to represent Genres and Albums within our store. Let’s start by creating a Genre class. Right-click the “Models” folder within your project, choose the “Add Class” option, and name the file “Genre.cs”.

Then add a public string Name property to the class that was created:
public class Genre
{
public string Name { get; set; }
}
Note: In case you're wondering, the { get; set; } notation is making use of C#'s auto-implemented properties feature. This gives us the benefits of a property without requiring us to declare a backing field.
Next, follow the same steps to create an Album class (named Album.cs) that has a Title and a Genre property:
public class Album
{
public string Title { get; set; }
public Genre Genre { get; set; }
}
Now we can modify the StoreController to use Views which display dynamic information from our Model. If - for demonstration purposes right now - we named our Albums based on the request ID, we could display that information as in the view below.
We’ll start by changing the Store Details action so it shows the information for a single album. Add a “using” statement to the top of the StoreControllers class to include the MvcMusicStore.Models namespace, so we don’t need to type MvcMusicStore.Models.Album every time we want to use the album class. The “usings” section of that class should now appear as below.
using System;
using System.Collections.Generic;
using System.Linq;
using System.Web;
using System.Web.Mvc;
using MvcMusicStore.Models;
Next, we’ll update the Details controller action so that it returns an ActionResult rather than a string, as we did with the HomeController’s Index method.
public ActionResult Details(int id)
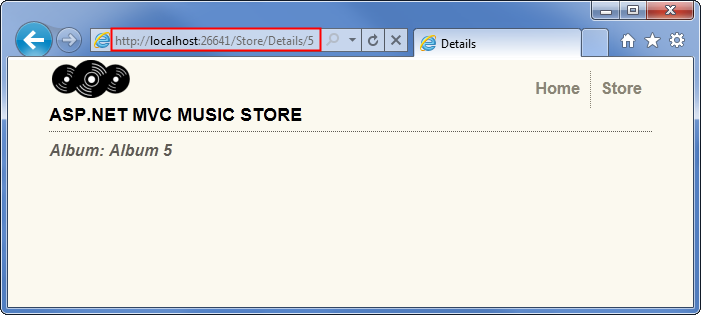
Now we can modify the logic to return an Album object to the view. Later in this tutorial we will be retrieving the data from a database – but for right now we will use "dummy data" to get started.
public ActionResult Details(int id)
{
var album = new Album { Title = "Album " + id };
return View(album);
}
Note: If you’re unfamiliar with C#, you may assume that using var means that our album variable is late-bound. That’s not correct – the C# compiler is using type-inference based on what we’re assigning to the variable to determine that album is of type Album and compiling the local album variable as an Album type, so we get compile-time checking and Visual Studio code-editor support.
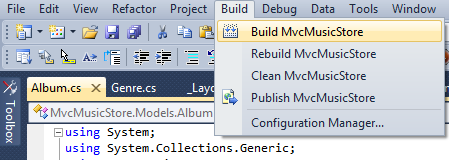
Let’s now create a View template that uses our Album to generate an HTML response. Before we do that we need to build the project so that the Add View dialog knows about our newly created Album class. You can build the project by selecting the Debug⇨Build MvcMusicStore menu item (for extra credit, you can use the Ctrl-Shift-B shortcut to build the project).
Now that we've set up our supporting classes, we're ready to build our View template. Right-click within the Details method and select “Add View…” from the context menu.

We are going to create a new View template like we did before with the HomeController. Because we are creating it from the StoreController it will by default be generated in a \Views\Store\Index.cshtml file.
Unlike before, we are going to check the “Create a strongly-typed” view checkbox. We are then going to select our “Album” class within the “View data-class” drop-downlist. This will cause the “Add View” dialog to create