How Mr. Tumblebuddy Flipet Tumbles and Flips -
Step by Step instructions
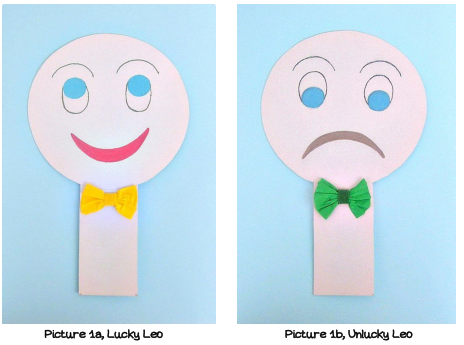
These are pictures of the first Mr. Tumblebuddy Flipet I’ve designed and used for a creative writing workshop, with primary school age children. You can see his two faces, “Lucky Leo” and “Unlucky Leo”.
You could copy my design, if you like, or make a design of your own, according to your preferences.
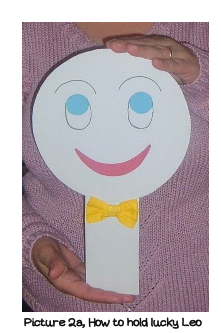
Following are instructions of how I make him tumble and flip I hold Mr. Tumblebuddy Flipet in front of me, at the height of my chest, with Lucky Leo facing the children - his neck standing up straight in my right hand palm. My left hand palm is on his head, as shown in picture 1a, to help the figure keep balance. Holding the figure in such a way will make tumbling and flipping him easier.
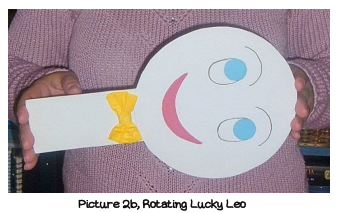
I, then, rotate him on his head, to the direction of my left hand, alwaysholding the figure with both my hands (see picture 2b).
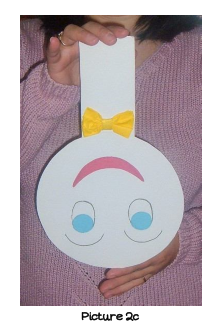
I complete a rotation of 180. After the rotation has been completed,Lucky Leo is standing upside down, as shown in picture 2c.
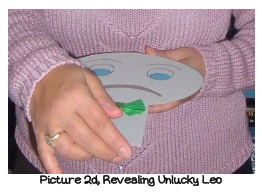
To continue, still using both my hands, I lower Mr. Tumblebuddy’s neckforward. This reveals Unlucky Leo’s face, while Lucky Leo’s face hasdisappeared (Lucky Leo is now on the back side of the figure, which thekids do not see any more) (see picture 2d).
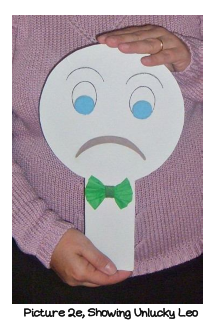
Immediately after Unlucky Leo appears, I hold him straight up so all thekids can see his face.
So, that is how Mr. Tumblebuddy Flipet tumbles and flips. It takes a little practice at home, on the part of the teacher or the parent, but it is notdifficult.
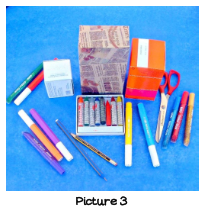
If you prefer something easier to tumble and flip, follow the instructions given below (it’s a craft project for kids), to make your own Mr. Tumblebuddy Flipet using a toilet paper tube. You could also craft him out of a small shoe box, which is ideal for having him stand on a table or a teacher’s desk, where all the kids could see him, even if they are sitting at a distance from the table or desk. If the children’s group you’re doing the creative writing workshop with is not a large one (which means you could all gather around a table), you could craft him out of a small medicine box, like cough syrup (see picture 3).
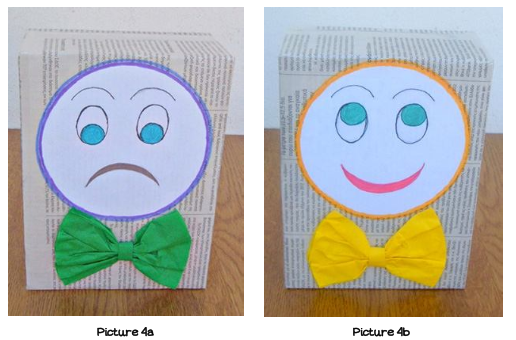
In the pictures below (pictures 4a and 4b), you can see another design of the magical Mr. Tumblebuddy Flipet, which I’ve crafted for another creative writing workshop that took place in January 2013.
As you understand, depending on your needs and preferences, you could use any material to craft him, in any shape and size that suits you, as, for example, in the craft project for kids that follows (with step by step instructions). You could also make a pocket-size Mr. Tumblebuddy Flipet using a matchbox, or a very small medicine box, like one used for nasal drops.