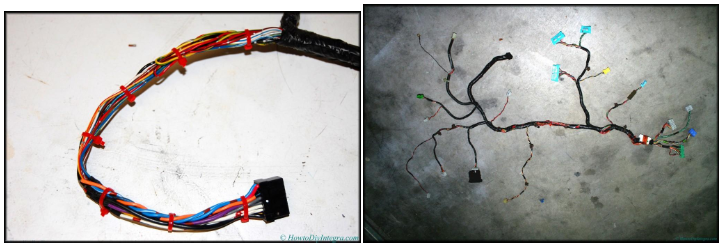
Step 1:
Remove any male/female connectors and strip the wires about a quarter (.25″) of an inch off. Then cut a proper size heat shrink tube that is about an inch long or longer length that will cover the exposed copper and some of the wire’s looming for a strong hold.
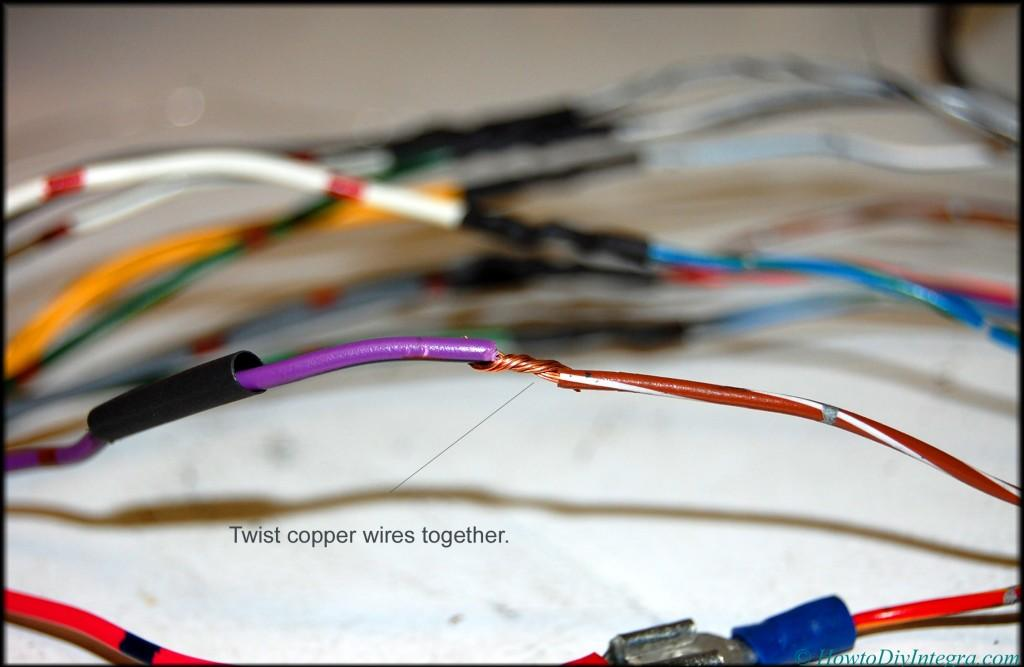
Remember to add heat shrink tubing BEFORE heating anything.

Step 2:
Twist the copper together.
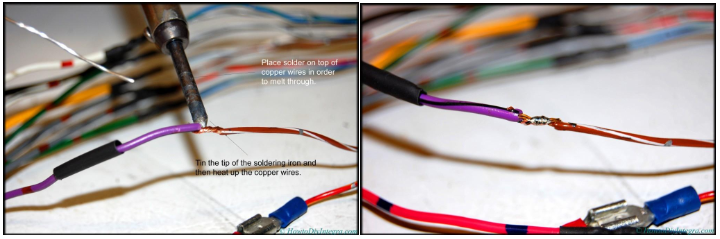
Step 3:
When you power the soldering iron, allow it to heat up for about 20-30 seconds which will be very hot to touch so be careful not to burn yourself. Begin “tinning” or adding a thin layer of solder to the tip.
You know you did it correctly when you see smoke rise off the tip and a silver/chrome color. Place the soldering iron’s tip under the twisted copper wires and allow the tip to heat the copper. This part takes awhile, dependent on the thickness of the wire so be patient. Now place solder on top of the twisted copper wires and allow it to soak or melt into the strands. Don’t add too much, just enough to blend the solder and copper together.
Step 4:
After the iron has cooled down, place the heat shrink tubing over it and heat up with a back and forth motion with a lighter. If you have a heat gun, then blow hot air directly onto it and you will see the heat shrink tubing become smaller and wrap around the two wires together. Don’t hold too long to avoid any burning.
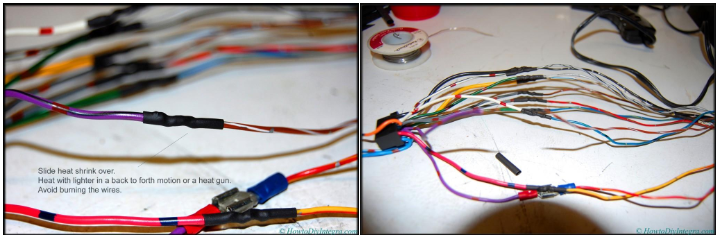
Finished!
Zip tie and wrap all with electric tape.