Chapter 4:Tiered Section
Buying The Materials
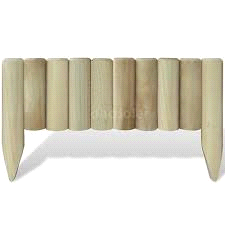
Building the tiered section at the top of the garden i wanted to erect a fence at the front of the section to act as a barrier. I visited my local diy store, WICKES, which had a good selection of garden fencing materials and i purchaced several small fencing panels measuring about 15 inches high and a pot of brown wood protection and brushes. When we got them home, incidently we carried them home my brother and i, and we set about the task of painting all the panels with the brown wood protection. Just to emphasise a point here that the wood protection does 2 jobs, first is to protect the wood from weather and and rotting also from woodworm and other garden pests and second the colour will enhance the final finish at the end of the job.
Leveling Tiered Area.
were dry to erect a nice straight fence at the base of the tier. The panels had longer parts at either ends so they At this point the tiered area had to be dug over to be leveled out . It was quite steep at one end with small shallows, and a flat area where the old shed once stood.We used the old string between 2 stickes method again to make a straight at the front of the tier .Now i suppose that this sounds like a bit of hard work but the old saying you only get out of it what you put into it. The effort is well worth it. We had to wait until the painted fence panels can be incerted into the ground.
Dry Overnight
We let the panels dry overnight and the next day we set about placing them into the ground. At this point i could foresee the general shape and pattern of how the garden is going to be and the more the job progresses the more you are inspired to continue, i even made a rough sketch of the garden and drew in the improvements, it all looked pretty impressive.

Building The Steps
I left a small gap in the fence on purpose to build a few steps up to the tier. I bought a few cheap items from my WICKES store, and proceeded to incorporate the finish to the steps. The items consisted of bamboo log rolls and 3x 18inch square paving stones. The bamboo log rolls are bendy and pliable and they formed a small wall around the base of the steps and the paving stones were placed on top. On completion i thought it looked quite eye catching.
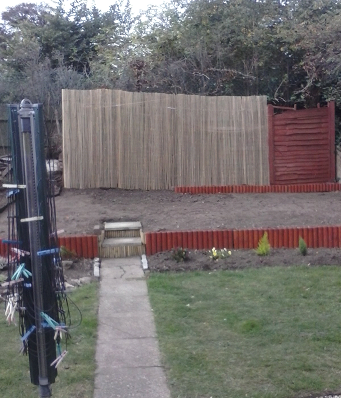
The End Fence
The fence at the far end of the garden needed some renovation. We thought about replacing it with a new one but it was cheaper to add parts to it to modernise it. So we bought a bamboo wicker fence and attatched it to the fence, so now the far end of the garden has a wicker fence backdrop. the effect was quite good. We secured it to the original fence to hide the imperfections it had.
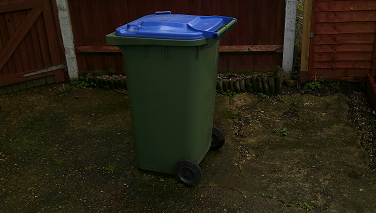
The Last Of The Debris
The next stage was to get rid the last of the green waste sacks. All the weeds and foliage that was cut from the back of the fence was put into the rest of the sacks. These were then put into the street for the council to collect. Then i decided to order one of those green waste containers from the council. They cost £20 to buy but you have to pay £50 for the year to register to have it collected. Then any weeding and unwanted foliage would then be disposed of on a fortnightly collection.