Part 4
Understanding Images & File Sizes

It’s important that you understand images and their file sizes because many people who create a website for their online business - don’t understand WHY they are important to understand.
Many people think that all they have to do with an image on their website is grab and stretch it to the size they want.
This is not the correct way to resize an image.
Images and File Sizes
There are two types of files:
1) JPG – JPGs are more commonly used on websites because they are usually smaller in file size which makes them easier and quicker for your website to load online.

File Sizes
Everything online is of a certain file size.
For example – eBooks, web pages, images, videos, etc.
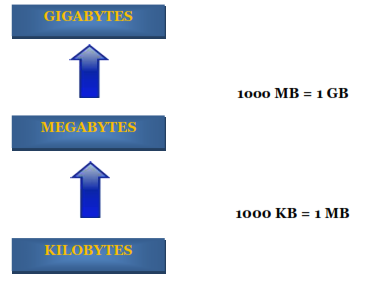
The size of the file or let’s say – the size of an image is measured in either:
Kilobytes (KB)
Megabytes (MB) or
Gigabytes (GB)
Now – Let’s take a look at how they relate to one another.
When people insert an image in a web page – they simply insert it without even thinking of its size.
For example: If you take a picture that is 4MB and insert it on a web page – you will discover that it’s just too large and it will fill the entire screen page.
This is why the SIZE of the image is so important.
You want to keep your images as small as possible. Try to keep them under 100 KB.
When they are over 100 KB – the web page will take forever to load. You want to keep them small when you publish an eBook as well. eBooks are usually about 2 to 3 MB or so.
Take your time and you will do just fine.
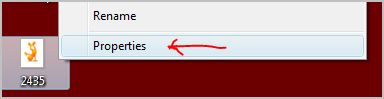
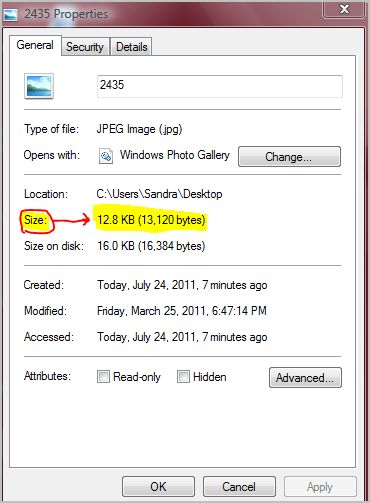
Now – right click on your image and select “properties”. The image property box will show you the size of the image.
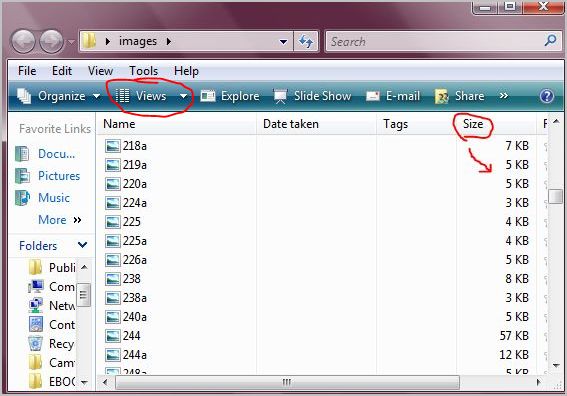
In your image folder – you can use the “view” facility and click on “Details” to view ALL your file sizes in one view.
You might want to practice doing this for a while until you feel comfortable and confident with doing it. Find some large images on your computer that are about 2 to 4MB and save a few to your image folder.
REMEMBER – Let it become a second nature for you to do. When you feel you can do this skill like second nature – you then are ready to move forward to the next skill.
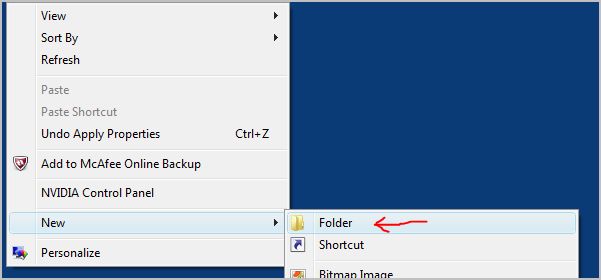
If you don’t have an image folder yet – just right click on your desktop – select “new” – then select “folder” and then name it “images”.

![]()

Irfanview

Do you remember…?
Whenever you learn a new skill – write it down!

Let’s go to Google search and type in “irfanview” (without the quotation marks) and click “search”.
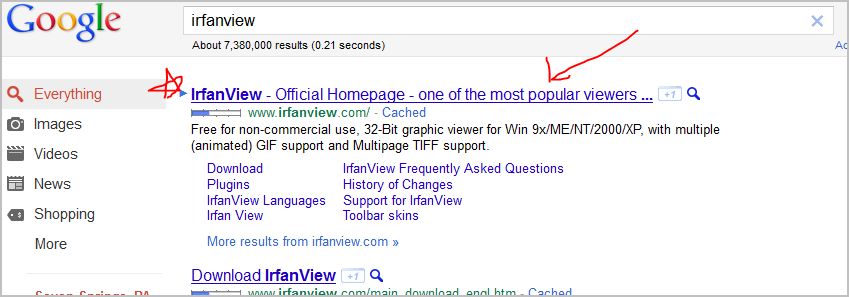
Irfanview is usually right at the top of the search engine results. If it’s not – it’s pretty close to that area.
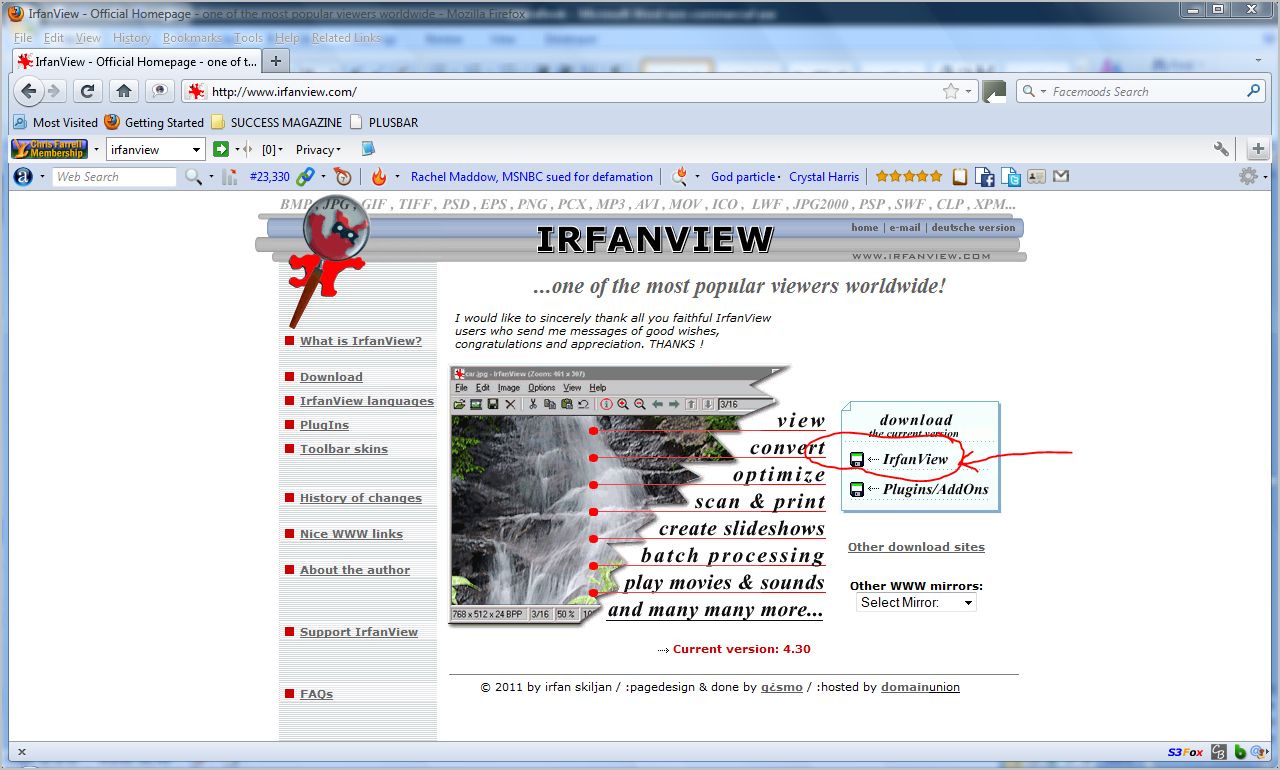
Click on the “Irfanview – Official Homepage” link and you will be taken to the Irfanview website.

You will see a fairly small light blue box to the right of the center of the page. Click on the irfanview link and save it to your desktop.
Okay…have it downloaded?
We are now going to use this tool to resize an image.
Are you ready…? Cool – let’s go!
Now if you recall – I mentioned earlier that a very common mistake many people make is thinking they can make an image smaller by clicking and stretching it to the size they desire.
Again – this reduces the dimensions of the image but NOT the file size.
So with this said – let’s go open Irfanview and learn the skill of how to resize an image correctly. Irfanview is a really cool tool and I use it all the time in my own projects.
Okay – let’s begin shall we…?
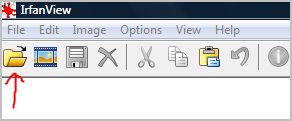
Once you have Irfanview opened – click on the “open” icon at the top. It looks like a folder.
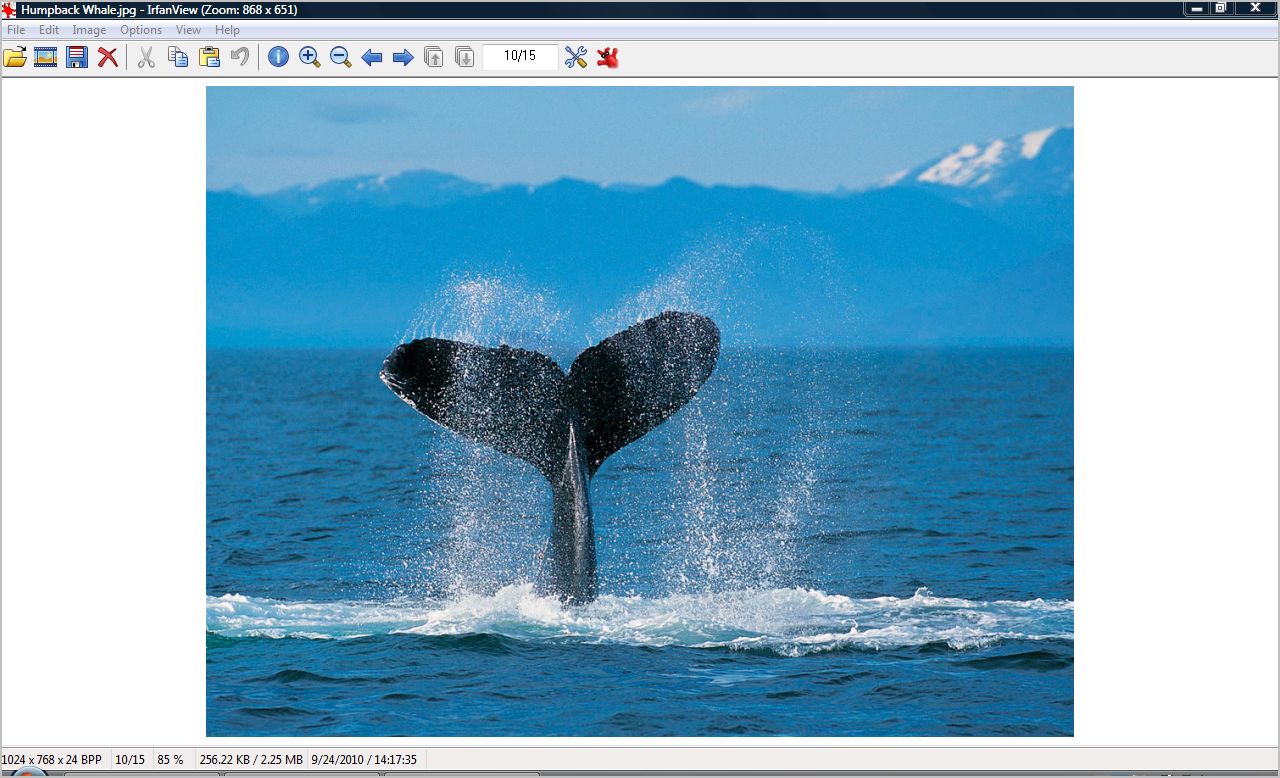
Select the image you want to resize and double click on it. In the example below – I chose a random large image I had on my computer.
Notice how large the image looks within the Irfanview window. It almost fills the whole window doesn’t it?
Now –
Let’s go resize this image and make not only the size itself smaller but its file size as well.
Click on “image” at the top and select “resize/sample”
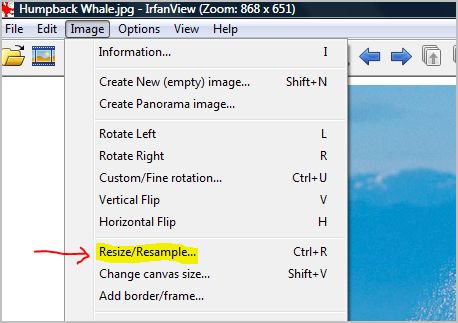
After selecting “Resize/Resample” – another smaller window will open.
In this smaller window - you will change the “width and height” of your image.
Make sure “preserve aspect ratio” is checked.
In my image example below - you will notice the current size and then the size that I changed it to.
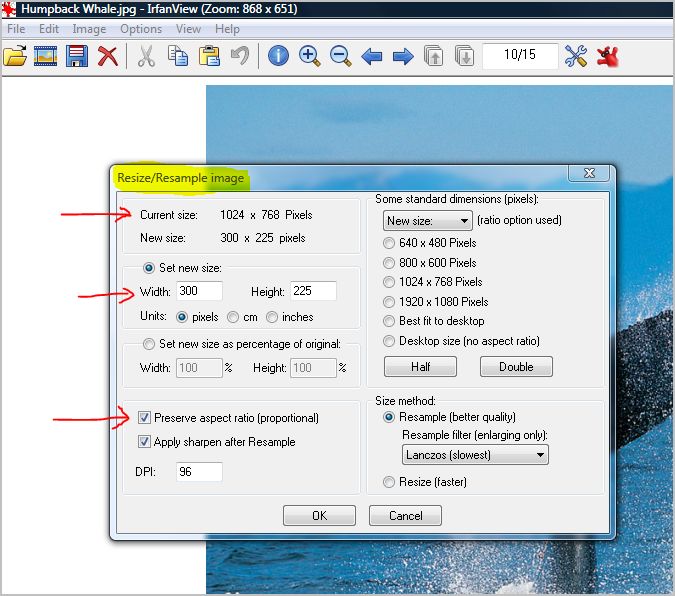
Once you have changed the width and height to the size you want –
Click “ok” and Irfanview will resize your image to the new size.
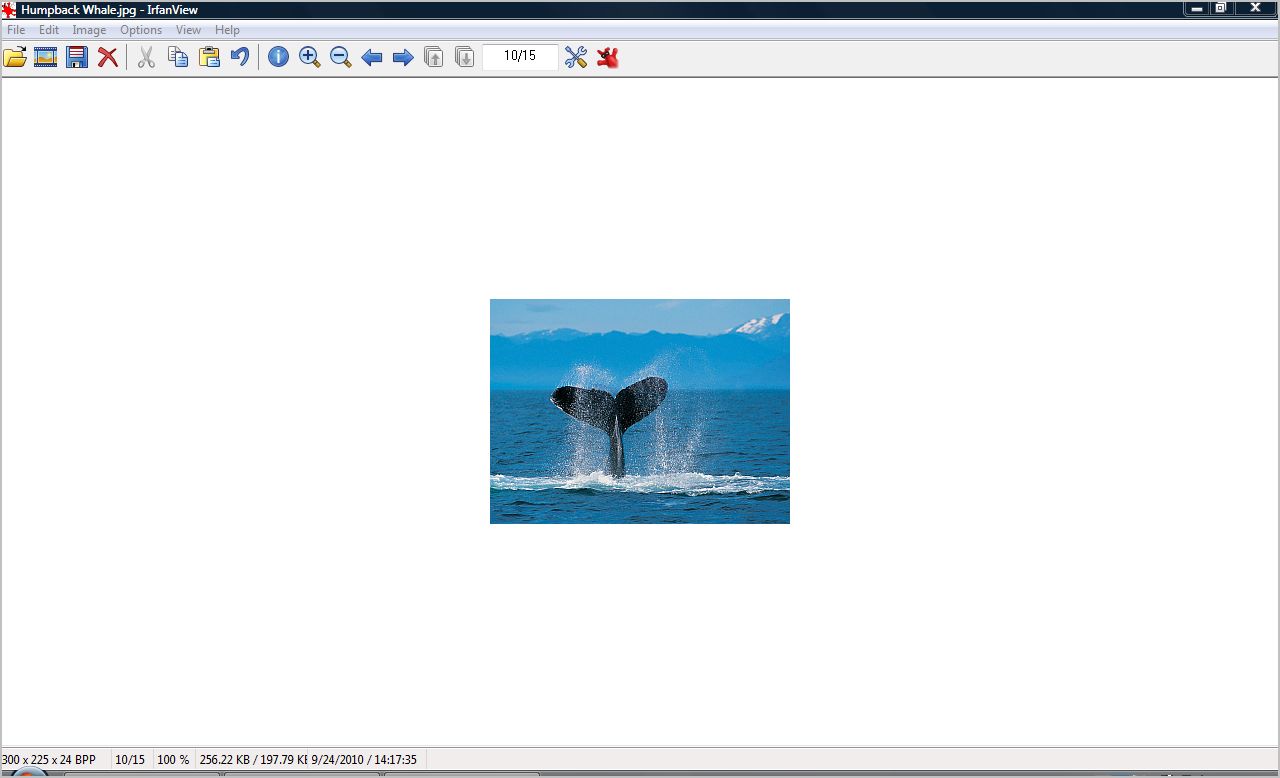
Look at that…! Have you noticed how much smaller the image is now as compared to when we first started?
Do you understand these steps so far?
Good…!
Once you have resized the image to where you want – you can then save it to your computer.
Let’s go do that now…
To save your image – click on the file menu at the top and select “save as”.
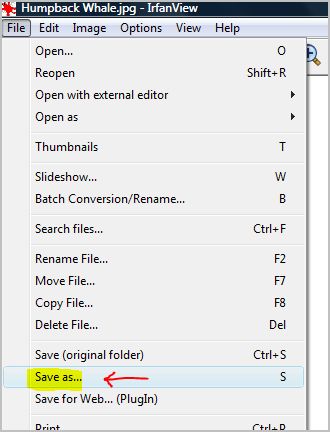
Once you select “save as” – two windows will appear - a “save as” window and a “jpeg/gif save options” window.
It is important that you UNDERSTAND this next step!
In the save window and at the bottom – make sure “show options dialog” is checked. Doing so will show a dialog box on the right hand side. In that dialog box on the right hand side – you will see a sliding scale of 0 to 100%.
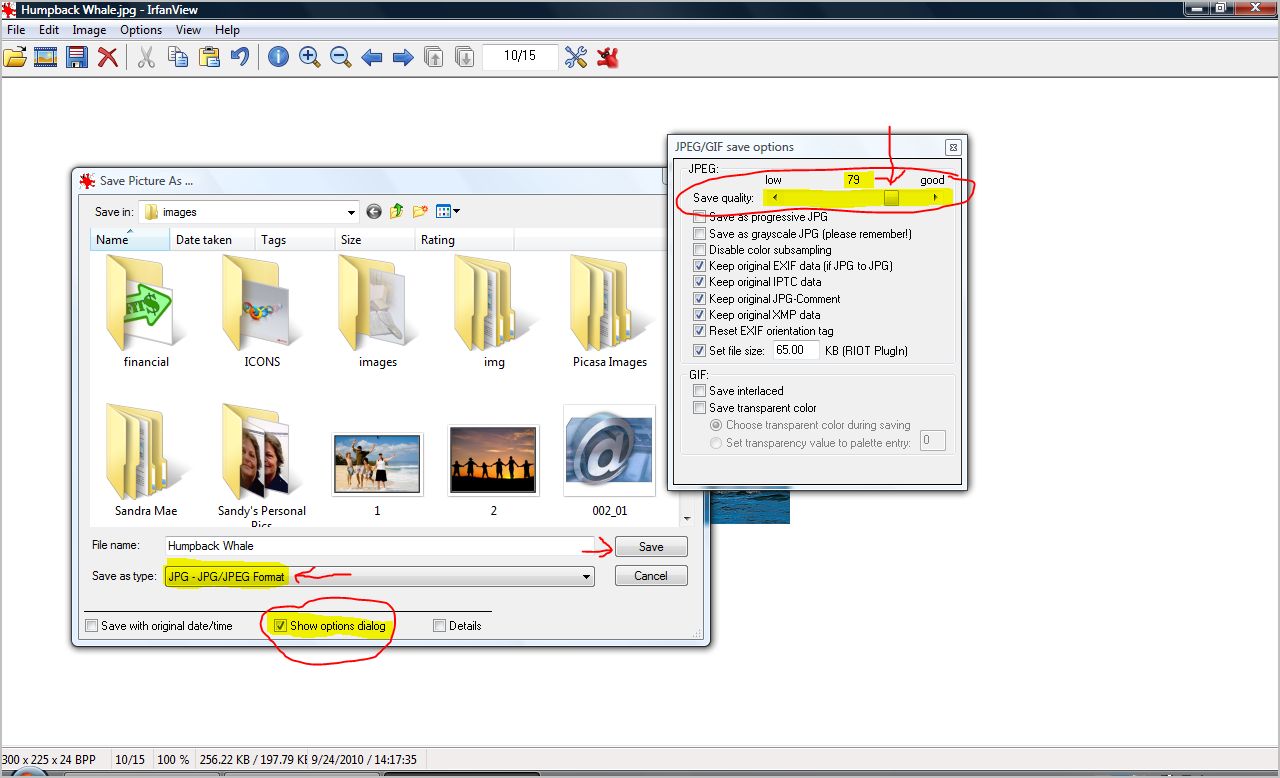
You want to put this sliding scale to your own preference. For the sake of learning here – I put the slider at about 80%. You will have to experiment with this.
What does this slider do for your images?
Well – the smaller the percentage – the smaller the file size. Always start at 100% and go from there to make adjustments.
Remember me telling you that your file size needs to be less than 100KB?
Experiment with it and don’t worry – you can’t break anything. Practice this for a while and you will get the hang of it. Once you get your image to the size you want – click on “save” and save it to your desktop for now.
Make sure the file type is set as a .jpg or .gif.
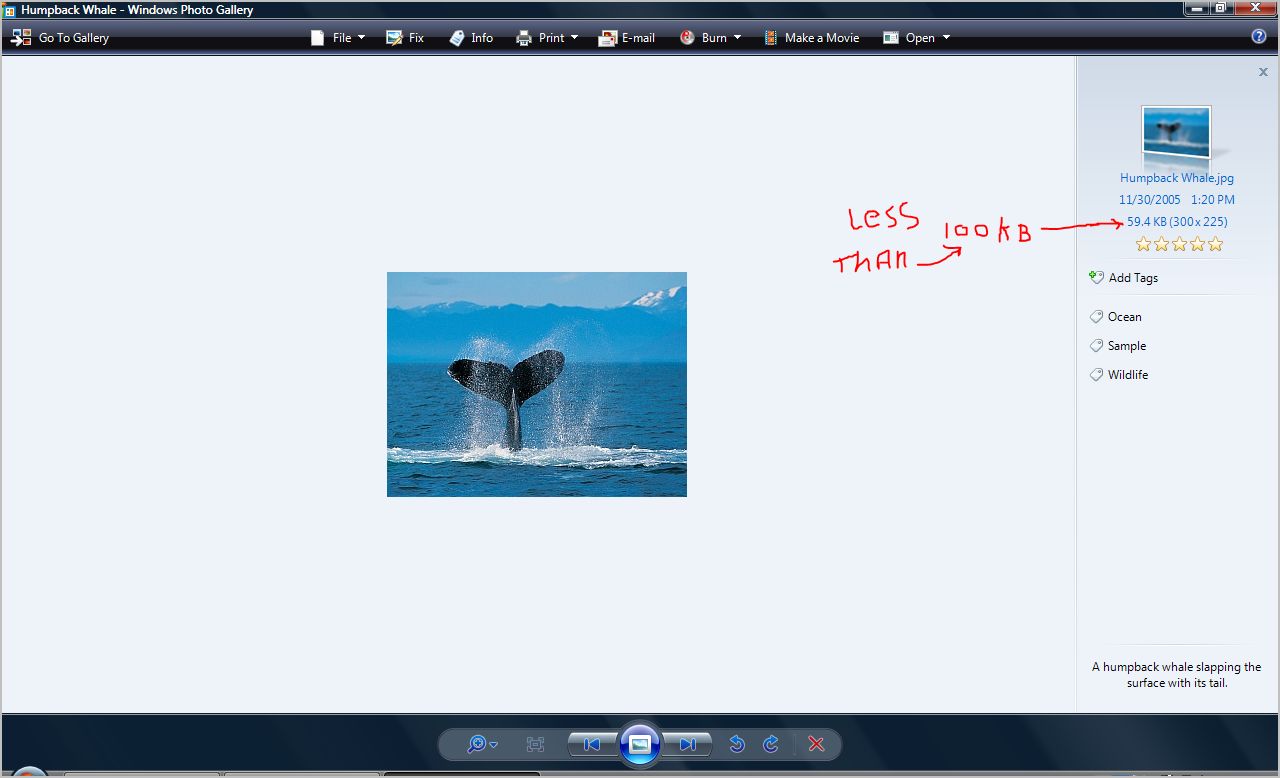
You then want to go to your desktop and check the new image file size.
Anything less than 100KB is good. Double click on the image and look to see how it looks.
If you think you need to resize it again – just repeat the process of resizing your image in Irfanview. Like I’ve mentioned before – experiment with your images.
Practice, practice, practice!!