Adding Plugins To Your Amz Cash King
We are now going to add what are called plugins, which make some things automated for your website, and also some security plugins to help protect your website from hackers. This is very easy to do, so just follow the step by step instructions.
We are going to be adding about 7 plugins. Here is the list:
1. Bullet Proof Security – Secures your website against hackers
2. Log in Lockdown – Locks your site if anyone tries to log into it
3. Google XML Sitemap – A Sitemap so Google can see all the pages of your site.
4. Fast Secure Contact form – A way to add a custom contact for your “Contact Us” page
5. All in One SEO – Helps make your site rank in the search engines 6. Pretty Links Lite – Shortens very long links and makes them pretty
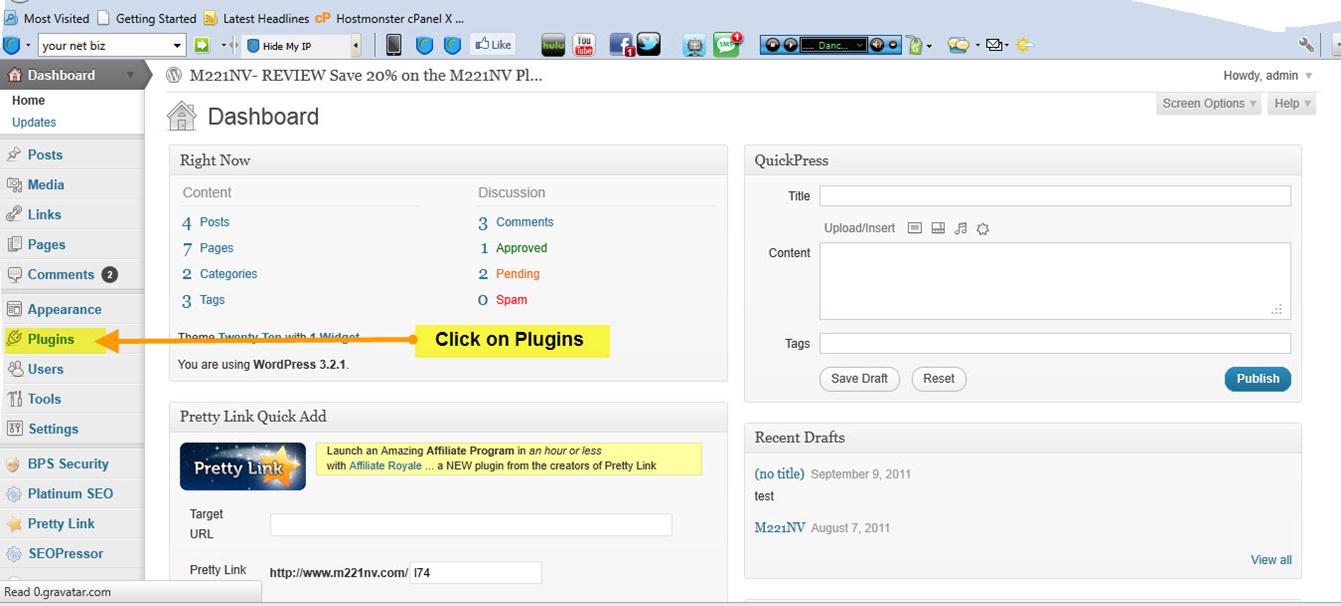
First step is to click on “Plugins” in the left menu bar (see below)
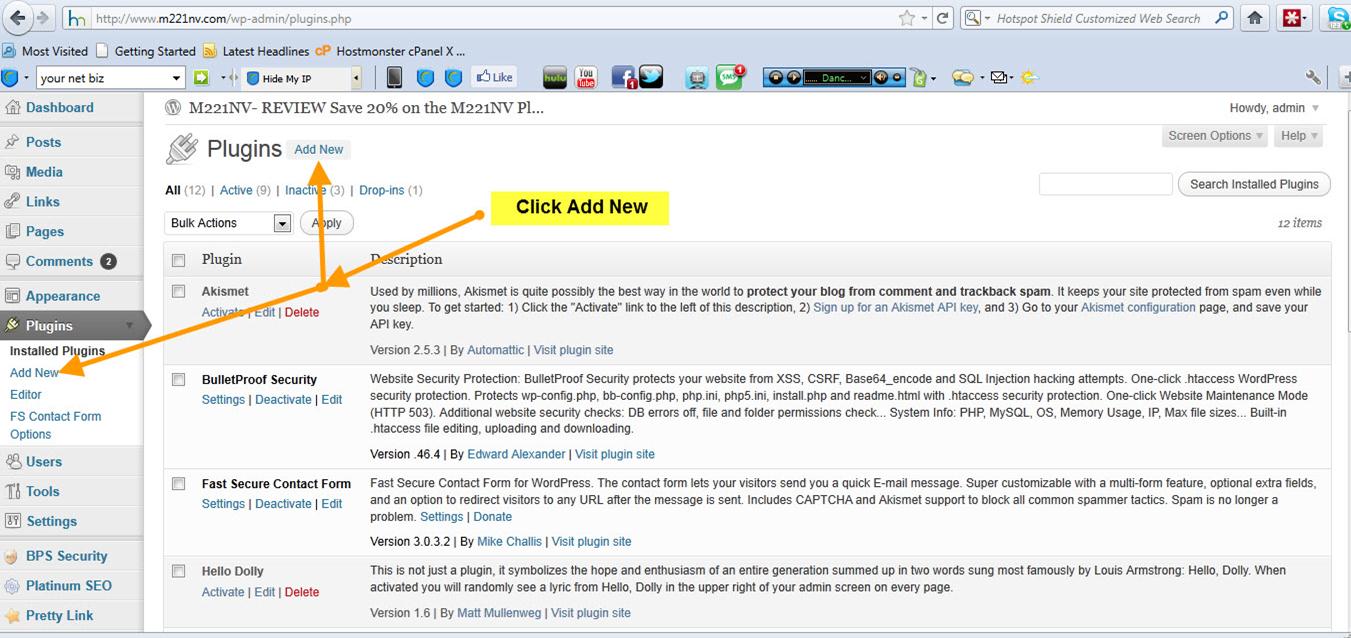
Then click on “Add New”
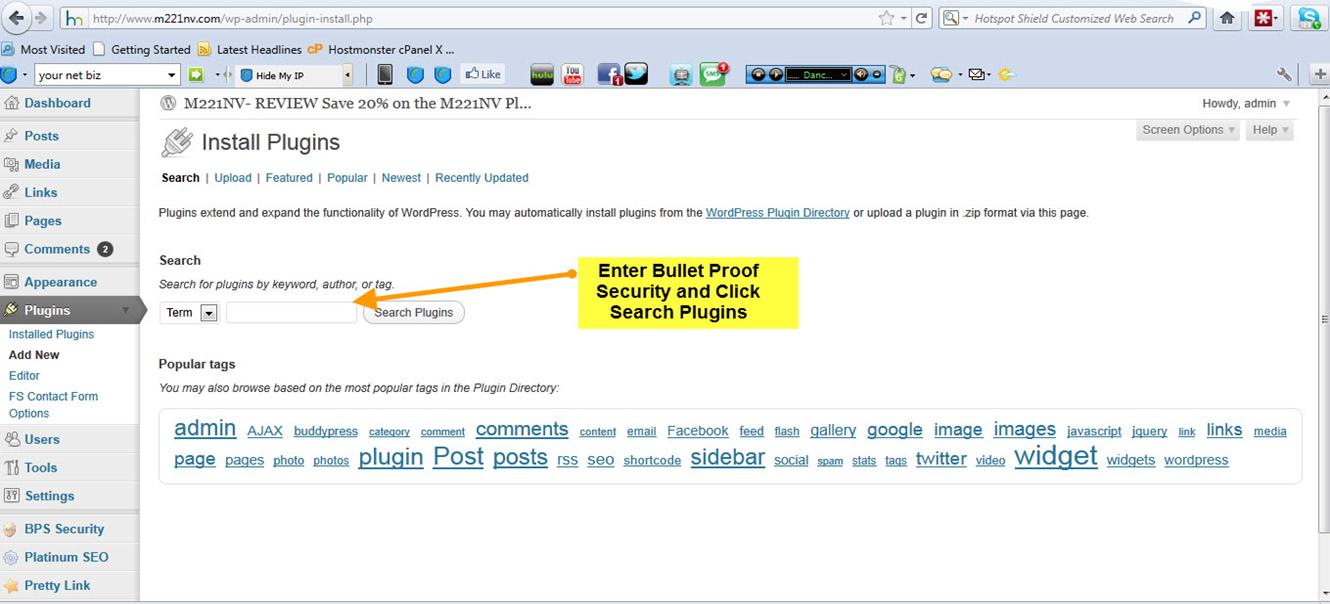
First on the list of plugins is BulletProof Security so we are going to do a search for that. Ensure you search for it exactly like this:
BulletProof Security
Notice “BulletProof” is one word, no space.
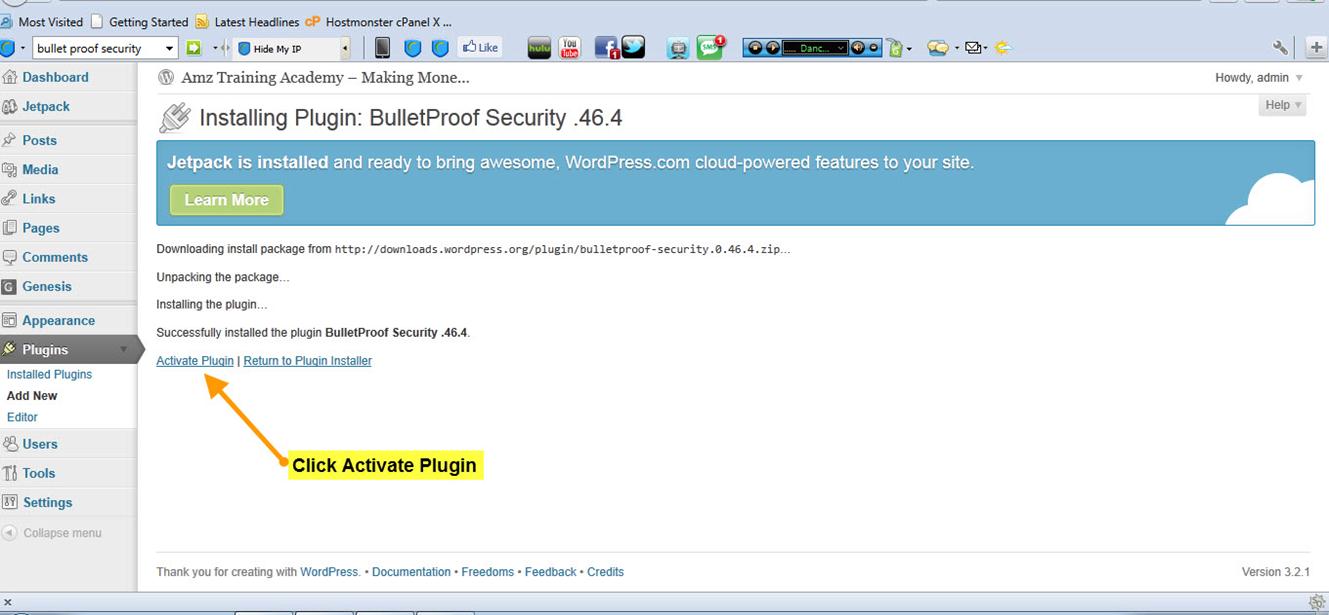
It will ask you if you are sure you want to install BulletProof Security. Click “YES” then click on “Activate plugin”.
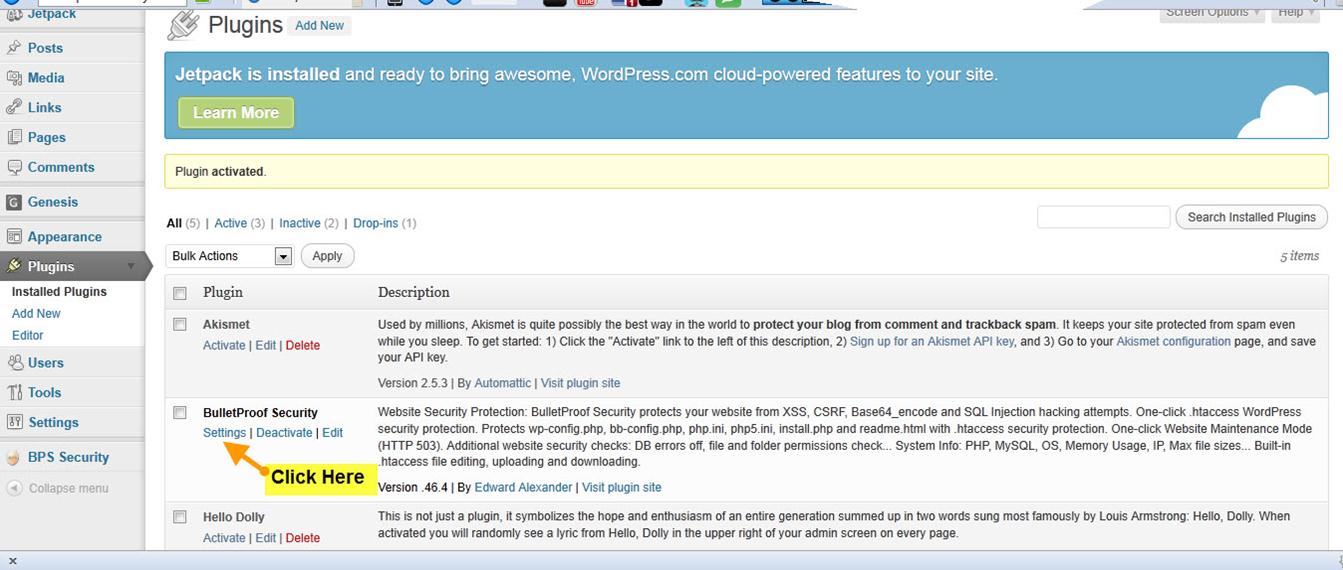
Then on the next page click on “Settings”.
Now you have to activate each one of the BulletProof sections
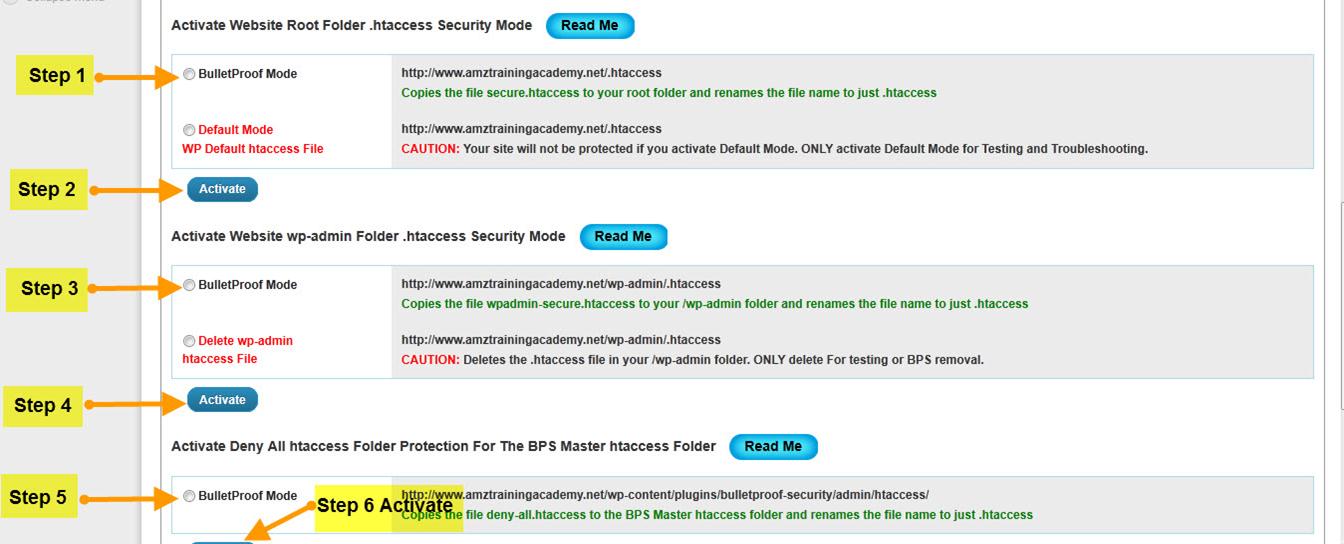
Don't worry if you don't understand why. Just do it and your blog will be protected from 99% of hackers.
We will now install the second plugin on the list which is another security plugin. This one will block and lock your site should anyone try to access your site by guessing your password. It will lock the site if the password is entered 3 times incorrectly.
So again click on “Plugins”.

Then “Add New”.

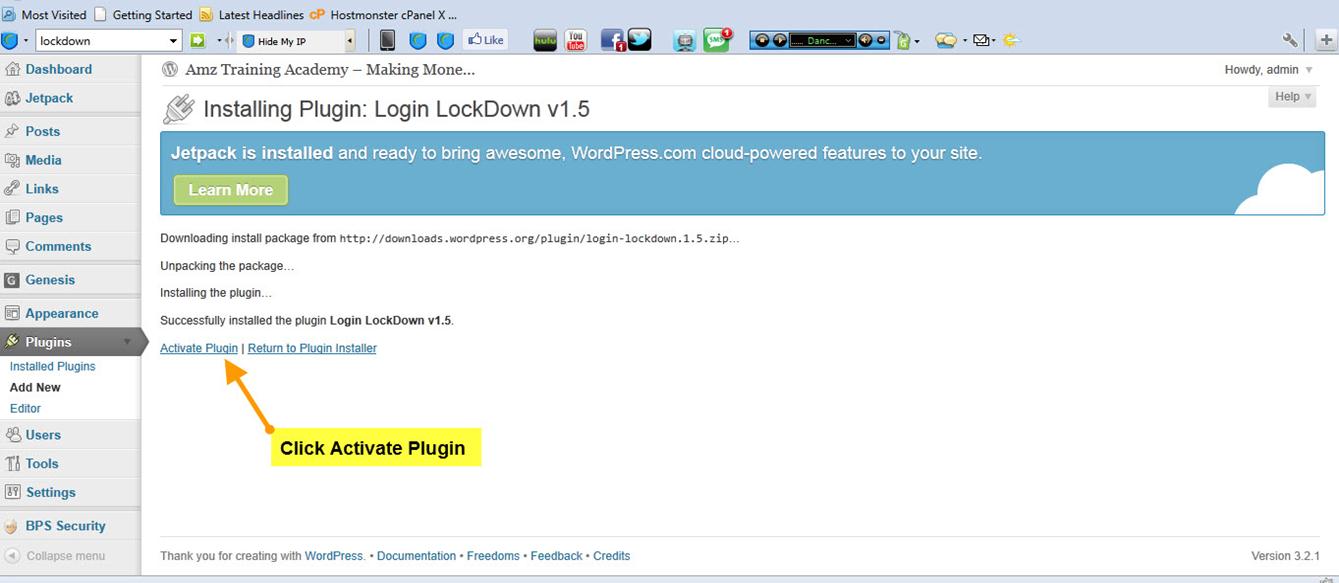
Then enter “Login LockDown” exactly as I have spelt it.
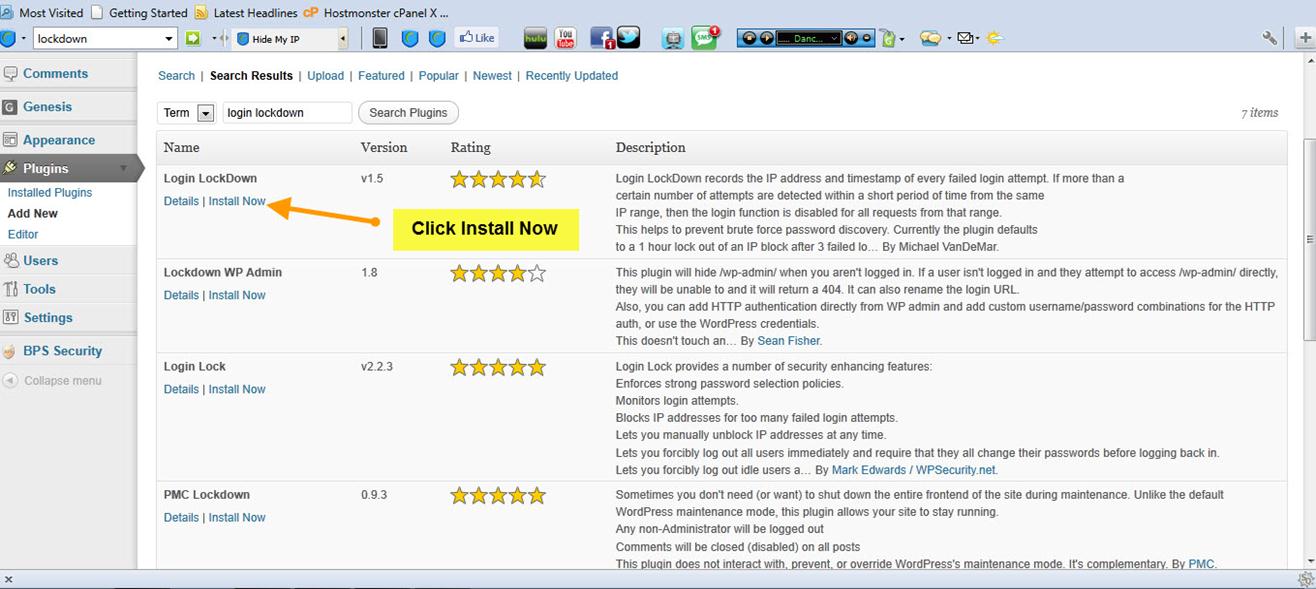
It will ask you to confirm if you wish to install this plugin. Click “Yes”, then click “Activate Plugin” and that is it for this plugin.
Now go ahead and add the remaining plugins in the list using the same steps as the previous instructions.
OK, well done! You now have all your plugins installed.
We just have one last task to complete for plugins and we can then move on.
We will set up the Contact Form and put it on your contact page so people can contact you. This is very easy to do.
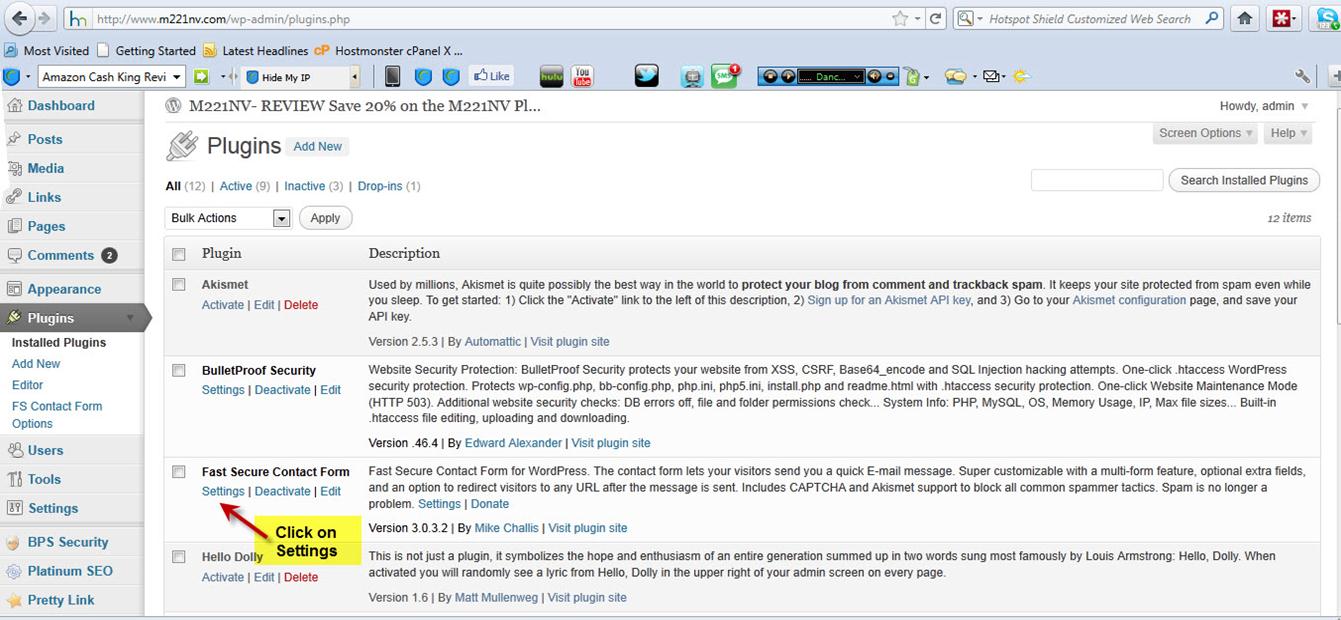
In your back end control panel click on “Plugins”.
Then find “Fast Secure Contact Form” from the list and click on “Settings”.
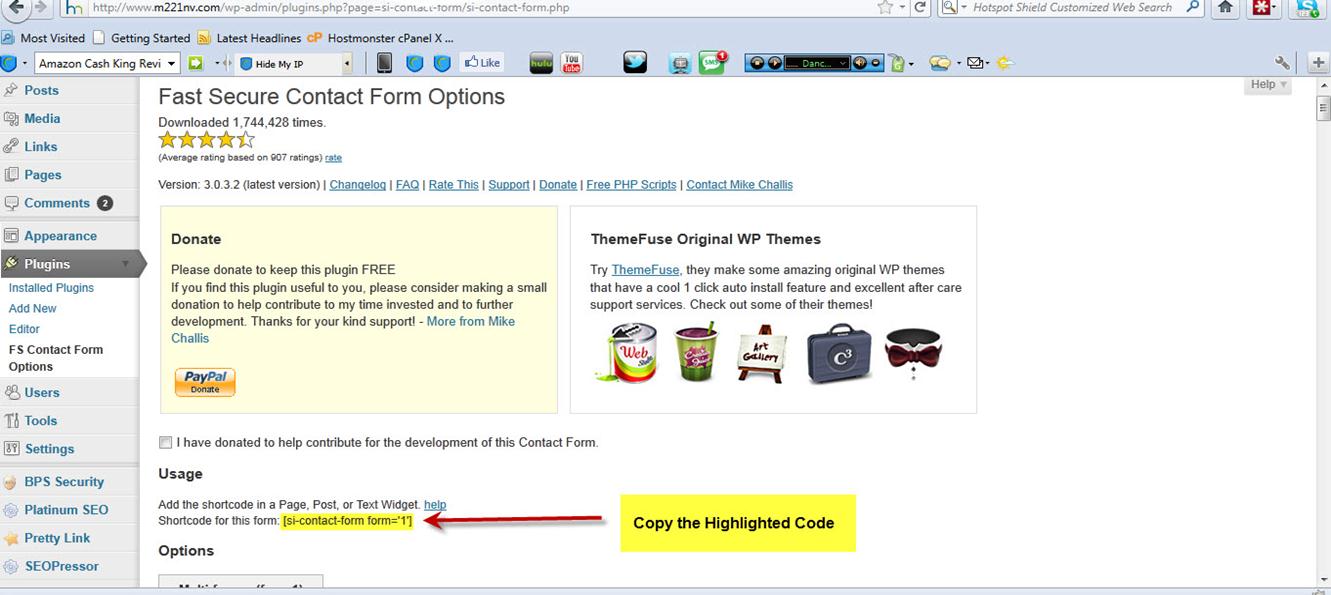
Then copy the code, which is highlighted in the above example, and we are going to paste that into the contact page.
To do this, go to “Pages”.
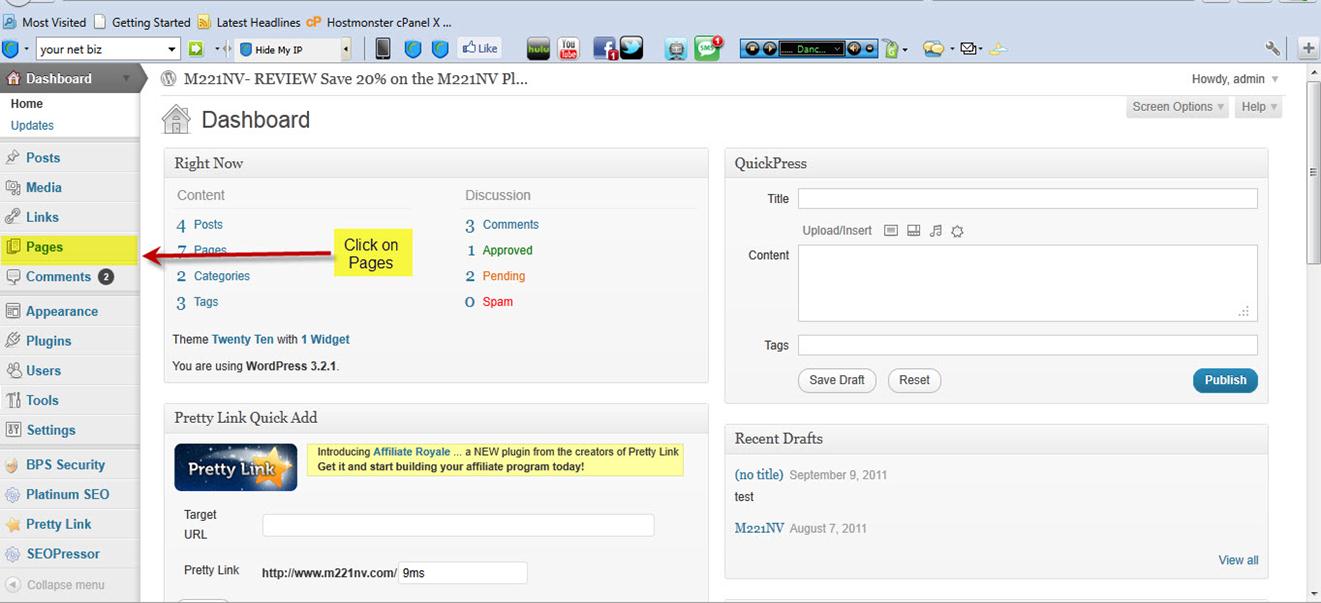
Click on your “Contact Us” page.
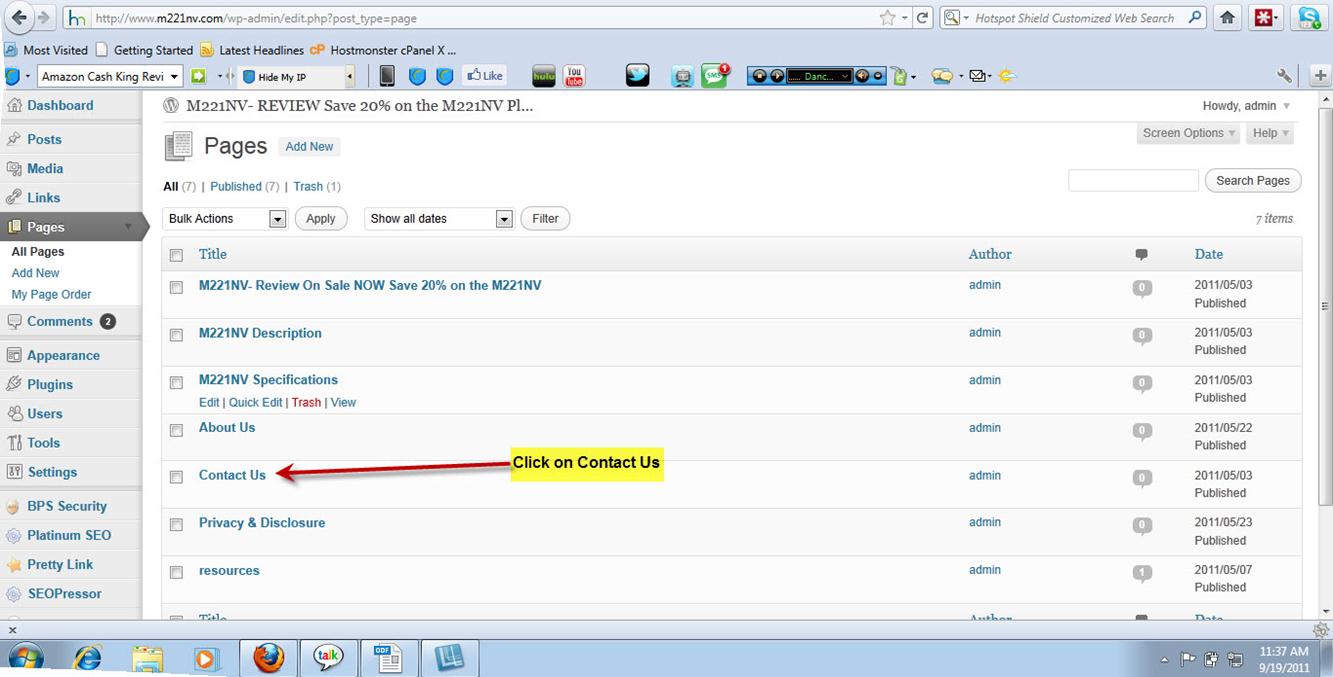
Then paste the code which is
[si-contact-form form='1']
into your contact page, just like in the below example.
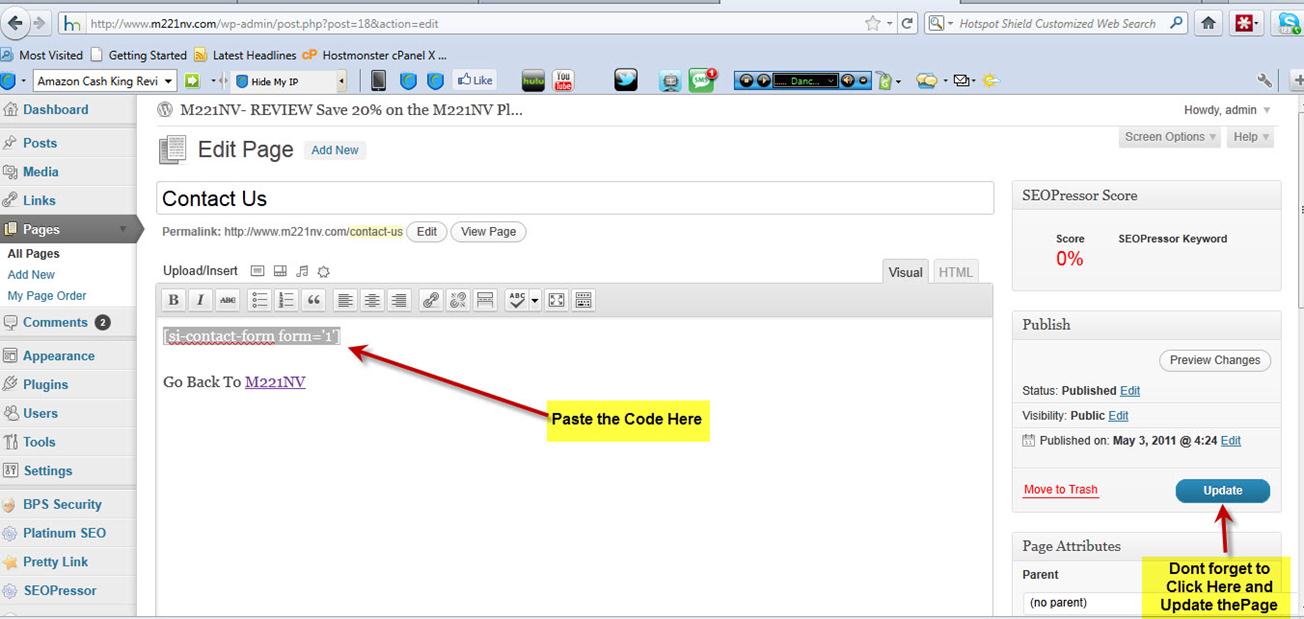
Then click “Update”.
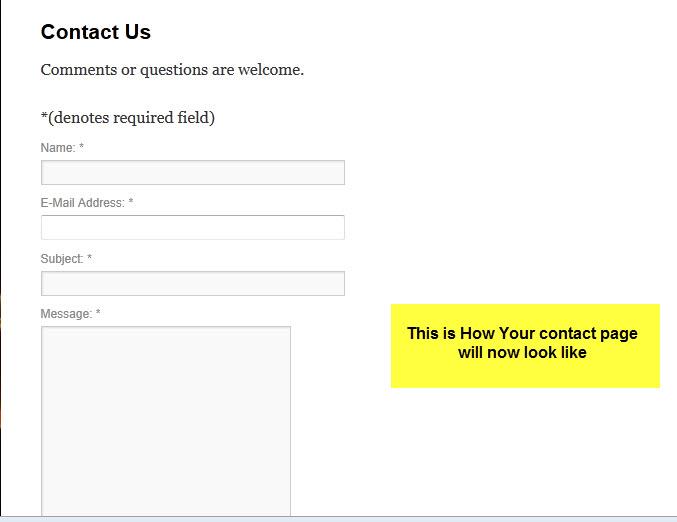
You will now have a form on your contact page which, when a visitor uses it to send you a message, will deliver an email to your email address which you specified in your hosting account.
Here is what the form will look like on your contact page: