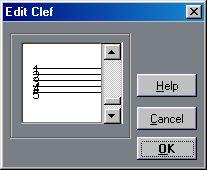
The Tablature clef.
2. Open Staff Settings and click the “Staff Options...” button.
3. Set the “System Lines” to as many strings as the instrument you are scoring for has.
4. Raise the Line Spacing value to 1 or 2.
You will need a little extra space between note lines to make room for the numbered note heads.
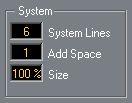 Suggested system line settings for guitar Tablature.
5. In Staff Options, activate “Tablature”.
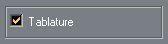 Tablature Mode activated.
6. Set up whatever other parameters you need in Staff Settings and the Staff Options dialog, and close them.
7. Select the Note Tool and move the pointer over the score.
8. Press the mouse button (without releasing it) and drag up and down until the note appears on the desired string with the correct fret number (you can also verify the actual pitch on the Status bar, as usual).
When you drag up and down, the program automatically selects the lowest possible string. If you want a fret number higher than 4 on a guitar tablature, for example, you have to use “Move To String”, see below.

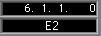 Setting the correct pitch. The Pitch box on the Status Bar can be used as an additional guide.
9. Release the mouse button.
Setting the correct pitch. The Pitch box on the Status Bar can be used as an additional guide.
9. Release the mouse button.The note appears.