There are two basic methods you can use to control continuous Event data:
• Create new Events with the Pencil or Line tool.
• Edit existing Events.
You can create new Events by using the Pencil or Line tool. Proceed as follows:
1. Select a MIDI or Mix Track (or Part).
2. Open the Controller Editor.
3. Select the desired data type by clicking in the Event list.
4. Use the Snap value to decide the “density” of the created Events.
From here there are basically three ways to go:
 If you want to enter a single Event, click once with the Pencil.
 To “paint a curve”, drag the Pencil (with the mouse button pressed).

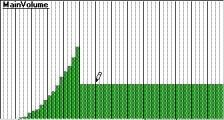
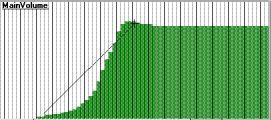
 To create a ramp, use the Line tool to “draw” the outline of the ramp.
6. Release the [Alt] key.
To create a ramp, use the Line tool to “draw” the outline of the ramp.
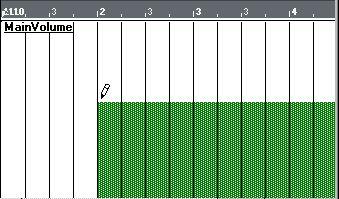
6. Release the [Alt] key. • To change one value with the Pencil, simply click on it:
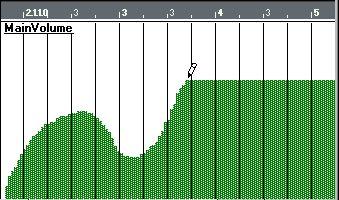
• To change a series of Events, drag over them with the pencil:
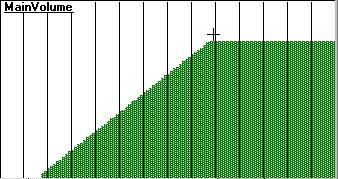
• To draw a ramp, use the Line tool:
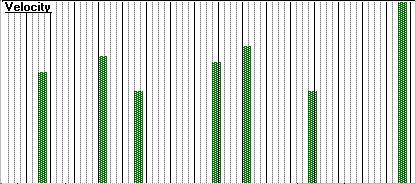
As mentioned in the introduction to this chapter, velocity values are not really Events of their own but rather properties of notes. That means that if there are no notes in the selected Track or Part, you won’t see any velocity values. Also, you cannot create velocity values (you have to record new notes, or enter them in another editor).
To edit velocity, proceed as follows:
1. Select a MIDI Track (or Part) containing notes.
2. Open the Controller Editor.
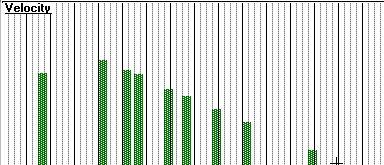
The velocity values are shown as bars, with higher bars representing higher velocity values.
 4. Select the Pencil tool.
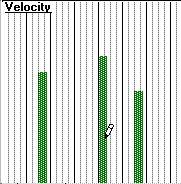
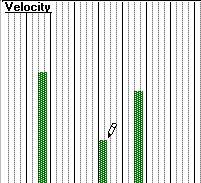
6. To change a series of values, drag over the bars.
Creating a velocity ramp
To create a ramp of values, for example a fade-in or fade out, proceed as follows:
1. Select the Line tool.
2. Position the pointer where you want the ramp to start and press the mouse button.
3. Draw the outline of the ramp with the mouse button pressed.
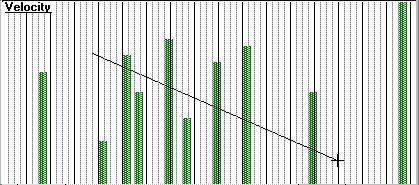
 When you release the mouse button, the velocity values are changed.
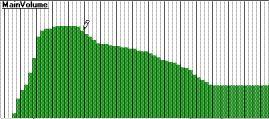
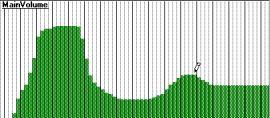
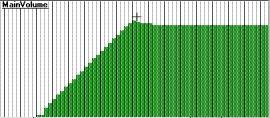
If you select Volume (or MainVolume for MIDI Tracks) from the Event Type List, you can see a vertical slider to the left of the Controller Editor window. This allows you to “scale” Volume curves up or down, whilst retaining the proportional differences in values. This is useful if you don’t want to redraw the whole curve, but simply want to raise or lower the overall level. If you try to scale out of range, a message will appear telling you so.
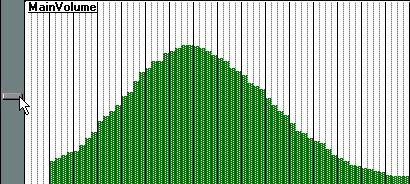 The Scale Slider.
These Events include all Controllers, Pitch Bend, Sustain-pedal etc. There is one very important thing to observe about non-note Events. If you for example put in one single MIDI Modulation wheel Event with a value of 63, this will be displayed like this:
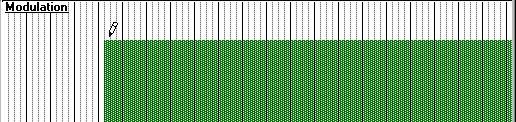
The figure above might look like an “infinite” series of modulation Events all with the value 63, but it is not, it is only one. It is a graph of instantly moving the modulation wheel to position 63 and leaving it there.
It is important to remember that drawing Controllers or inputting them in any other way, makes them stay at the last set value for an infinite amount of time (or until you change it the next time). Sustain pedal (damper) for instance, will vary between 0 and 127 every time you press or release the pedal, but stay at the last value as long as you don't move your foot on or off it. Draw in one “foot down” Event, and the notes will sustain until a “foot up” Event appears.