Cubase VST has a very flexible signal routing system. Below, each “stage” in the signal path is described briefly:
• Each Audio Channel is represented by a “channel strip” in the VST Channel Mixer.
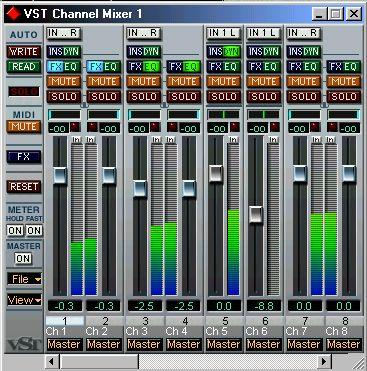 This is where you make settings for individual channels (Audio, Group, VST Instrument and ReWire), such as volume, pan, equalization and effects.
 • In the VST Channel Mixer, you can route each channel either to a stereo Output Bus or to a stereo Group.
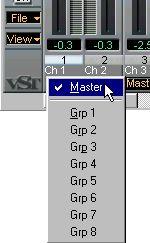
If you are using audio hardware with one stereo output only, there will only be one Output Bus, called the Master Bus. However, there are always eight Groups available, regardless of the number of physical outputs on your audio hardware.
• The eight stereo Groups have channel strips similar to audio channels in the VST Channel Mixer.
By routing several audio channels to the same Group, you can control them with a single set of controls and add the same EQ or effects to all of them. By default, Group channels are shown by scrolling the window to the right, where they appear to the right of the audio channel strips in the VST Channel Mixer.
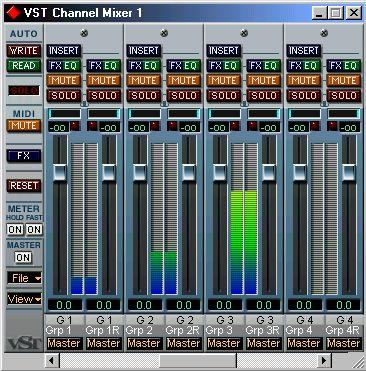 The output of each Group can either be routed to an Output Bus, or to another successive Group, for further submixing or processing.
 • Note that you can freely configure the Channel Mixer windows “1” and “2” with any combination of channel types.
Note also that these are not separate mixers, but two separate window “Views” of the same Channel Mixer. Configuring Mixer Views is described on page 468.
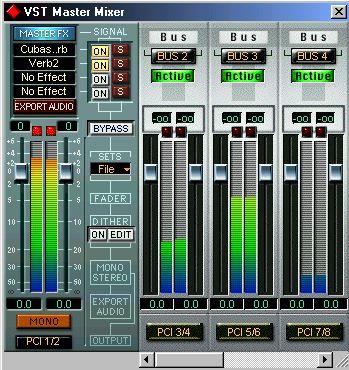
Each Output Bus is connected to a physical output on the audio hardware. Again, if you’re using audio hardware with one stereo output only, the VST Master Mixer will only contain the Master Bus, which will be connected to this stereo output.
• By clicking the Master “On” button on the leftmost panel in the VST Channel Mixer, the Master Bus appears on the right side of the visible Channel Mixer window. Only the Master Bus is shown here, not the separate Output Buses.
• Each audio channel or Group can have up to four Insert Effects.

These are individual for each channel or Group, with no routing options. The audio signal will always pass through the Insert Effects (from top to bottom) and back to the audio channel or Group it came from.
• Each audio channel or Group has eight effect sends.For each send there are the following routing options:
• Any of the eight Send Effects.
• A Group (or rather, the left or right side of the Group,
since the sends are mono).
• An Output Bus (or rather, the left or right side of an Out
fect processors, as you would on a physical mixer.
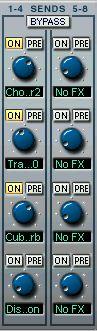
• You can have up to eight Send Effects.
The output of each Send Effect can be routed to any of the available Output Buses.
• The Master Effects are stereo insert effects for the Master Bus.
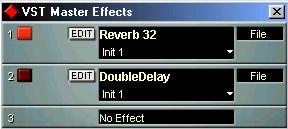 You can have up to four different Master Effects.