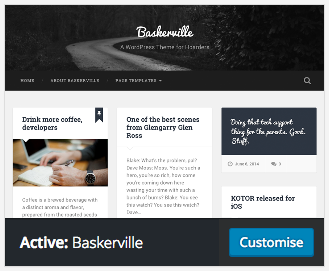
For our blog, we will be using the Baskerville blog theme. This is one of the professional looking blogging themes, and offers a lot of functionality for a free theme. Head to the theme browser and install Baskerville.
Once installed, select to customize the theme from the theme dashboard. This will bring you to the live customizer. This allows you to edit elements of your websites appearance and see the changes instantly. The clever part is that you can see how your website will look on a range of devices, from standard PC screen to tablet and then to mobile. Simple click on the icons at the bottom left of the page to switch between the views.

The majority of WordPress themes are now mobile optimized, which means you don’t have to carry out any extra work in order for visitors to view your website with full functionality on their mobile devices.
Site Identity
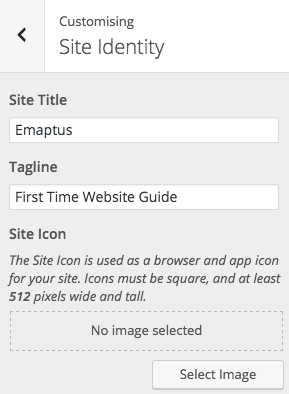
This is where you will enter your website name, as well as a tagline that could be your slogan or the purpose of your website; this is usually 4-6 words. Your site icon will be your favicon as mentioned earlier. You will want a square image of your logo or something to help identify your website, in either .PNG or .JPG format. Visit
http://www.favicon-generator.org/
Upload your image, select ‘Generate icons for Web, Android…’ and press ‘Create Favicon’. On the next page select ‘Download the generated favicon’. Extract the file by double clicking on the .zip file. Navigate to the extracted folder. Go back to your website and upload the favicon-96x96.png file in the Site Icon section.
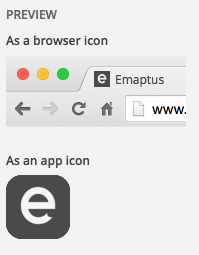
This preview should appear, select skip cropping and your website should refresh to now show your icon in your browser.
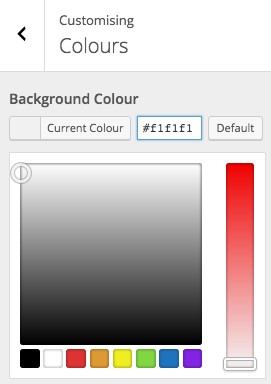
Colours
On this theme, this allows you to only change the background colour. Different themes offer different levels of customization. We will be keeping this at the default as it gives the website a professional look.
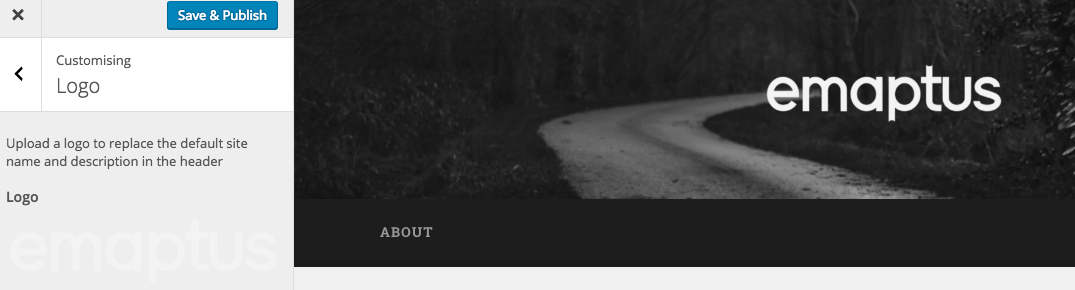
Logo
You can upload your logo here instead of the default Baskerville text, on this theme however on this theme you will not be able to display your tagline at the same time. You will want to make sure your logo has a transparent background, this can be done on GIMP and Photoshop by deleting the lowest default background layer, but should come as standard if you purchased your logo.
Header Image
You can change the image behind your logo text, we will leave this as default for now but if you want to change it, you can download a variety of free WordPress headers from
http://www.freewordpressheaders.com/
http://www.freewebheaders.com/
Background image
If you would prefer a background overlay instead of a base colour, you can upload a high quality image here.
Menus
You can build the menus for your website here. WordPress makes it very easy to control your menus, submenus and links. The menu location section is where you can choose where to place menus in each theme. Some themes have multiple locations such as header menus at the top of the page, footer menus at the bottom, and social menus with links to different social media platforms.
Add a menu, choose a name and press create menu.
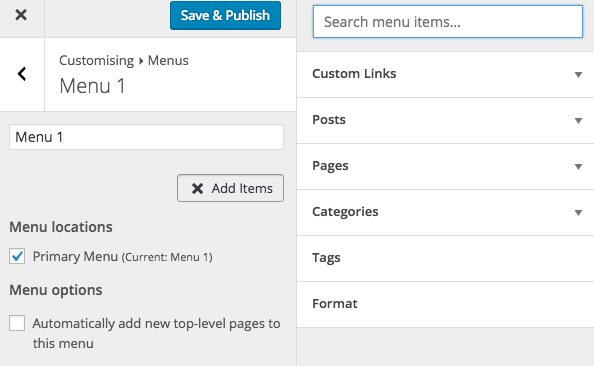
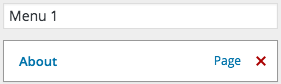
You can add menu links to a number or locations, either to posts or pages you have created or to categories of posts, custom links or tags. For now we will just add a link to our default ‘About’ page. As we create more content, we will return to this section to add additional items to our menu.
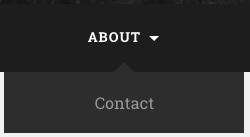
To add a dropdown menu, drag a menu item under another and slightly to the right
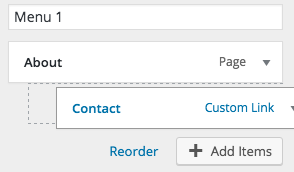
The result will look something like this
Widgets
Widgets are the foundations to much of the extra functionality on a typical WordPress website. By default, there are a number of widgets already added to this website, such as a fully functioning search bar, category lists and recent posts. Many plugins come with their own widgets and different themes have different locations for widgets. The most common locations for widgets are in the footer and in the sidebar, if your theme supports one. In our case, we only have the footer to place widgets.
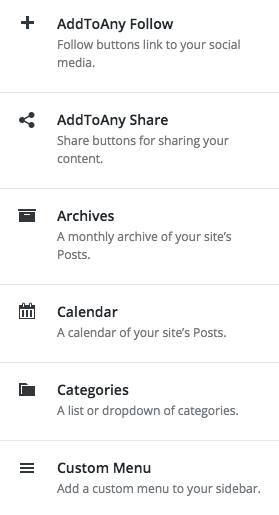
To add a widget, press ‘Add a widget’ and select your preferred widget from the list. Then press the dropdown arrow to edit any settings for this widget. Other widgets may have extra settings that can be accessed from the WordPress dashboard. We will be installing a variety of widgets later on.