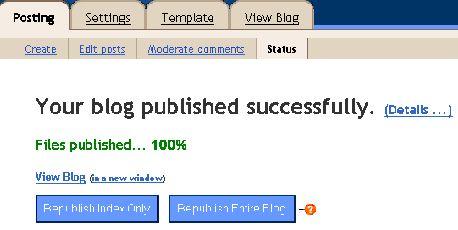
By now you should be at a screen similar to this one, if you've been following the steps properly. If not, you should at least have the menu items "Posting - Settings - Template - View Blog".
At this point in the game, it's time to configure some of your settings. Clicking on the "Settings" tab now
 And then click on the sub menu "Publishing" tab to finally end up here...
Settings > Publishing

The option you will want to change here is the "Notify Weblogs.com". By default it is set to NO. You will want to set this to YES and then save the settings.
This option will allow Blogger to notify weblogs.com whenever you make a change or an updated entry to your blog.
This will allow the blog
community to recognize the fact that your blog has been modified and may attract someone to visit your blog.
That's it.. At this point, you've created your own blog and modified the settings to update weblogs.com whenever you update your blog. Click on the "View Blog" to preview your blog. It's important for you to remember your blogs address. Upon viewing your blog the address to your blog should be in your address line within your browser, and should be something like this http://your-blog-address.blogspot.com Please remember it. :) You will need it for the next step, for it is your website address.
Your blog will have the look and feel of whatever default template you selected during setup. Don't worry about the template yet, we'll hook you up with a more attractive template designed to generate revenue shortly. Right now, we need to take care of some more business.