Part 6
Creating Your First Website

Are you excited yet…!? Bet you never thought you would get to this point of the eBook, eh…!?
You should be pretty psyched by now!!
So by this time – you should have decided on what your niche and super niche are going to be. If not – that’s okay.
However –
You WILL NEED to make your decision BEFORE doing this next new skill.
Let’s just recap here before we really get started.
![]() We researched and found a profitable niche
We researched and found a profitable niche
![]() We bought a domain name
We bought a domain name
![]() We bought a hosting account and changed our nameservers at our registrar
We bought a hosting account and changed our nameservers at our registrar
![]() We created an image folder and found some images that are relevant to our niche
We created an image folder and found some images that are relevant to our niche
![]() And - we created a project folder so we can place all our images and files in that folder so they will be easy to find.
And - we created a project folder so we can place all our images and files in that folder so they will be easy to find.
If you haven’t done any of these steps - do them now before continuing.
Once you have completed them – you will be ready to learn the next new skill of creating a website.
Remember – you want to know and UNDERSTAND each and every step as though it is a second nature for you to do before continuing to the next step.
If you are confident and understand each step up to now then – we can continue.
HTML Files and Your First Web Page
Did you know that you can design your web page on your computer at home? To do so however – you will need to use a web editor called Kompozer.
All web pages are HTML files.
We are going to use an HTML editor to create web pages and that involves learning more new skills!
But before we learn this new skill – you need to download it to your desktop. Don’t worry here – this won’t cost you anything because it’s FREE!
FREE is always good right?!! 
We will download the HTML editor known as Kompozer.
Go to Google search and type in the word Kompozer and hit enter on your keyboard.
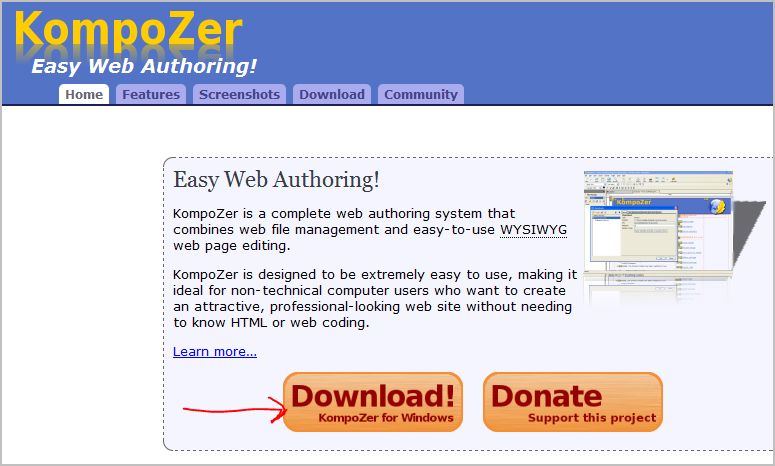
Click on the first link on the results page and you will be taken to where the download is.
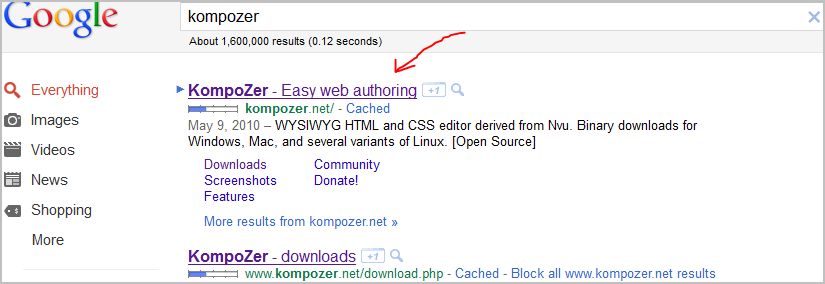
Click on “download” and save it to your desktop.
Okay – are you ready for this…!?
Then let’s begin…!
This is the “meat and potatoes” of your business. Open Kompozer and close the “tip of the day” box.

Now – what you want to do is click on “insert” at the top of the menu bar.
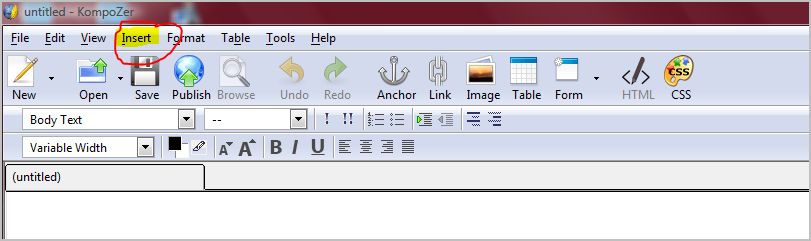
After clicking on “insert” – click on “table”. The “Insert Table” box will appear.
In this small window you will see a bunch of small boxes in it.
You want to make sure you only highlight one box.
When highlighting the boxes – you will see that they turn the color blue.
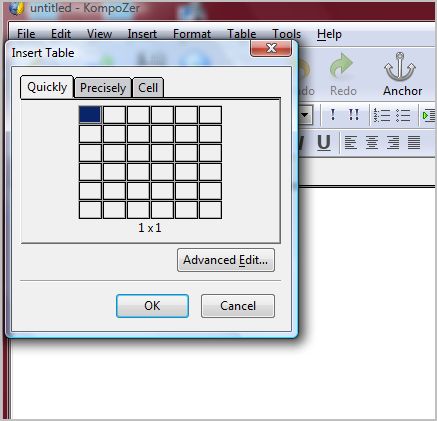
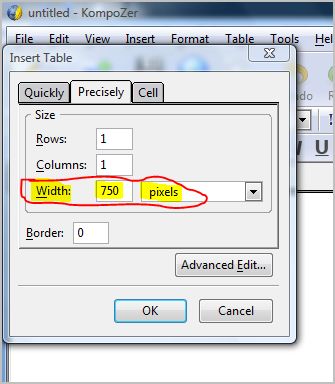
Once you have one box highlighted – click on the “precisely” tab.
Under this tab you will see the size, border and advanced edit.
Change the width value to 750 pixels.
A standard width size for this table - for a website - is about 750.
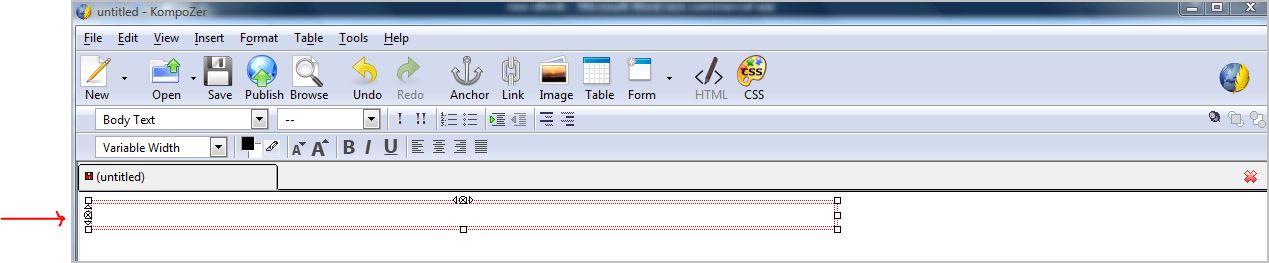
Ignore the other entries and click “ok”.
A table will now appear in your editor and will be to the left of the editor screen.
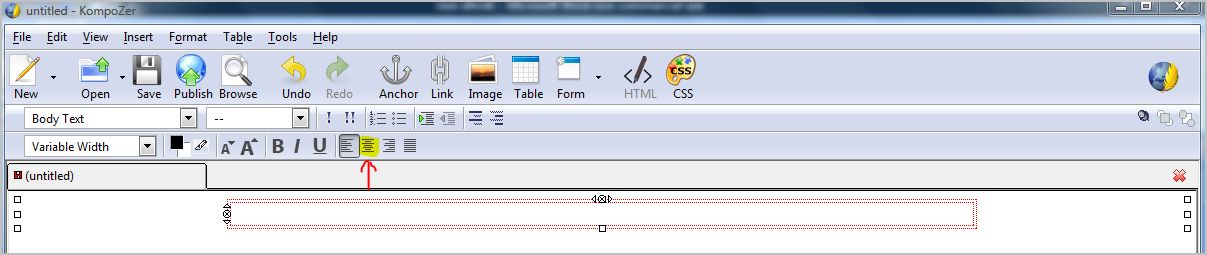
Click on the “center” icon at the top to center the table.
Just for the sake of learning here – if you have a header image – you can click inside the table and click on the “image” icon at the top.
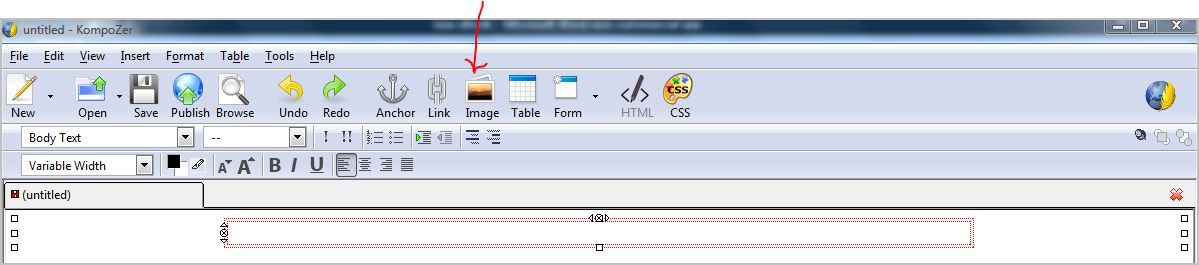
An “image properties” window will open.
Click on the little folder icon to the right – under “image location” and look in your image folder (it’s in your project folder – remember?).

Double click on the image that you want to use and make sure that “Don’t Use Alternate Text” is ticked.
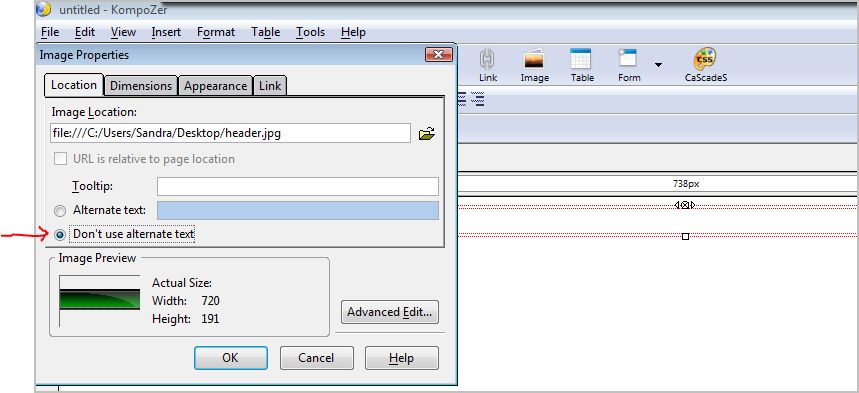
Then click “ok”. TahDaa!! You now have a header image on your web page.
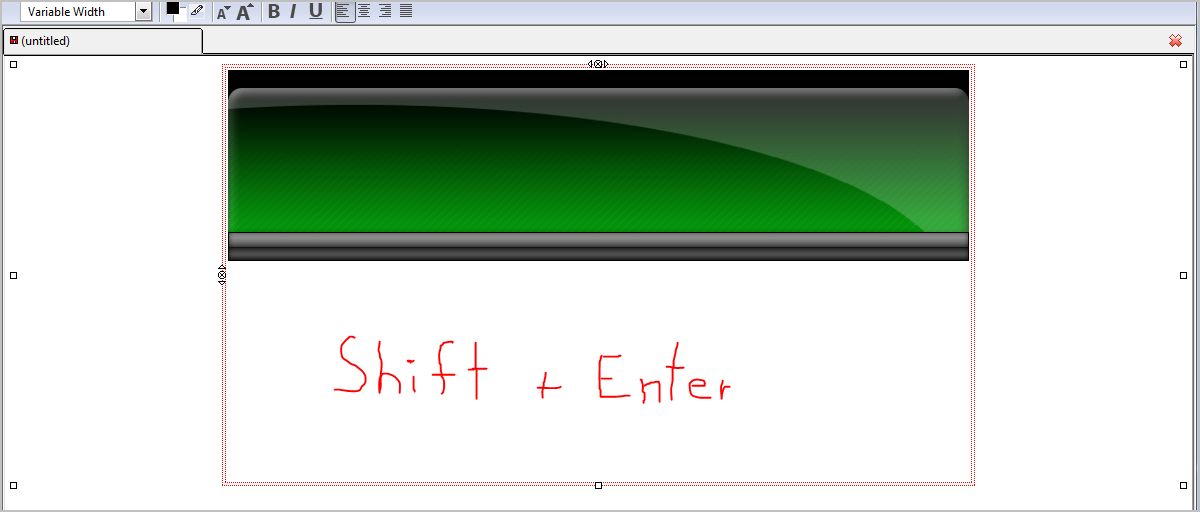
Next – hold the “shift” key down while hitting “enter” on your keyboard to expand the table so you have some space to work in.
Okay – so far so good…
Let’s save your work and rename your page.
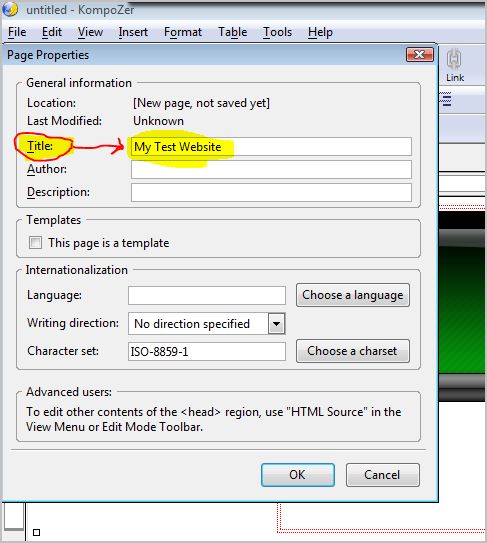
Click on “format” at the top of the page and select “Page Title and Properties”.

Give your website a title and click “ok”.
Now – if you want the page you are creating to appear when someone types in your domain name – you will have to save that file in your HTML editor as index.html.
For example: The page I want to appear when someone types in www.mytestwebsite.com – that page would have to be saved as index.html in your html editor.
The ending of your created page will automatically go to .html or .xhtml.
For example: If you create a web page named “mytestwebsite” – it will look like mytestwebsite.html.
When you create a homepage or when you create your very first page – you call it index.html.
Now – after you give your new web page a title – you can then save your page.
This is what you do…
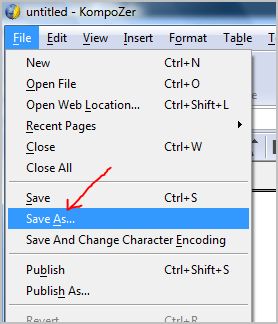
Click on “file” at the top of kompozer and select “save as”.
Next – the “save page as” window will appear. You will then need to fill in some information in the “save as” window.
In the “save as type” box – click on the drop down menu arrow and select “all files”.
In the “file name” box you type in index.html (all in lowercase letters) then click “save”.

Save your index.html file to your project folder.
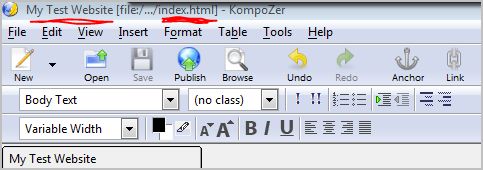
Now if you look at the top of your editor – you will see the title and file location of your web page.
In this example – it’s “My Test Website” and the file location is “index.html.
A note worth mentioning here – You want to eventually make the title of your site to something relevant to your web page.
For example:
If your site is about dog collars – then you will want to give it a title that pertains to dog collars – such as – best dog collars or studded dog collars or small dog collars – get the idea here?
Okay – let’s continue adding stuff to our web page. Let’s type something into our web page.
Hit the “space” bar twice to bring your text a bit away from the edge of the table. It makes it look a little neater and cleaner. Type something.

Let’s say you want to insert another image. Do you remember how to do this?
You insert your image the same way you inserted your header image.
If you don’t have a header image – you can go to Fiverr.com and have someone make one for you for 5 bucks.
For the sake of learning – let’s go and insert another image on the page we are working on in this eBook which already has a header image.
Back in Kompozer –
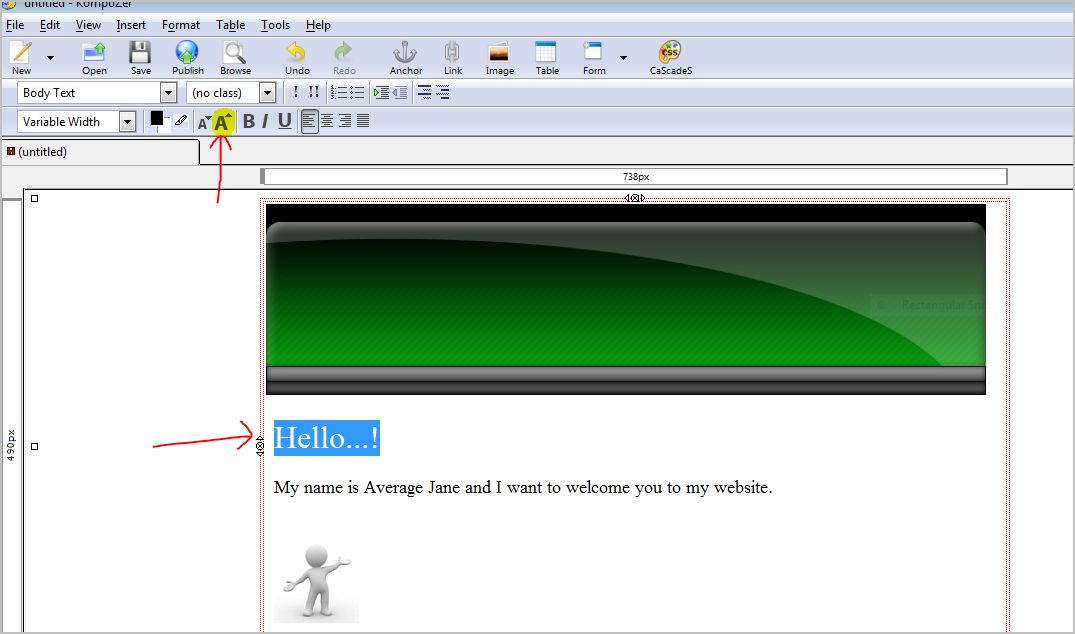
We have a green header image and some text typed on the page. Let’s insert another image. Click on the “image” icon at the top.
Click on the small folder icon and select an image from your project folder.
Make sure the “Don’t Use Alternate Text” is checked then click “ok”. Your web page will now have a little more substance to it.

If you want to make some text bigger – you can highlight the text you want to make bigger and click on the “larger font size” icon at the top.
You can also make the text “bold” by highlighting the text and clicking on the “bold” (B) icon next to the “larger font size” icon.
Experiment with all the functions you have in Kompozer and familiarize yourself with everything you can do with your web page.
You can center your text as well by clicking on the “align center” icon at the top.
You can insert bullets too. If you highlight a piece of text on the page you are creating – you can then click on the “bullets” icon at the top.
You can also change the color of your text by highlighting and then clicking on the “choose color for text” icon at the top.
You don’t have to worry about breaking anything.
If you make a mistake just hit the “undo” icon at the top.

Remember – save your work every time you add something to it.

One thing I really like about Kompozer is that you don’t have to be online in order to view what your web page will look like online.
It’s really cool to be able to view your work as you go along before actually publishing it to the web.
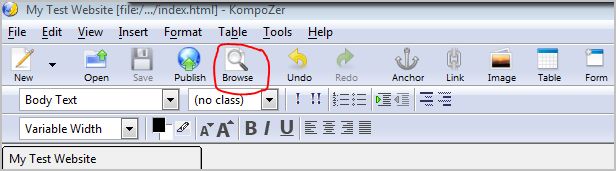
If you want to see what your web page will look like online – you can click on the “browse” icon at the top.
Let’s go do that now…
As you go along adding various things to your web page and after you save your work – you can click on the “browse” icon at the top to see what your web page actually looks like online.
Let’s look at what we have so far…notice in the URL address bar - the index.html?
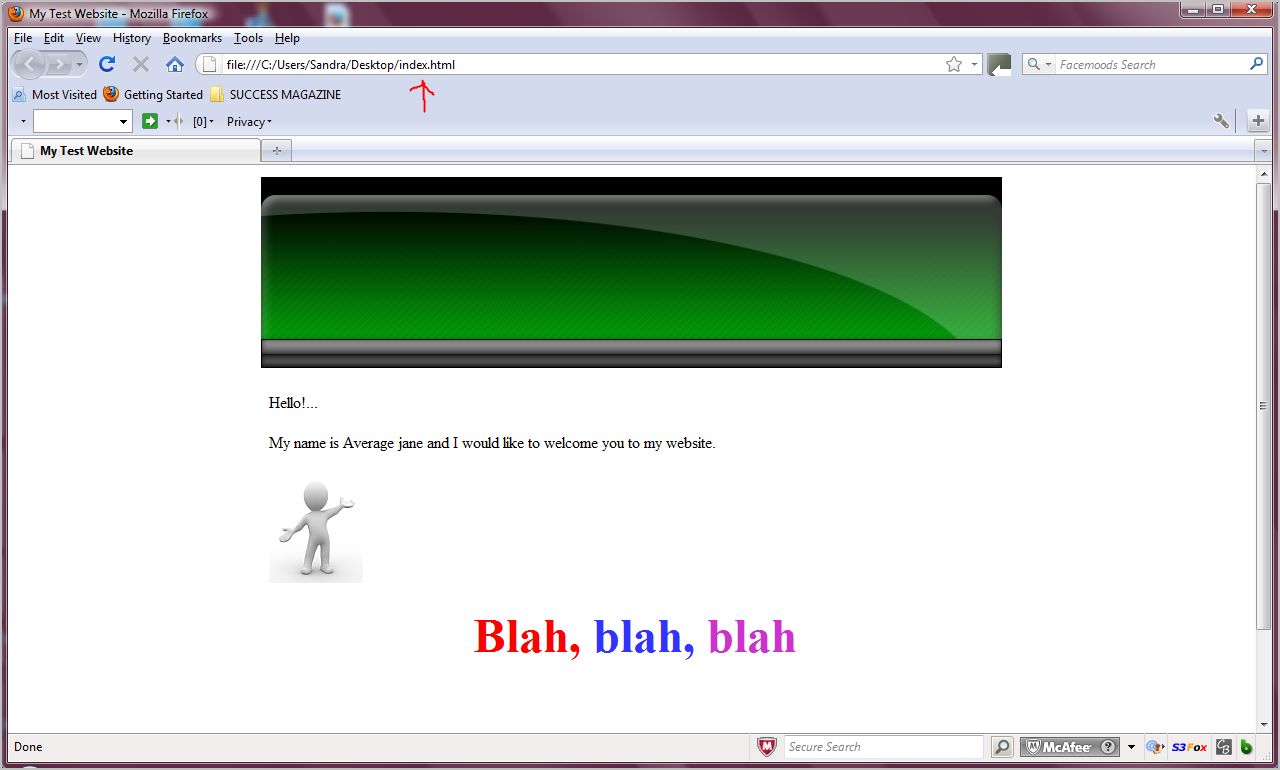
Pretty cool, huh? Now you know how to create a web page with your html editor!
What I would like you to do is practice, practice and practice more until you feel fully comfortable using this tool.
You will be using it often and what may take you hours to do when you first start out – after a time – you will be spitting out web pages within minutes.
Are you beginning to get excited yet!?
So now that you have learned a few skills here and understand them – you can implement them to get started in this exciting and fun business.
So hop to it and begin practicing. Practice until you feel fully comfortable and confident with what you are doing. Let it become second nature for you to create a web page.
Remember – you are not in a race. Every person has a different learning curve and I want you to know that if it takes you a week to learn one skill – that’s okay.
Take your time and don’t move forward until you are confident with understanding a particular skill.
It’s better to go through it all at your own pace – rather than struggle with keeping up with everyone else that may also be learning. If you rush through it then you will miss something and find yourself wondering what went wrong.
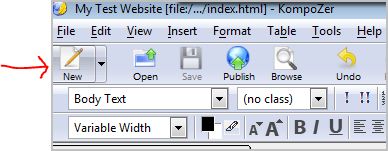
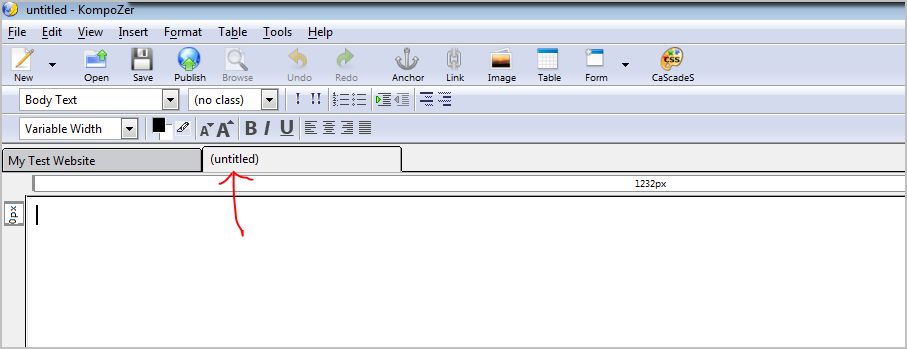
Now – if you want to create more than one page so you have a few pages on your website – you will click on the “new” icon at the top and a new blank page will appear under a new blank tab.
When you get through adding and inserting the type of information and images you want on your new page – you want to give your second page a title and save it as an index1.html.
Notice the number one (1) typed in after the word index?
Your third page would be saved as index2.html.
Your fourth would be index3.html and so on and so forth.
OR – if you want a page that contains information “about” your business then – you can save it as - about.html.
If you want to create a “thank you” page – then you will save it as – thankyou.html.
And – if you want to create a download page – you would save it as – download.html.
Get the idea?
It’s also important to make sure you link every page you create – to a web page that you already have created.
Once you feel that you have all the pages you need on your website – it’s time to learn how to link them all together.
Websites can have anywhere from 1 web page to hundreds of web pages within their sites.
It all depends on what it is you are marketing and what your web business is all about.
Linking the Pages All Together

In order to get all your pages linked together – you will need to use – what is called internal links.
An internal link simply links to another page within your website.
To do this – open Kompozer and open your index.html.
Locate the text on your index page that you want to use - to link within your website and highlight that text.
Click on the “link” icon at the top of your editor and a “link location” window will appear.
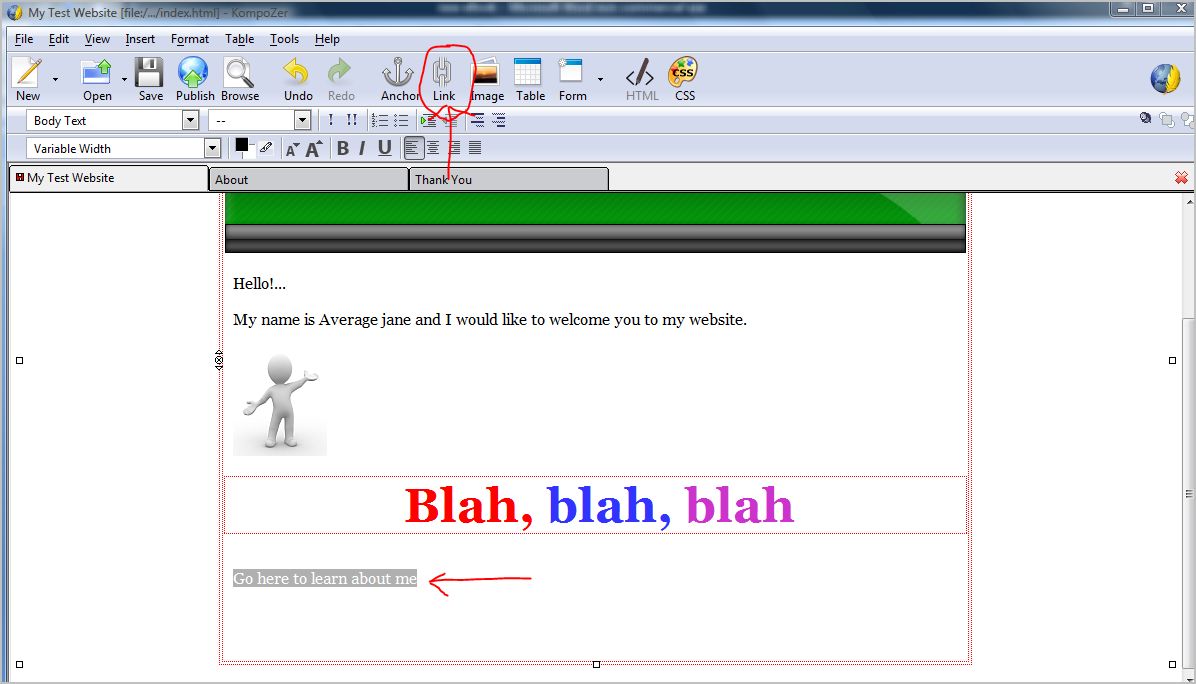
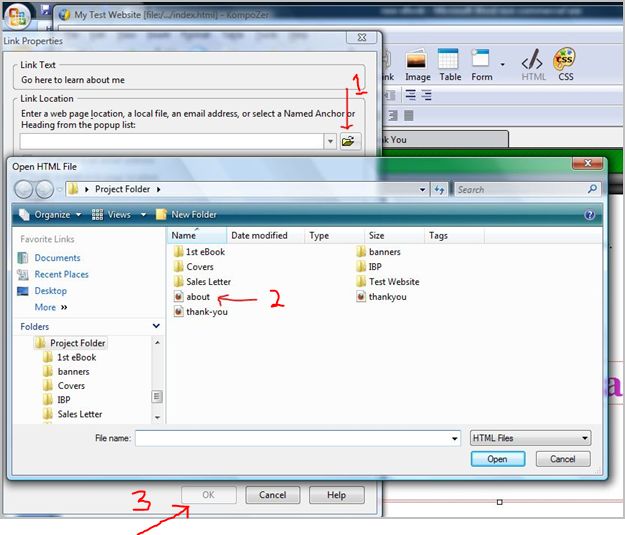
Click on the little folder icon (#1) and select the page (that is located in your project folder) you want to link to.
For example:
Let’s say you want to link to your “about” page. You want to double click “about” (#2) in your project folder then click “ok” (#3).
See the image below…
Save what you did – click the browse icon and click on the link to make sure it works properly.
You can then select the next set of text and do the same thing – only this time – let’s say you want to link your “thank you” page.
Simply highlight the text you want to link to your “thank you” page – select “thankyou.html” and then click “ok”.
Save your work and click on “browse”. Test by clicking on the link to make sure the link works and brings you to the “thank you” page.
Always test, test and test everything you do - to make sure it all works properly.
I just wanted to mention linking here being that I touched on creating more than one web page.
So – are you ready for some more…!?
That’s right…there’s still a bit more for you to learn.
I want to cover something here that many beginners get confused about.
What we are going to get into now is – Zip Folders.
Many beginners don’t realize that once they unzip a file – they can delete the zipped file they unzipped.
Let me explain below…