PART 7
Understanding Zipped Folders
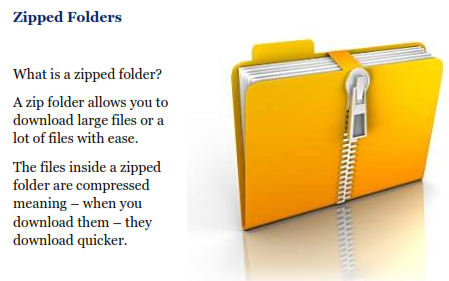
When clicking to download a file that is zipped – you save it to your desktop.
Once it’s on your desktop – here’s what you do…
Different computer operating systems differ slightly.
I use a laptop with Vista – so this process may be slightly different on your computer but the process is very similar.
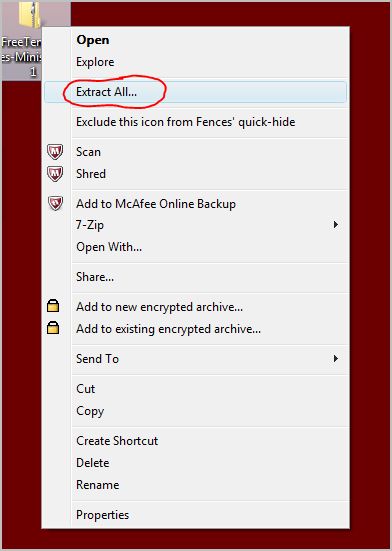
Right click on your zipped folder and a menu window appears. In the menu window – select “Extract All…”
This will open an “Extract Compressed (Zipped) Folders” window.
See the image below
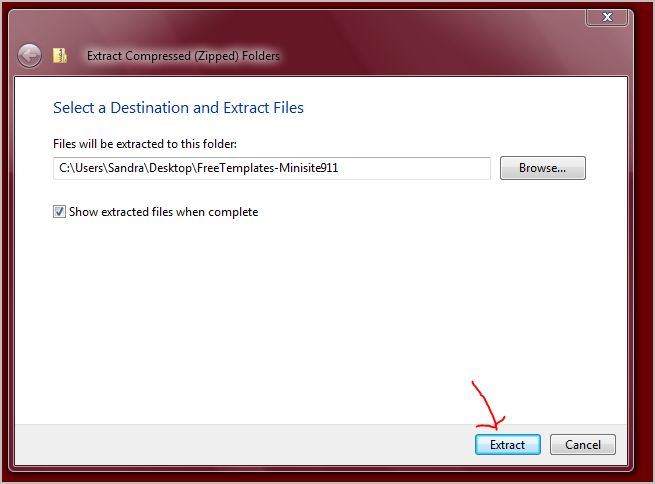
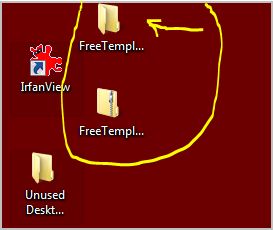
Click on the “extract” button and the folder will then “unzip” the zipped files and place the unzipped file on your desktop.
Once this step is completed – you can then delete the “zipped” file folder.
Zipping Files
To zip a file or to zip many files into a single folder – place all the files you want to have in a folder – in a newly created folder.
Rename the folder so you know what it pertains to.
In my example below – I named my new folder “My Project Test”.
Right click on your newly named folder and select “Send To”. You then click on the zipped folder icon that reads “Compressed (zipped) Folder”.
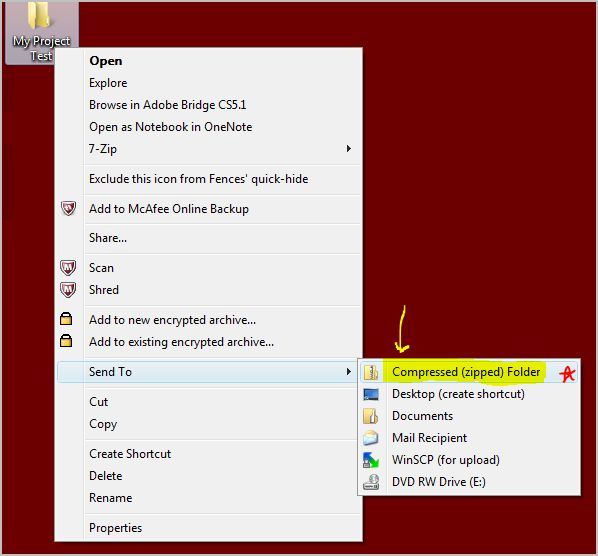
It will instantly zip your files into the folder and place it on your desktop.
That’s it!
WHEW…!!!
So much information!
How about taking a short break for right now to stretch our legs a bit?
Grab yourself a cup of coffee and I’ll see you back here in 10!
Sound good to you…?! Hmm – I thought so.


How you feeling? Are you doing okay? Staying focused?
Good…let’s continue.


