Pointing Your Name Servers to Your Hosting
You have now signed up for your hosting account and now we need to point your name servers to your hosting account.
Sounds difficult but it really is a very simple step and what it means is we have to tell our hosting company where our domain name is.
So, first step is:
1.) Go to NameCheap which is where you registered your domain name and sign into your account.
2.) You will now see your private area which will look something like this
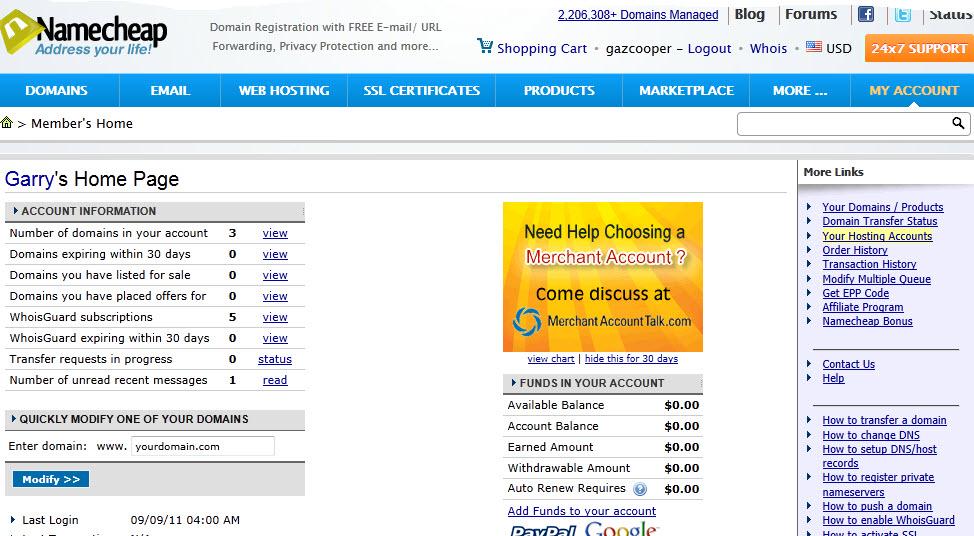
The next step is to click on the “Number of domains in your account”. I have highlighted the area in yellow in the picture below and added an arrow to point to exactly what you need to click on.
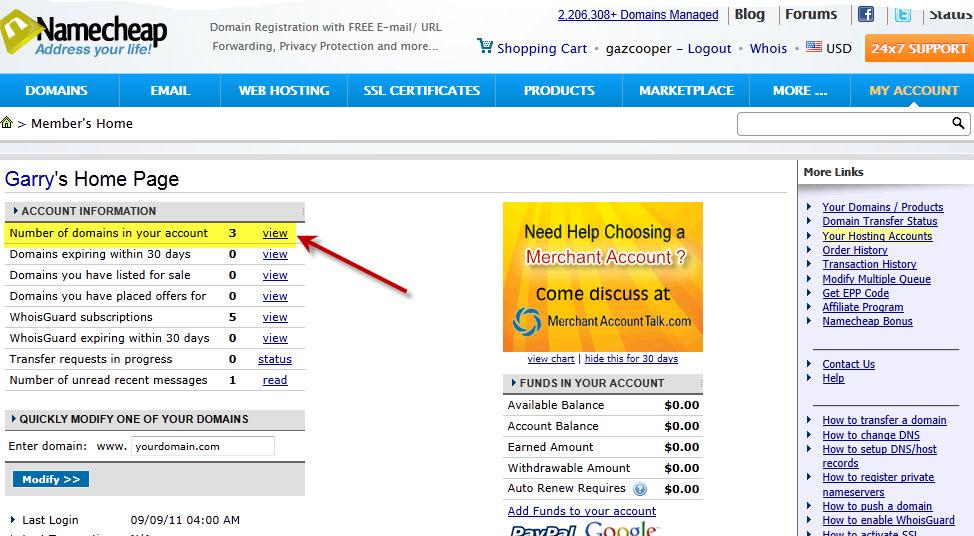
You will now be on the following page,
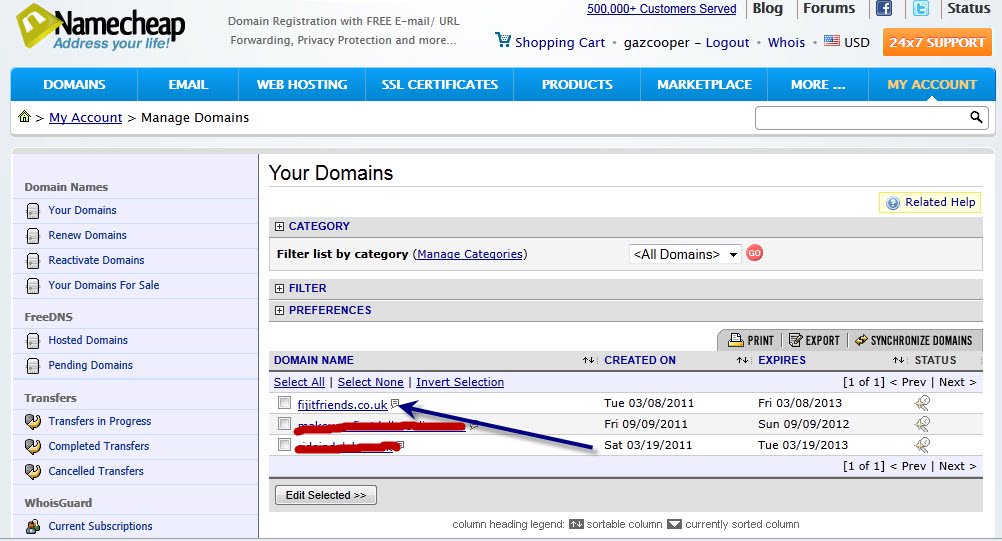
You should see your domain name where I have pointed the blue arrow. Please ignore the red lines as I blocked out a couple of my domain names for privacy reasons.
Now double click on your domain name which will transport you to the following page:
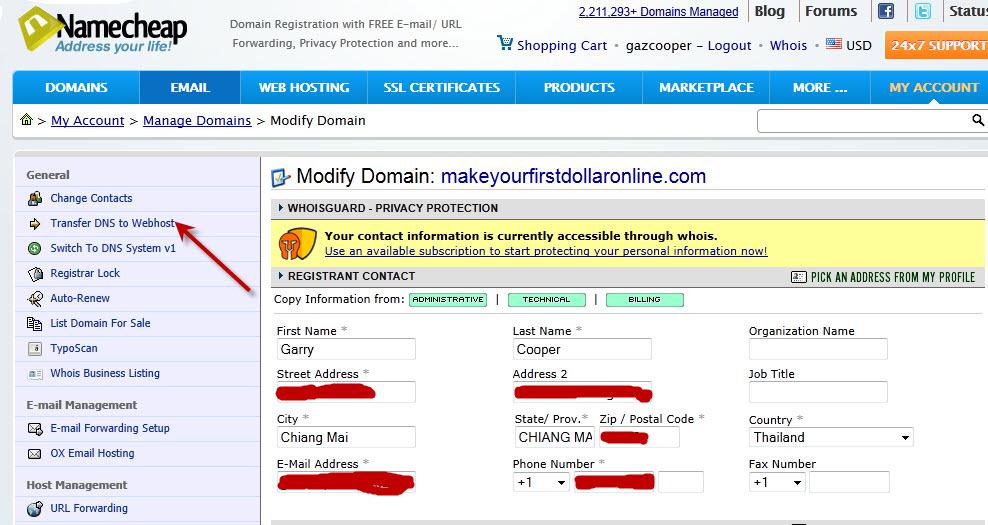
Next Step: click on “Transfer DNS to Webhost.”
I have added the red arrow to show you exactly where to click
After clicking on that you will end up on the following page:
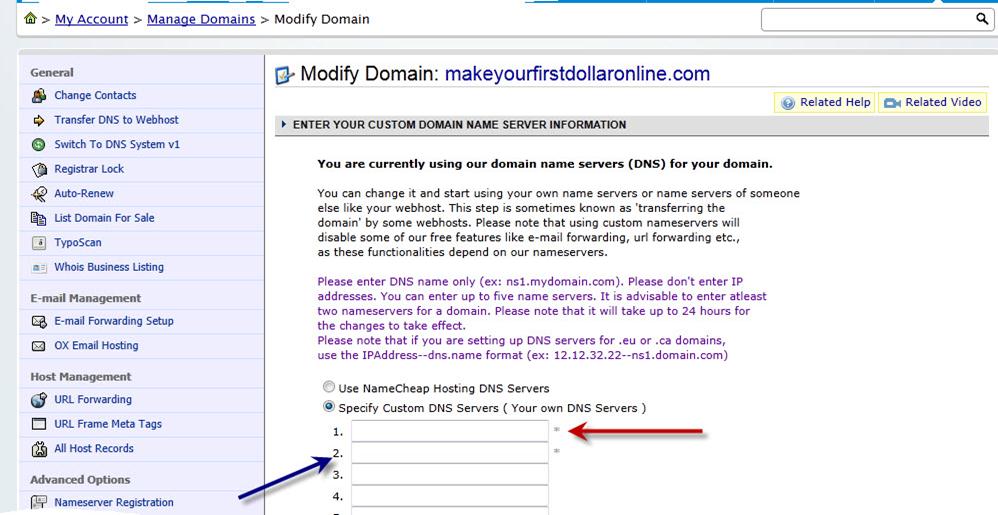
This is where you will enter your DNS servers for your hosting company and if you decided to use either our Amz Discounted Paid Hosting or if you decided to join the Amz Training Academy for our FREE Hosting Offer you will enter the same Amz Name servers which are:
ns1.server.amztrainingacademy.org
ns2.server.amztrainingacademy.org
You will enter first the ns1.server.amztrainingacademy.org number where the red arrow is pointing in position 1
You will enter the NS2 number where the Blue arrow is pointing in position 2
No need to worry about the rest of the empty spaces.
Now click on “Save Changes” and ensure it confirms these saved changes.