• Apply the timing of a MIDI Part to an audio Part.
• Apply the timing of an audio Part to a MIDI Part.
• Apply the timing of an audio Part to another audio Part.
 Match Points in the Audio Editor.
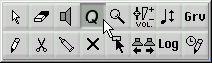
2. In the Arrange Window, select the Match Quantize tool.
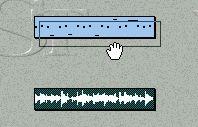
 3. Drag the Audio Part and release it on top of the MIDI Part.
 A dialog appears, asking if you want to include the accents (Match Points velocity values). The options are the same as when you Match Quantize with MIDI Parts (see page 68).
 4. Select one of the options in the dialog box.
The Events in the MIDI Part are quantized to the positions of the Match Points in the Audio Events.
This can be done in two ways: By moving the Events to desired positions, without affecting the actual audio file, or by processing and changing the audio recording permanently.
Match Quantizing by Event Position3. For each Event in the Part you want to Quantize, pull down the Do pop-up menu and select Snip at M-Points.
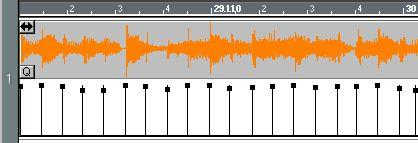
The Audio Events are split at the positions of the M-Points.
5. Drag the “source” Part (MIDI or Audio) and release it on top of the “destination” Audio Part.
A dialog box appears with the text “Use Dynamic Time Compression?”.
6. Click “No”.
The start points of the Events in the “destination” Audio Part will be quantized to the positions of the Events in the “source” Part. Please note that if the gaps between the Events are too big, the process may not give the desired musical result.
4. Drag the “source” Part (MIDI or Audio) and release it on top of the “destination” Audio Part.
A dialog box appears with the text “Use Dynamic Time Compression?”.
5. Click “Yes”.
Cubase VSTworks through the “destination” audio Part, and processes each section of the file to fit the timing of the “source” Part. Depending on the number and length of the audio Events, the processing may take a while, during which a progress box is shown.