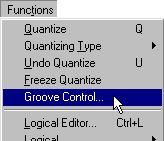
The Groove Control window is a special window designed for creating, editing and applying Grooves. To open the Groove Control window, pull down the Functions menu and select “Groove Control”.
As described in the Getting Started book, you can apply Groove quantizing just like any other type of quantizing. However, this can also be done from the Groove Control window, which gives you greater control over the degree of quantization, allows you to try out different Grooves, etc. Proceed as follows:
1. Select the material you want to Groove Quantize.This could be one or several Parts in the Arrange window or a group of Events in an Editor.
2. Set up a cycle around the music you want to quantize and start playback. Of course, you don’t need to have playback activated to Groove Quantize, but it allows you to try out different Grooves and settings without actually “doing it”.
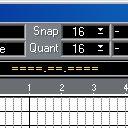
3. Select a suitable Quantize Value.
This determines the maximum range a note can be moved to fit to a “groove point”. Most often you would select 1/16th notes or 1/8th notes, depending on the character of the music and the musical results you want to obtain. You can go back and change the Quantize Value later if you wish.
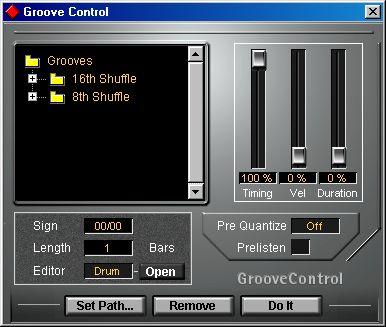
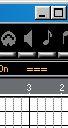
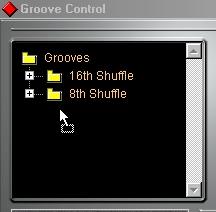
The Groove Control window appears.
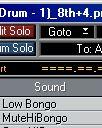
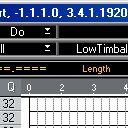
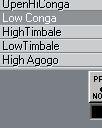
5. Locate and select the Groove you wish to try out in the list to the left in the window. Each Groove on the list is actually a Groove file on your hard disk. By default, the files and folders in your Grooves folder (within the Cubase VST folder) are listed in the Groove Control window, but you can change the default folder by clicking the “Set Path” button.
6. Activate the Prelisten checkbox.
This allows you to listen to the effects of the selected Groove “on the fly” without actually applying it (assuming you activated playback in step 2 above).
7. Use the Timing slider to determine how much the timing of the Groove should affect the music (expressed as a percentage).
0% means that the timing of the music is unaffected, while 100% means that the timing is adjusted to match the Groove completely.
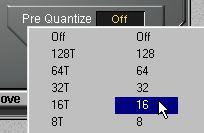
You might for example want to apply a shuffle Groove to a 1/16th note pattern. If the timing of the pattern is “off” from the beginning, notes may end up in the wrong place when you Groove Quantize. Pre Quantizing the pattern with a Quantize Value of 16 will “straighten up” the timing before applying the Groove.
8. Use the Vel slider to determine how much the velocity values included in the Groove should affect the music.
Note that not all Grooves contain velocity information.
9. Use the Duration slider to govern how much the length of the notes should be affected by the Groove.
Actually it is the Note off event that is affected here. Furthermore, keep in mind that drum sounds often don’t take the length of the notes into account. Changing the Duration factor while Groove Quantizing a drum pattern will most likely have no effect.
10.When you are satisfied with the Groove, click “Do it” to actually quantize the music. As usual, you can use the Undo Quantize function later to restore the original music if you wish.
11.To close the Groove Control window, click in the window’s close box.P Note that the settings of the three sliders are retained when you close the Groove Control window, and will be taken into account the next time you use Groove Quantize (even if you don’t do this from the Groove Control window).
When you are editing a Groove, you are changing an actual file in your default Groove folder. Since most of your Songs probably use the same Groove folder, it may be wise to create a copy of the Groove and edit that one instead. This can be done without leaving Cubase VST:
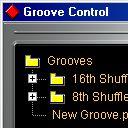
1. Open the Groove Control window and select the Groove you want to edit.2. Drag the Groove from the list in the Groove Control window onto a MIDI Track in the Arrange Window.
The Groove is copied and converted to a MIDI Part.
This is the name your new Groove will get.
4. Drag the Part into the Groove Control list again.
Now, your renamed Part is re-converted to a Groove. The list will now contain both the original Groove and the renamed copy.
If you made a copy as described above, select this.
2. Use the Editor pop-up to select which MIDI Editor you want to use.
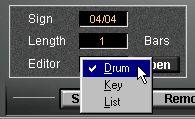 3. Click the Open button.
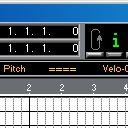
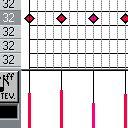
The selected Editor opens, displaying the selected Groove.


 P
Depending on which note has been used to create the Groove, you might have to scroll the view up or down to see the notes.
P
Depending on which note has been used to create the Groove, you might have to scroll the view up or down to see the notes.
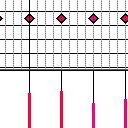
4. Edit the Groove as you would a regular MIDI Part.
This includes adding or removing notes, moving notes to change the timing, and adjusting velocity and duration.
• Convert a MIDI Part to a Groove.
• Extract the timing from an Audio Part and convert this into a Groove, using the “M-Points to Groove” function.
1. Create a MIDI Part in the Arrange window.
This could be of any length, but usually it’s most convenient with Grooves that are one or two bars long.
2. Draw in the notes you want to be included in the Groove.
You could of course also record the MIDI Part. No matter which, it might be a good idea to play back the Part in Cycle mode, to see that it loops OK.
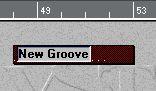
4. Name the Part.
This is the name your new Groove will get. You can rename the Groove later in the Groove Control window if you wish.
5. Pull down the Functions menu and select “Convert to Groove”.
The Part will be converted to a Groove, and placed in the root of your default Groove folder. Or:
5. Open the Groove Control window and drag the Part into the Groove list. This allows you to place the Groove in any subfolder you like, by dropping the Part in a subfolder list.

 6. In the Groove Control window, you can specify the length and time signature if needed.
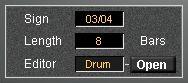 Note that if you have a Groove which originally is two bars long, and set the Length to 1, all data in the second bar is removed!
Now you have created a Groove of your own. You can now apply, edit and rename it from the Groove Control window if you like.