 You should be feeling good about yourself.
 You have a page on the world wide web. You didn’t bury your head in the sand, you didn’t say ‘I can’t do this’, even if you had fears – which I’m sure you did – you faced them head on and have now proved to yourself what you are capable of.
Page 66The hardest part is now behind you . Even if you have to go back through this eBook to remind yourself what to do, that doesn’t matter. You know in your heart that you now have the capacity to create a web page and publish it online.
In this chapter, I am going to show you how to make a few small changes to your main page, so it looks at least a bit more presentable. We will do that by playing around with fonts, colors and images.
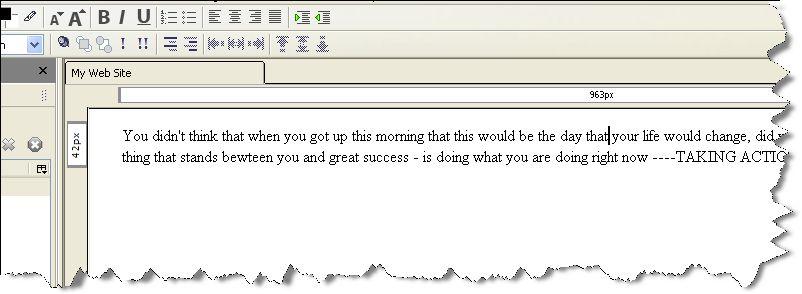
Select the text of the entire page. Do this by using your mouse. Drag the mouse cursor from the first letter in the text (the ‘Y’ in ‘You’) to the end of last word (ACTION!)
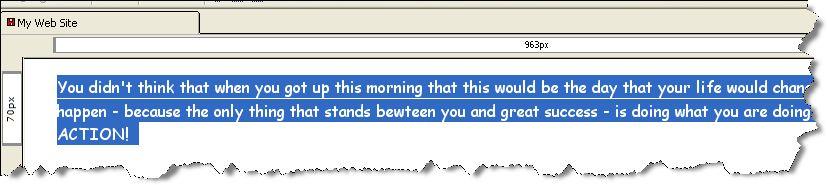
Your screen will now look like this.
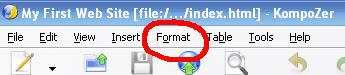
 Now click on ‘Format’ from the menu bar at the top of the screen.
Page 67
 A drop down menu will appear. Click on ‘Font’.
Another drop down menu will appear. Let’s choose a font. Click on ‘Comic Sans MS’
The highlighted text will now automatically change to this new font.
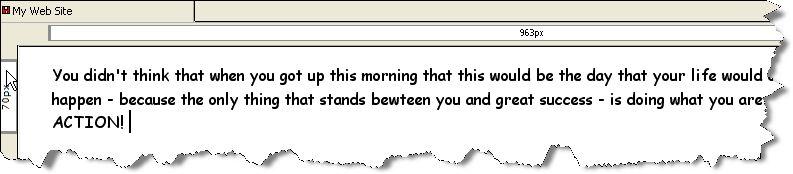
 Click anywhere in the body of the text to get rid of the highlight. You will now have the following.
 Let’s just play around a bit more with this text, and CENTER it, so it looks a bit more pleasing on the eye.
Highlight the text again.
And then click on the ‘Center’ button located in the tool bar.
Page 68
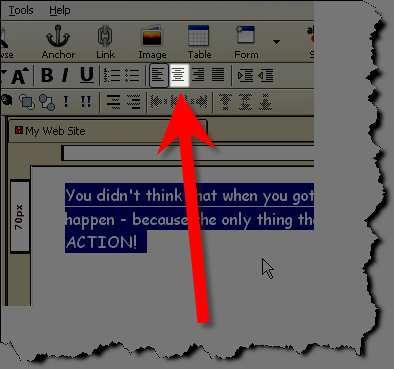 You will now see the following.
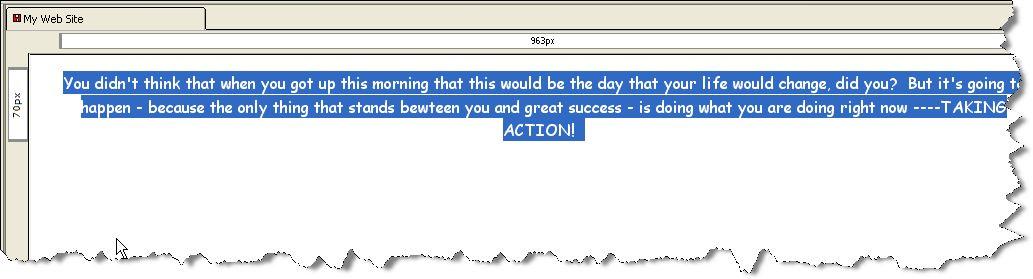
Again click anywhere in the body of the text to get rid of the highlight. When we come to publish this page again (in a moment) the text will now be aligned to the center.
To do this, you must have an image(s) or photograph(s) stored on your computer. It doesn’t matter at this stage what the image is of; this is purely an exercise for you to see how easy it is to add an image to your web page.
Page 69 Back at Kompozer, using your mouse and the SPACE bar, position the cursor to underneath the word ‘ACTION!

Now I want to go back to what I was talking about earlier about SAVING the contents of your web site correctly. REMEMBER I said that everything you want to use has to be in the SAME location – i.e. the same folder.
We have already created out test folder for this very purpose – and so far we have saved the index.html page into this folder.So – BEFORE you insert an image – you need to MOVE the image from wherever it is on your computer – and put it in this same folder.
I hope something just clicked inside you. Do you see? We are simply putting ALL the contents that you will want to use for your
webpage – in the same place. Then when we link to them and insert them – your computer will know where to look and there will be no problems.
I am going to use my ‘laptop man’ image here as an example. I want to inset this image into my web page.
 Page 70 Now I know that this image is in my folder called IMAGES.
So I need to transfer this particular image FROM my Images folder INTO my test folder.
This is how you do it.
Right click on the START button – which is on the bottom left of your computer screen.
One of the options that you will see – will be EXPLORE. Click on this.
Explore is a great tool that allows you to see the contents of your computer.
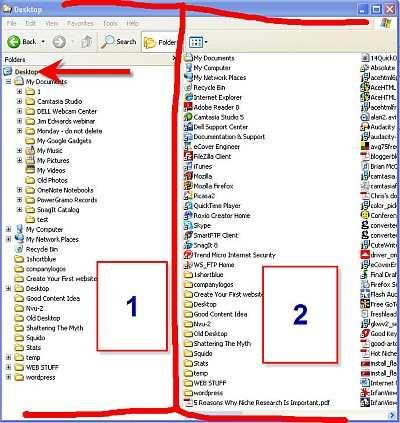
Mine looks like this (yours will look similar)
 Page 71
I have divided the screen into 1 and 2.
1 – on the left – shows all the folders on your computer. And 2 – on the right – shows the contents of the selected folder.
In the example above – the Desktop is selected (as seen by the arrow). And therefore on the right hand side of the screen – you can see all the contents of the Desktop.
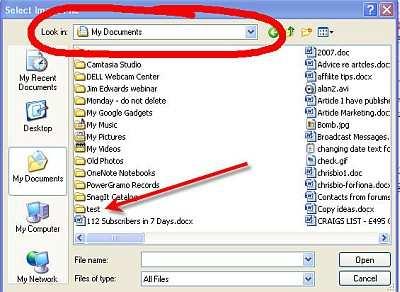
I want you to select My Documents (on the left hand side)
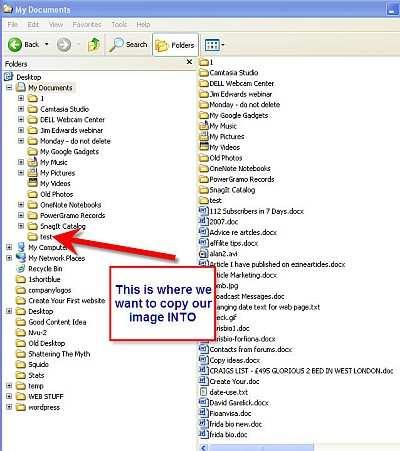
By making sure the little + sign is selected by My Documents – you can see all the folders stored in My Documents. And as you can see – one of these folders – is our test folder.
It is into this folder that we will copy the image we want. Page 72 Using the folders on the left hand side – find the location of the image you are after (i.e. click on the folder that you have saved the image in)I have the image I want saved in my IMAGES folder, as seen here.
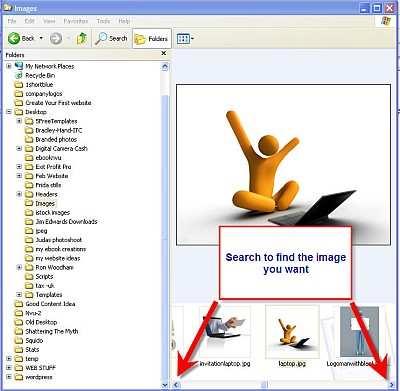
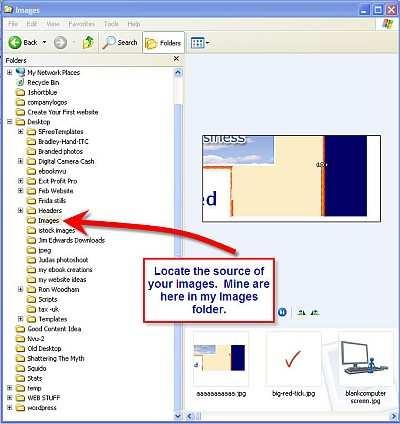 Once you have located the folder you want on the left hand side, the screen on the right will show you the contents of the folder. Scroll through the folder until you find the actual image you are after. Page 73
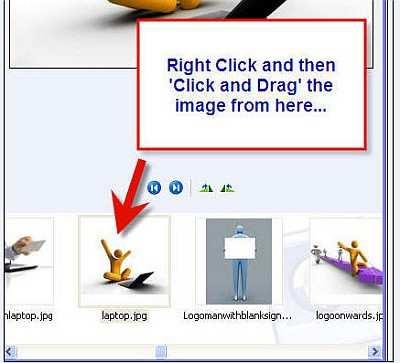
 Once you have located your image you are going to click and drag it into the test folder.
 Right click on the image, and with your mouse held down, drag the image towards the left hand side of the screen.
 Page 74 When you let go of the right hand side of your mouse – you will be asked whether you want to MOVE HERE or COPY HERE.
 Always select COPY HERE. This means your image will remain in its original location (so you can always find it) but it will also mean that a copy has been placed in this folder – which we can then use for your web page.
Now that the image we want has been saved in the test folder, it’s time to insert it into our webpage.So far our webpage looks like this.
And we are going to insert the image where the red arrow is.Click on the Image icon.
Page 75 The following dialogue book will appear.
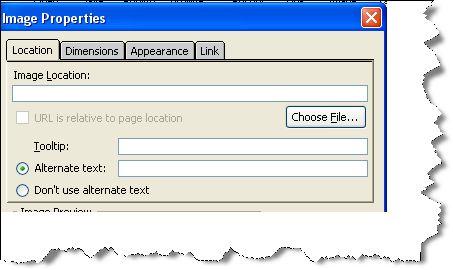 Click on Choose File.
From the drop down menu that appears navigate to My Documents.
 You will then see the test folder we are after. Double click on it. Page 76
The contents of the test folder are now shown. You will have only two contents so far. Your home page (index.xhtml) and now this image you have just copied.
Make sure in the Files of Type field, that All Files are selected
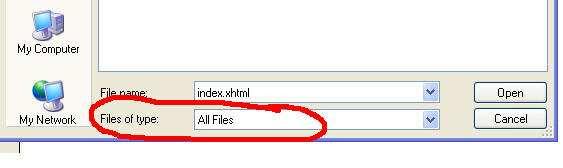 Double click on the image (in my example here the image is called laptop)
 You will see the following
Note that the details of your image will be automatically inserted in the ‘Image Location’ field.
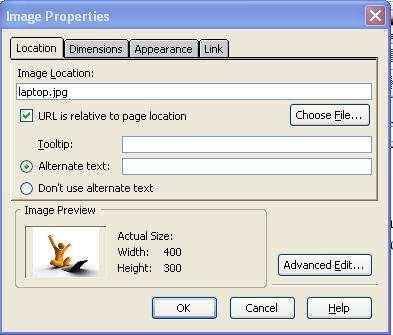
And below this you will see an ‘Image Preview’ of your selection.
In this same window you will see an ‘Alternate text’ field.
Type in here a description of your image. In my case, I have typed ‘laptop man’.
 Click OK.
You probably will want to re-size your image.
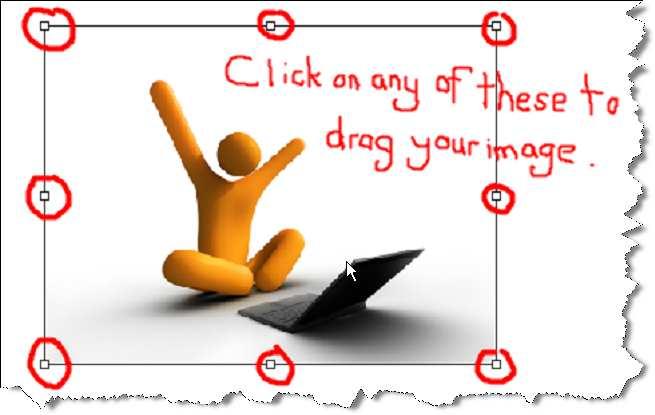
Click on the image.
Page 78
When you do, the border to your image will appear. As in the illustration below, you will be able to click on the border, and click and drag your image to increase or decrease its size.
PLEASE NOTE : Clicking and dragging is not the best long term solution to resize an image. Changing the size too much can make an image look ‘fuzzy’. The better method to resize images – is to use a free piece of software called Irfanview – and you can download here www.irfanview.com
But for the sake of learning – clicking and dragging is fine for the moment.Have a play with the ‘Align Text to Image’ section on the ‘Appearance’ tab. See how you can move your text around your image.
Once you are happy with the location and size of you image, click outside the image to get rid of the borderSelect ‘Format’ and then select ‘Page Colors and Background’. Page 79 This window will now appear.
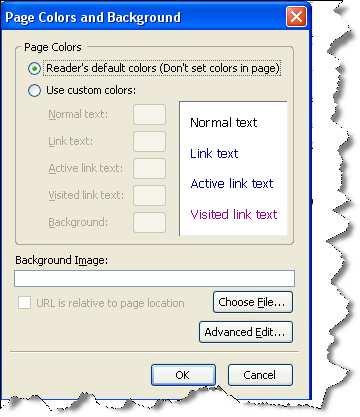 Click ‘Use custom colors’. You will now see as follows.
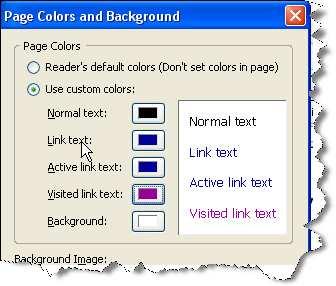
By clicking on the five text boxes –
You will be able to choose the color for that particular function. For example, we want to change the background color.
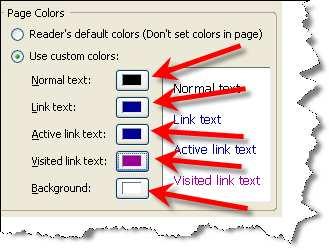
So, click on the ‘Background’ box. You will now see
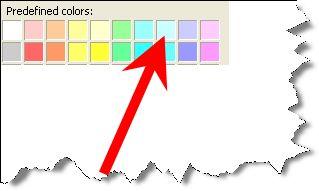
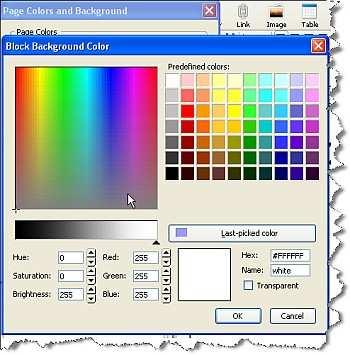 Simple choose the color you want, from either the predefined color list on the right, or the various grades of colors on the left.
For this illustration, let’s choose this color.
Page 81
 Click OK.
You will be taken back to the ‘Page Colors and Background’ window. Click OK again.
You are now taken back to your page in Kompozer.
It is possible that not all of the background has changed color. If that is the case, it is because of this highlighted button on the left hand side of the screen.
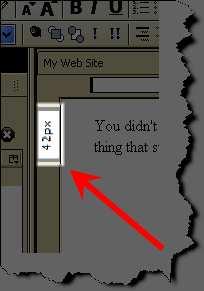
This is a ‘sliding fader’ type button. You will need to click on it and drag it down to the bottom of the screen, as follows.
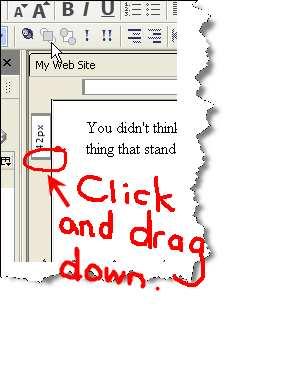 Page 82 Once you have done this, you will be able to see all the changes you have made. In this case, my page now looks like this.
 Now – already – by just making a few small changes, your page is looking a lot more like professional web pages that we see all the time.
All we have to do now is upload this page to the web!
Click on ‘File’ then ‘Publish As’.
You will see this window again.
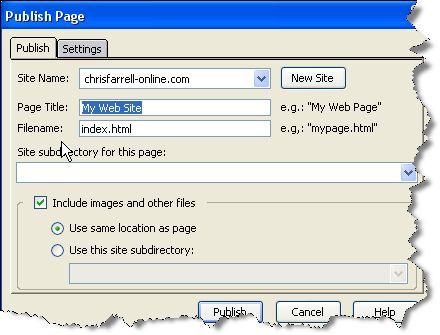
Remember we called this first page of yours ‘My First Web Site’, so type in My First Web Site into the ‘Page Title’ field.
In the ‘Filename’ field enter- index.html
Click on Publish.
Now go back to your web browser. If you still have your page up from when we last looked at it, you will have to REFRESH your page to see these changes.
Or just close the old simple text version of your web page, and type in your domain name again in your web browser. When it loads this second time, it will refresh and look at lot more impressive. In this example here’s how my site looks so far
 Now, for a complete beginner, this really is excellent work!
I have two more things however I want to teach you.
• Creating a link to another page.
• Creating another pag
Page 84