PART 13
PUTTING TEXT IN A TABLE
I want to show something else that can make your web page come even more alive.
And this is putting some text in a box – or a table as it is correctly called.
Let’s use one of my websites as an example. Here is a bit of text from one of my sites.
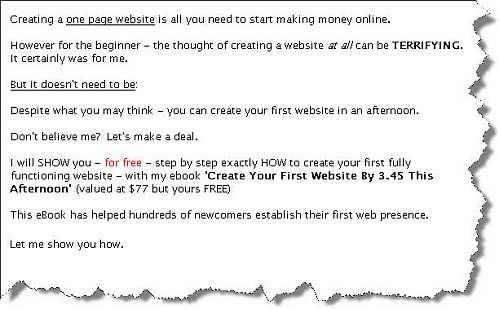
Now let’s assume I want to put the following into a table so it stands out a bit more.
Page 114 It is very easy to do.
Firstly put your cursor at the start of the word
Don’t and hit Enter a few times. This is just to give you a bit of space to work with.
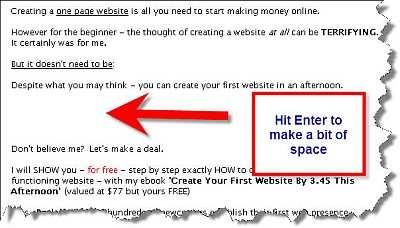
Now Click on
Insert and then in the drop down menu that appear click on
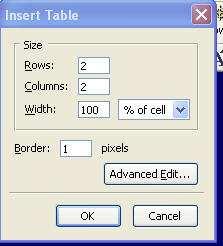
Table. You will see the following.
 Page 115
As you can see it is asking for the details of the table we are about to insert. 99% of the time you will want a simple table to ‘box’ around your text. Therefore your table will consist of 1 Row and 1 Column.
Change the Row and Column field so they both say ‘1’.
For the width – let’s go for 50% of the cell. So add 50 to the Width field.
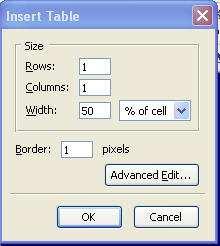
Click OK.
And look what happens!
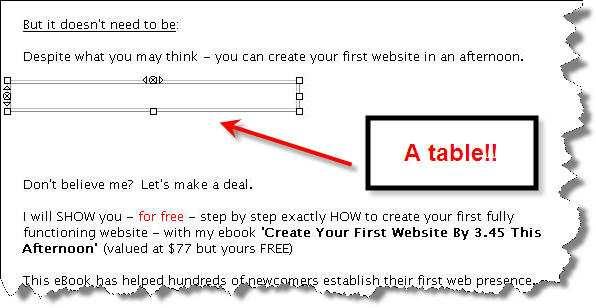
A table has appeared in your webpage.
Page 116
It’s currently towards the left hand side however – and we want it in the centre. So double click anywhere in the table and the Table Properties window will appear.
Make sure the
Table tab is selected.
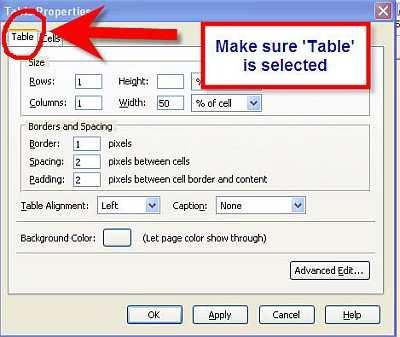
Note the Table Alignment is by default saying Left.
Click on the drop down menu to select Center (or ‘Centre’ if you’re from the UK!)
Page 117
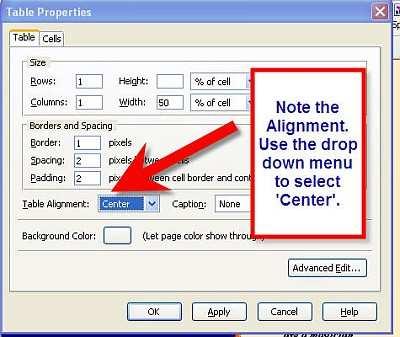
Now your table has aligned itself into the centre of your page.
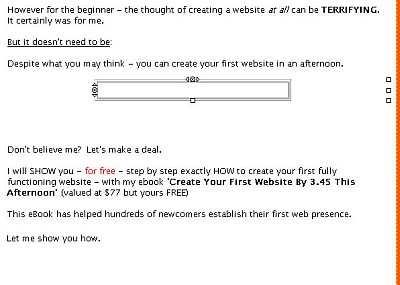
Now simply highlight the text you want to put in the table. Once you have – you can click and drag it into the table.
Page 118
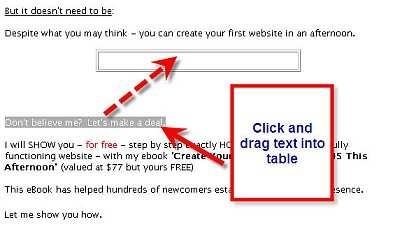
Once the text is over the table let go of your mouse, and the text will appear in the table.

Let’s put a bit of color in the table.
Right click on the table and select
Table or Cell Color
Page 119
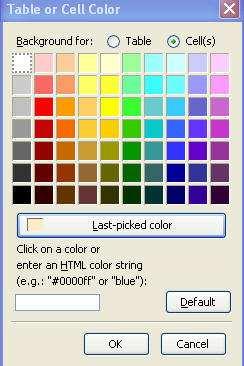
Double click on the color you want. And suddenly...
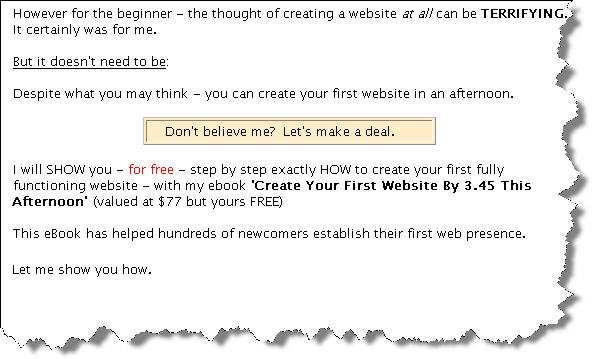
The Table Properties window allows you to change the alignment, the dimensions, even the size of the border of the table. Have a play around and experiment with it.
Now you know how to put text into a table.
Page 120


 Now let’s assume I want to put the following into a table so it stands out a bit more.
 Now Click on
 Click OK.
 A table has appeared in your webpage.
 Note the Table Alignment is by default saying Left.
 Now simply highlight the text you want to put in the table. Once you have – you can click and drag it into the table.
  Once the text is over the table let go of your mouse, and the text will appear in the table.
 Let’s put a bit of color in the table.
