Whereas there is nothing wrong with this as a process to learn – when it comes to actually publishing your website –I’m sure you’ll agree that your pages currently look too wide.
Therefore we want to resize them – so they look aesthetically more pleasing on the eye and your site looks more professional.Take a look at one of my sites: note the ‘space’ either side of my main page.
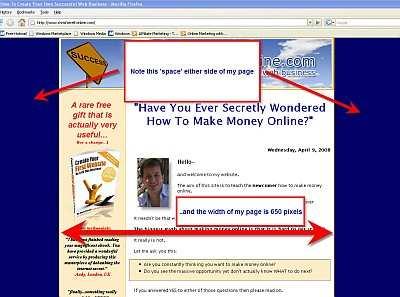 Also note that my actual web page sits neatly in the centre of the screen. Yours is about to do the same!
At the moment – each page that you have created runs the ENTIRE width of your computer screen.
We want to change that by creating a ‘table’ within the screen. In to this table – we will insert all your content of your webpage.
Page 105 This is very easy to do.
Go back to Kompozer and select New.
The select Insert and then Table.
You will see this window.
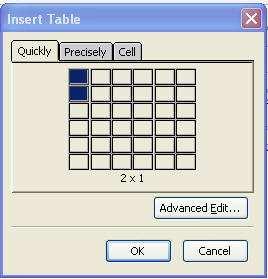 Click on Precisely. You will see as follows.
 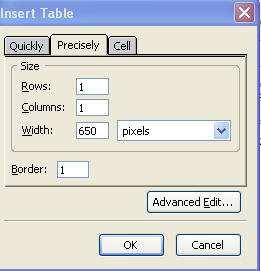 Page 106
Make sure that the Row and Colum both have 1 in them. And for the width type in 650 pixels (you can make this bigger or smaller depending on the width you are after). A typical web page is between 650 and 800 pixels wide.
Click OK.
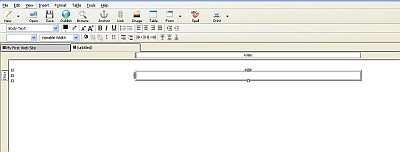
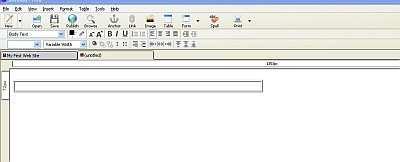 A long rectangle has now appeared. This is 650 pixels wide. However it is to the left of the screen and we want to make it in the centre.
Double click anywhere in the shape.
This window will appear.
 Page 107 Click on the TABLE tab at the top of this window. You will see the following.
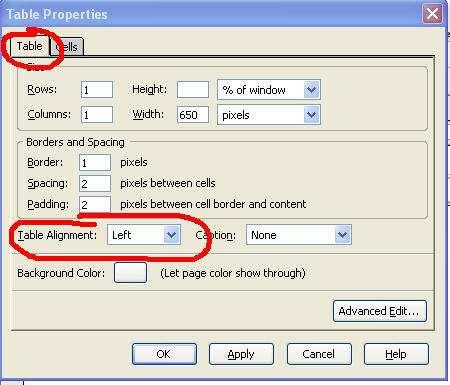 Note the alignment by default says left.
In the drop down menu select Center. Click OK. The table now moves to the center of the screen as follows.
 Now place your cursor inside the shape and hit return a few times. The length will increase.
Page 108
 To change the color of the background click on Format then Page Colors and Background and then Custom Color (as explained before).
You will then be able to select the color for the background of the WHOLE screen.
Page 109
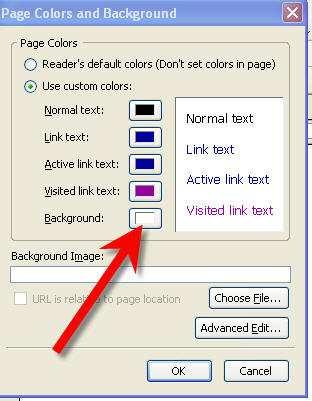 Click on this small tab next to Background to choose whatever color you want (in this case we will chose blue).
Page 110
 Click OK.
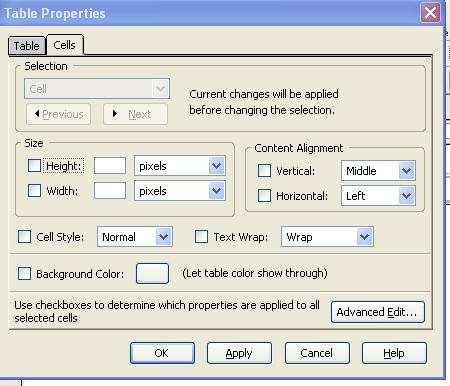
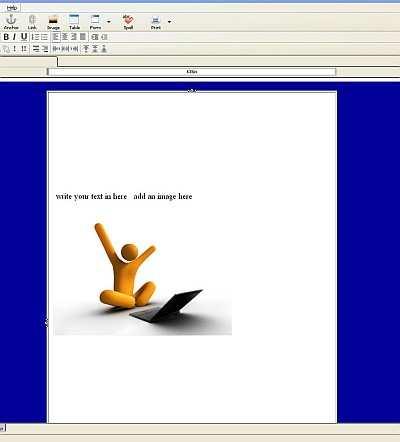
The WHOLE screen will now be blue. To make your web page area a different color (most likely white) left click in the table itself.
The following window will appear (that you have seen before) (as you will see there is a lot of repetition when creating a web page). Page 111 Select the Table tab.
Then click in the small window next to Background Color.
Select White (or whatever color you want).
Click OK.
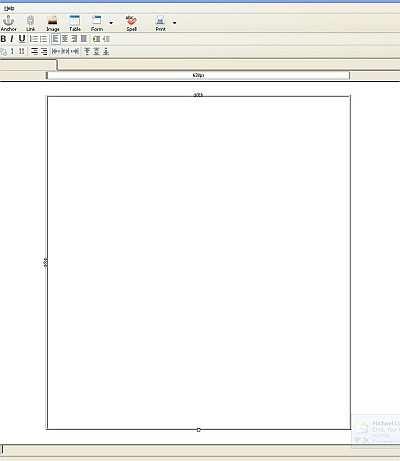
Your screen will now be centered and will look like a ‘proper’ web page, as follows.
Page 112 You are now ready to insert your text and images into your webpage. Insert and write as you wish!
 Page 113