Basic Settings
Setting The Settings
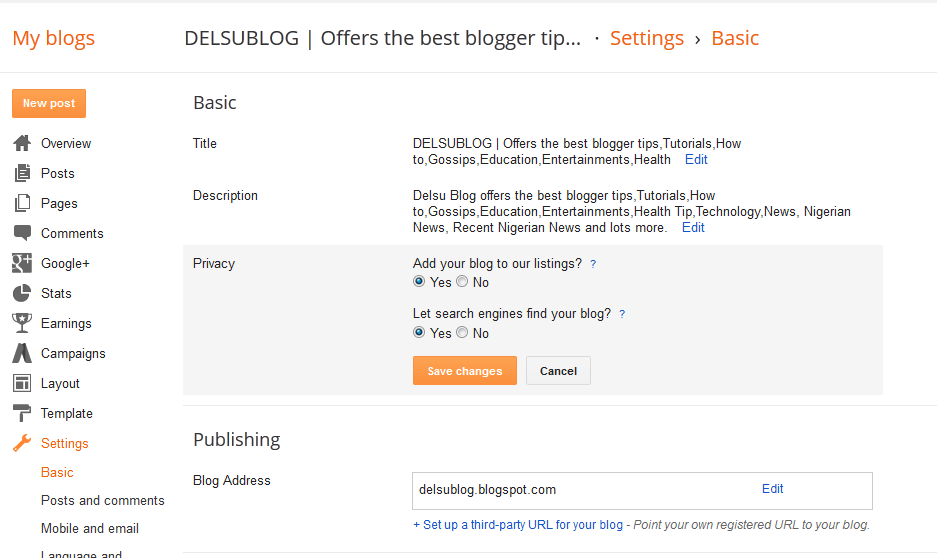
Once logged into your dashboard, click on your blog and look by the left menu. Click settings -> Basic as seen in the picture below:
On the page you will see a list of settings you can edit. You can edit them by clicking the ͞Edit link next to each settings.
Enter a description that describe your blog in the ͞Description box. Create a description all by yourself by annalysing what your blog is all about. Be creative here. Although I can create one for you for a token.
Whatever you type in the description box will appear beneath your blog title in the blog header area. You can disable it though.
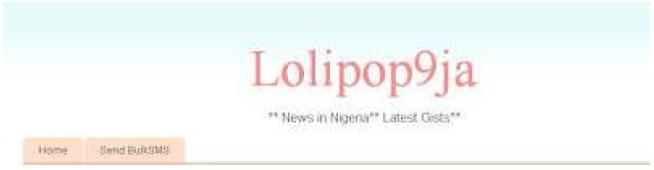
Using the picture below as an example the description of the blog is ͞News inNigeria, Latest Gists .
Take some time to write a useful description that not only describes what your blog is about but also entices visitors to read more.
If you click the PRIVACY edit link, you will see two settings you can configure. Select ͞YES for ͞Add your blog to our listings and also select ͞YES for ͞Let search engines find your blog .
Leave the ͞Publishing and ͞Permissions settings the way they are and make sure you set the ͞Blog Readers to ͞Public .
Post And Comment Settings
Click on Settings -> Post and Comments as seen in the picture below:
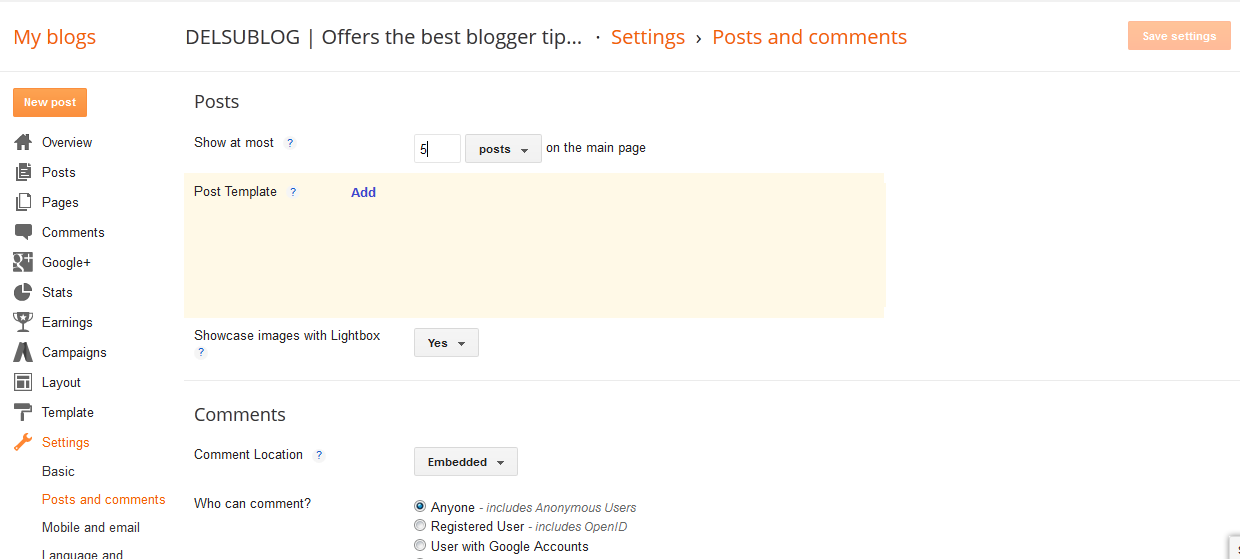

Here you will two sub-headings: Posts and Comments
The small question mark next to each settings gives a brief of each setting.
Under the ͞Post sub-heading, the main settings that will need altering is the
͞Show at most ::::::: on the homepage . I set mine to 5 post on the home page. Feel free to alter it the way you like. Note that the more post that appear on the home page, the more it takes your blog to load.
You can set the ͞show case image with lightbox to YES.
Under the ͞Comment sub-heading, you can set the settings according to your choice. The picture below shows how I like to set this sub-heading:
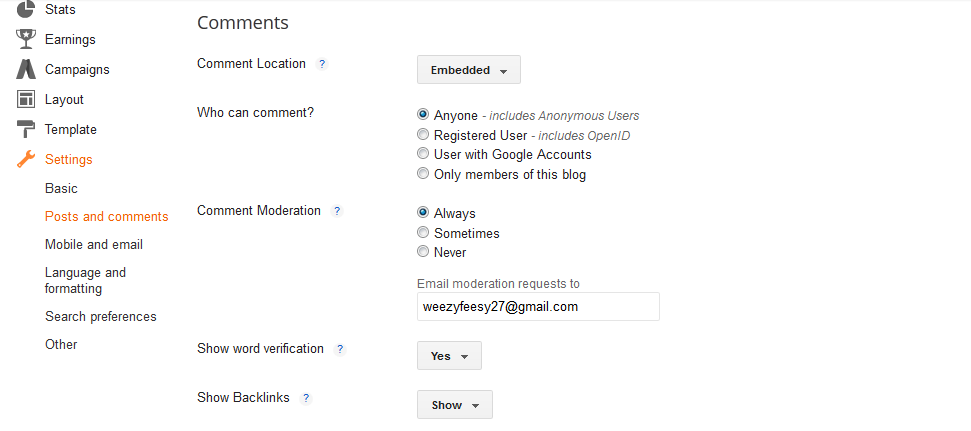
I set ͞Comment Location as ͞embedded so that the blogger comment form can appear right below each of your posts and it will allow users to reply from the post without taking them away to a new page.
I set ͞who can comment to ͞anyone so as to also give room for anonymous users to comment on my blog post.
I set ͞comment moderation to ͞always because I preffer reviewing comments before they are published. A link will appear on your dashboard when there is comment to review. If you enter your email address in the ͞Email moderation request to box, you will always receive an email whenever someone comments on your blog post.
You can set the ͞show backlinks to ͞show . Backlinks enable you to keep track of other pages on the web that link to your posts.
Anything you enter in the ͞comment form message appears directly above your comment form. You can use this to let your readers know that their comments will be appreciated.
That’s all for the ͞Post and comments settings.
At this stage you can start adding more posts to your blog via the ͞ New Post button whenever you log in to www.blogger.com and enjoy the blogging experience; but if you wanna learn other things you can do on your blog, keep reading.
Customizing Your Blog
You can always change the look of your blog anytime you want. You will have to understand how to use the features of blogger dashboard for you to be able to do this.
To get started click on ͞Layout on the left menu. You should something sililar to:
Here you can add, remove, edit gadgets on your blog. More so, you can click and drag to re-arrange gadgets. To change columns and widths use the ͞Template Designer accessible if you click on ͞Template on the left menu.
You should master the parts of the blogging template.
The ͞Header is the uppermost part of the blogger template. The blog title
description, logo, navigation links always go into this section of the template.
The ͞Sidebar is located by the side of the ͞Blog Post . Some blogs have only one sidebar while some have more than one. A sidebar can be located either on the right hand side or left hand side.
The ͞Footer lies underneath the blog posts.
You can add series of things to any part of the blogger template wherever you see
the ͞Add a gadget link.
If you click on ͞Add a gadget link you should see
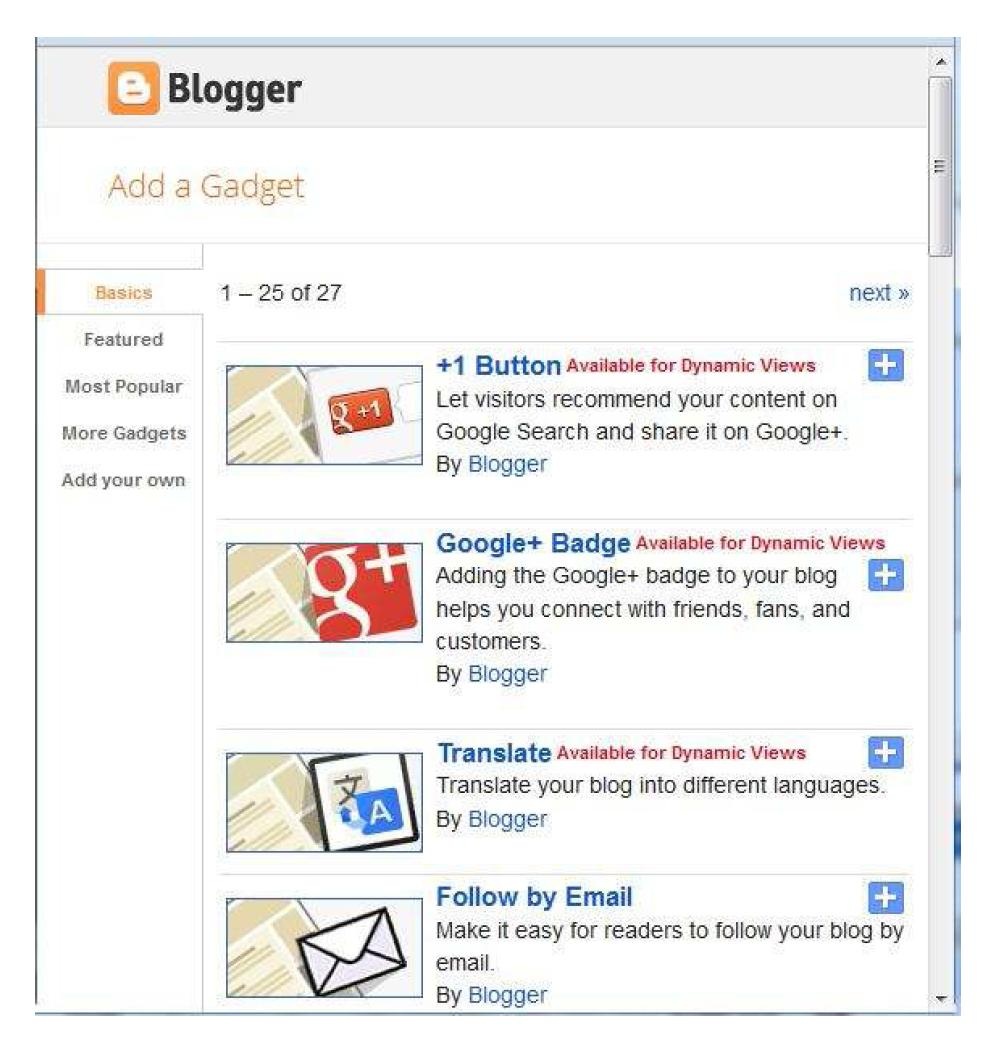
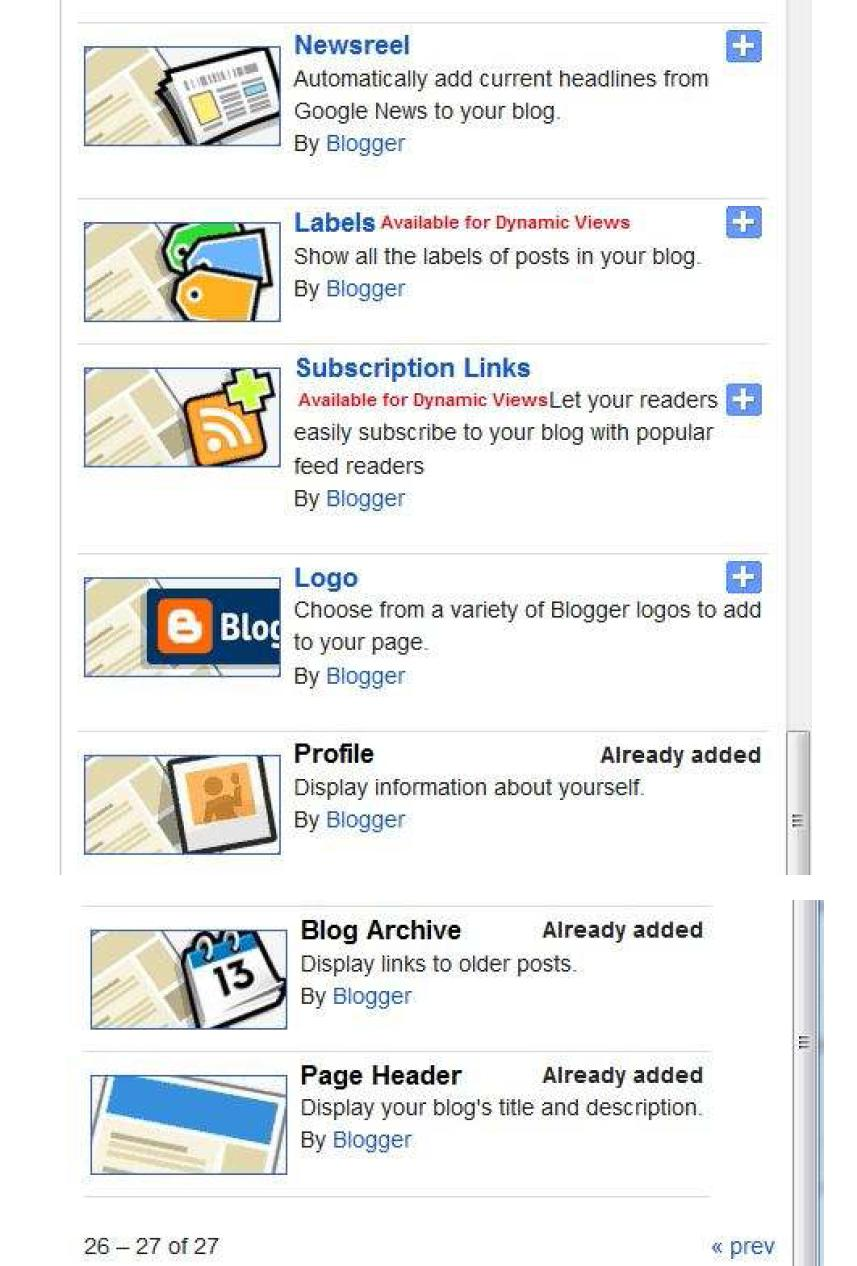
The gadget you can add to your blog are divided into: Basic, Featured, and Most Popular (take note of their links highlighted in the first picture above).
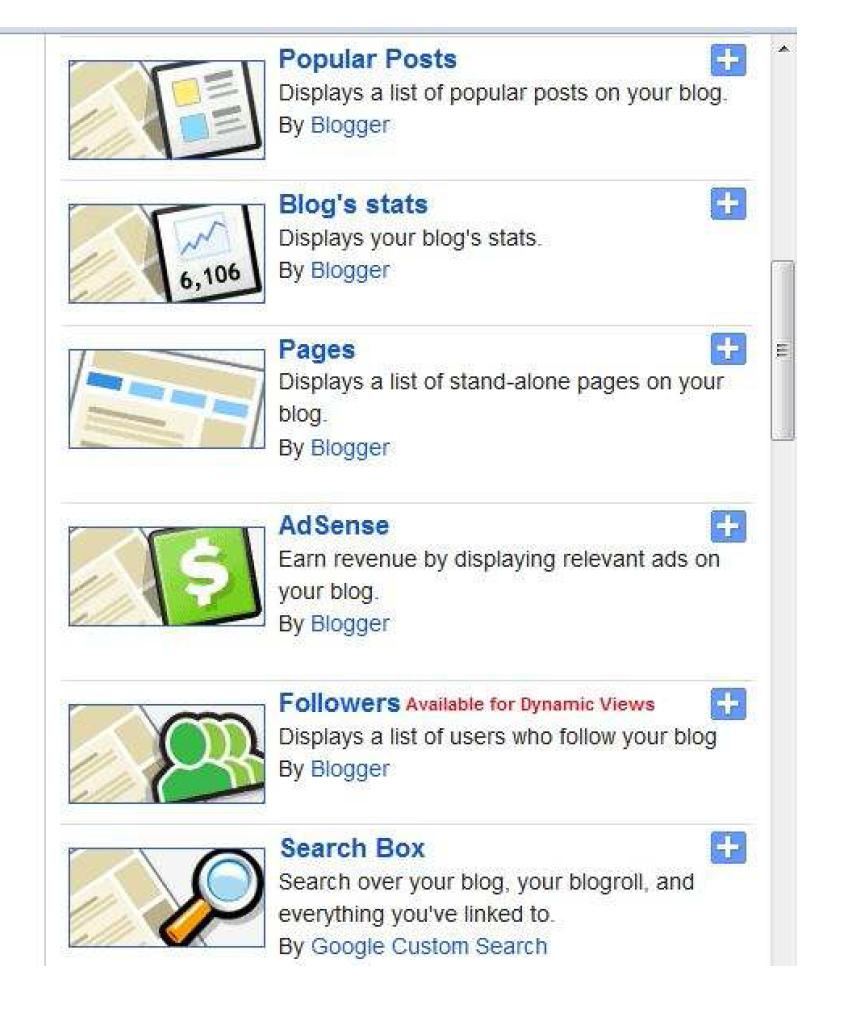
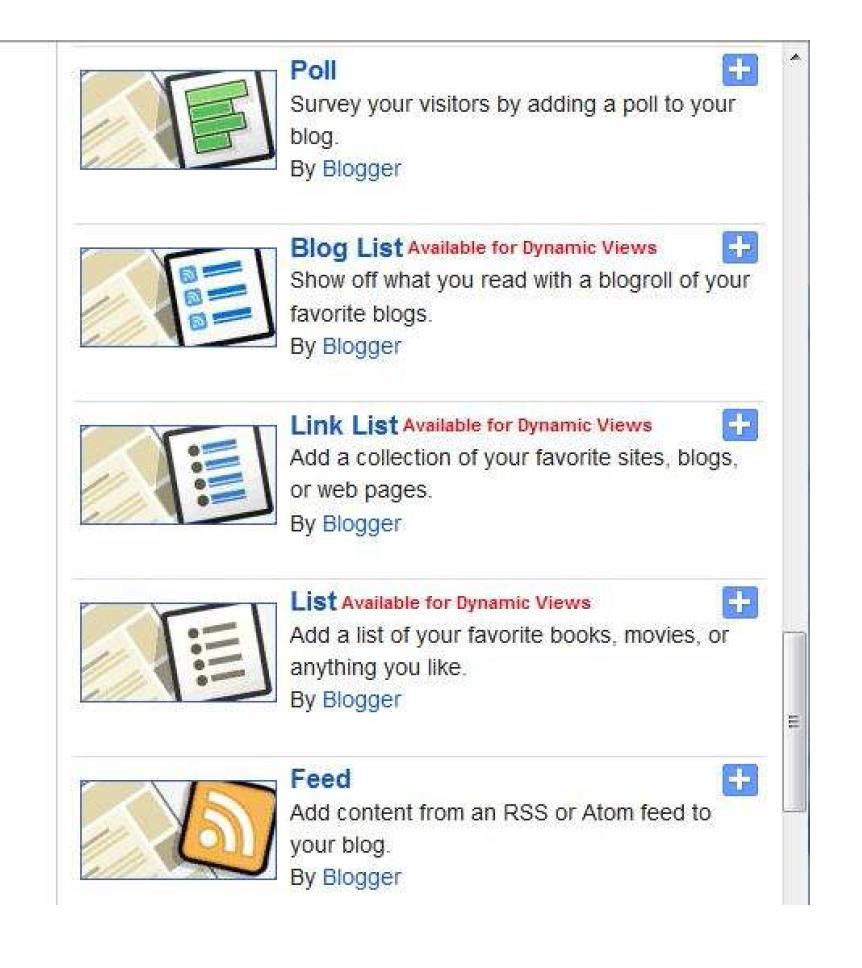
The gadget listed above are the 27 ͞Basic gadgets available as at the time of compiling this ebook. If you want to be sucessful, blogging via blogger, then you should know what you can do with each of the gadgets listed above.
Majority of them are self-explanatory and you can always add and remove them whenever you want. Hence, you can be doing try and error to see what each gadget looks like when added to your blog.
The gadget you will need mostly is the ͞HTML/Javascript gadget. Whenever you copy any code from any website, (e.g affiliate code) you can always copy and paste in the gadget and the result will be displayed right there on your blog.
When you click on the ͞HTML/Javascript , you will see:
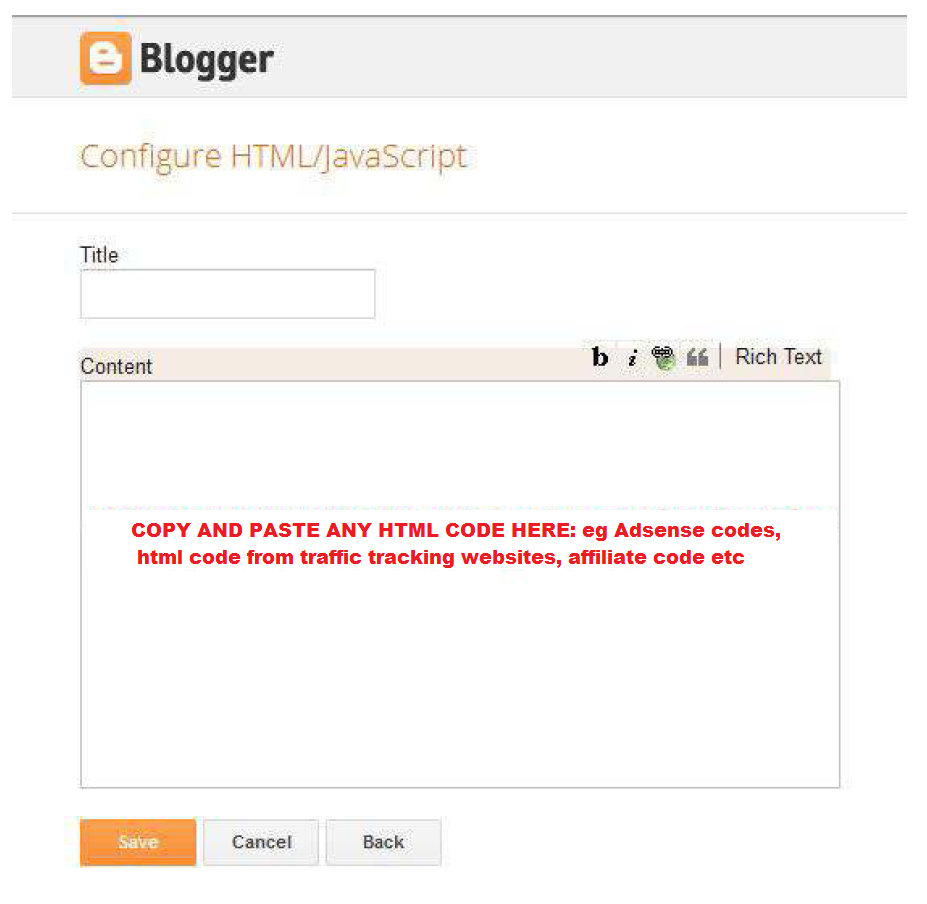
You can give it a ͞Title and when you are done click ͞Save . After saving, you can then go ahead to view your blog to see the changes.
If you want to add the ͞Recent Comment the ͞Recent Post gadgets to your blog you will get them from the ͞More gadgets section.
Note: Do not pack too much gadgets on your blog. Try and add only the ones that are really useful.
Also note that while at the ͞Page elements page you can always drag the gadgets to any part of the template. For example, in the picture below, you will notice that the ͞Followers , Blog Archieve and ͞About me gadgets are on the
͞Sidebar . You can drag them to the ͞Footer if you like and you can re-arrange them too by dragging above or below the other.
You can edit any gadgets at any time by just clicking on ͞Edit link next to the gadget as you can see in the picture above. Let’s say we want to remove ͞About Me gadget when you click on the ͞Edit link next to it, you should see a new ͞window . Click on ͞remove button.
Modify Your Blog Template
You can make several changes to your blog template.
Click ͞Template on the left menu then ͞Customize . This will open up the
͞Template Designer where you can change the template, background, adjust widths, layout of your blog etc. on the ͞Template Designer page take note of the ͞Template ͞Background Layout ͞Adjust Widths and ͞Advanced Links. You can click on them to make some custom adjustment to your blog.
Use your creativity to play around with the ͞Template Designer and when you are done click ͞Apply To Blog . You must click on it to apply any change you make to your blog.
Templates
When you are on the ͞Templates page, you should see:
Rigth there, you can choose from different available templates. The preview is always shown down the page. Each template group has sub-template which you can choose from. Just choose any of your choice.
Background
When you click on ͞Background you should see
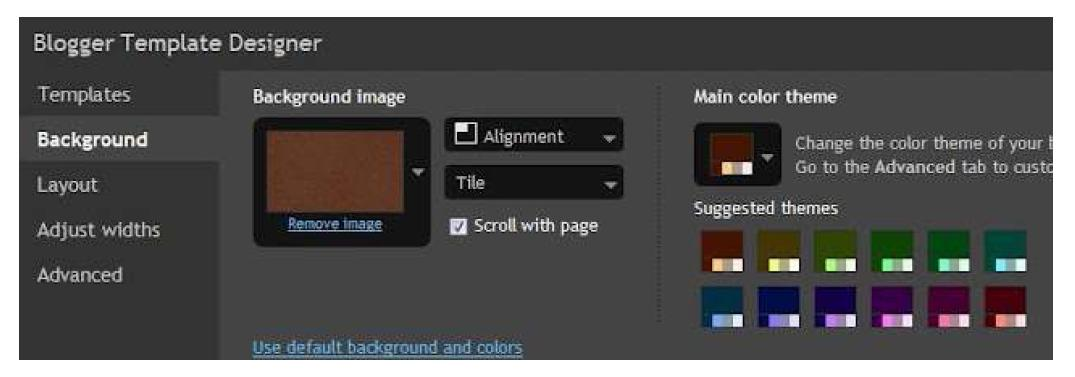
Right there you can remove / change the background image and also change the main color theme. You can really make your blog stand out from the crowd with the options here especially with the background image.
To add a background image to your blog click the ͞ as seen in the picture above. A window will pop-up where you can choose the image of your choice. you can also click the ͞upload image options to upload an image from your computer as the background image.