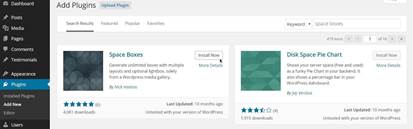
First you want to go back to Plugins/Add new/Search: "Space Boxes"/Install/Now/OK/Activate
Then you will see a new menu in your Dashboard named Space Boxes.
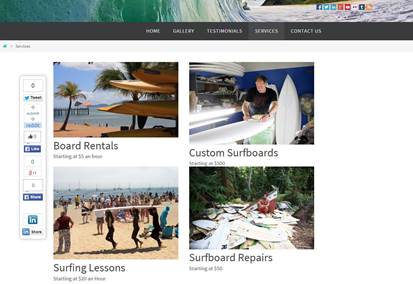
This plugin is going to create a grid view of images similar to the gallery page, where each image will represent one of the four main service categories. In this example you will have: Board Rentals, Custom Surfboards, Surfing Lessons, and Surfboard Repairs.
Each one of those four images will also display the name of the category and the starting price of the service. The Board Rentals image will lead to a page which will also have four images representing the categories Surfboards, Paddle Boards, Windsurf Boards, and Kite Surf Boards.
Each one of them will lead to a page that will display the available boards by type. When you click on a specific board, you will be sent to a page with larger image of the board and detailed description of it.
The other three categories under the Services page, will also lead to a page with description for that service.
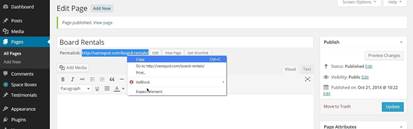
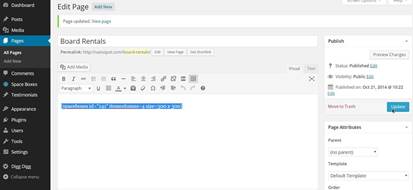
Go to Pages/Add New and for the title type in “Board Rentals” than click Publish. Now pay attention to the permalink of this page. You will need this link for the “Board Rentals” category image. Select and copy that link.
Now finish creating the Custom Surfboards, Surfing Lessons, and the Surfboard Repairs pages.
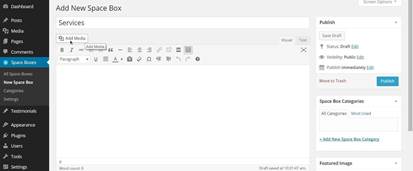
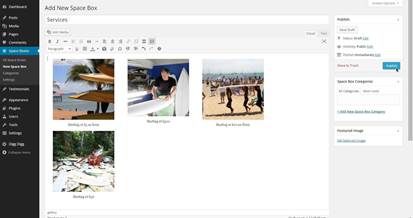
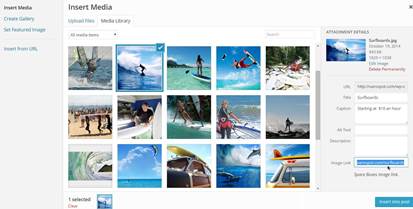
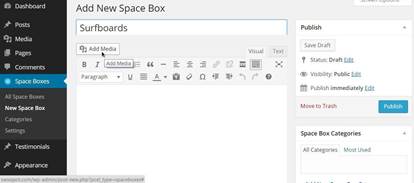
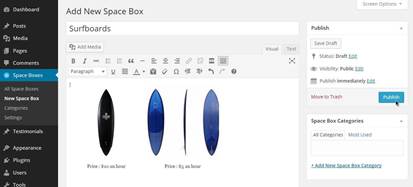
When you are done click on the Space Boxes menu in your Dashboard then, Add New Space Box, and for the title type in Services and click on the Add Media button.
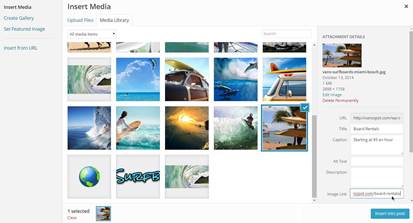
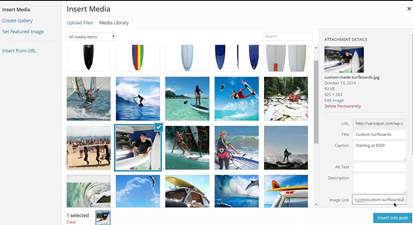
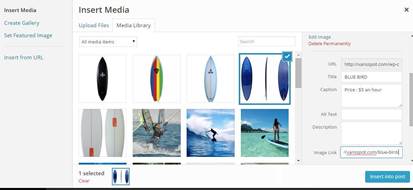
Now go to Upload Files and choose and upload all four pictures you are going to use for the categories in your Services page. Once they are all uploaded in your Media Library, select the picture for the Board Rentals category and under the ATTACHMENT DETAILS section change the Title of the image to Board Rentals, than in the Caption field type in Starting at: $5 an hour, and finally in the field Image link paste the permalink to the “Board Rentals” page which should be “http://yourdomainname.com/board-rentals “
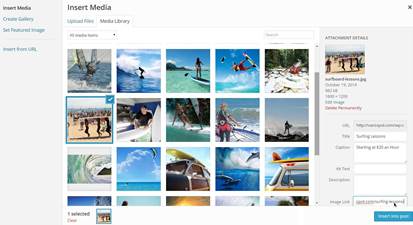
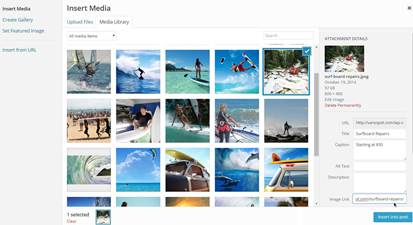
Repeat this steps for the Custom Surfboards, Surfing Lessons, and the Surfboard Repairs category images. Insert the appropriate starting price for each service.
Custom Surfboards
Surfing Lessons
Surfboard Repairs
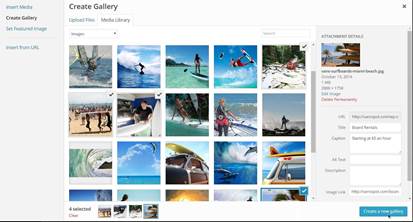
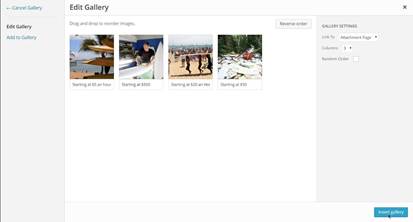
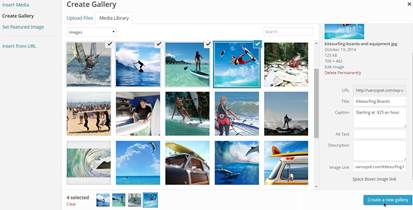
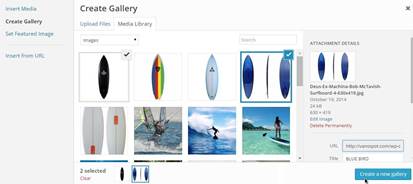
Once you have all images ready, click on Create Gallery and select all four images, and click on Create a new gallery.
Click on Insert gallery.
Than Publish.
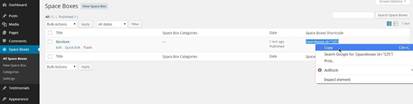
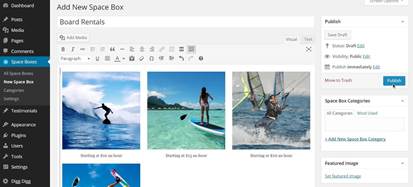
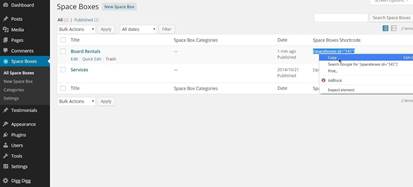
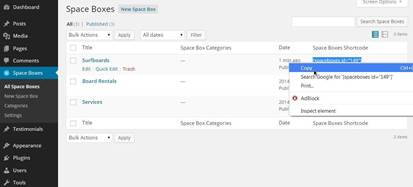
Click on All Space Boxes under the Space Boxes menu in your Dashboard. You will see that you have the space box named Services. Under the Space Boxes Shortcode section you want to select and copy the code.
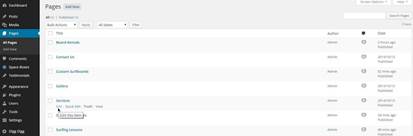
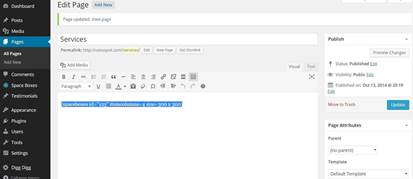
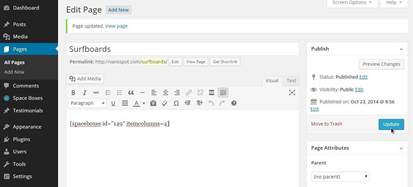
Under Pages/All Pages find the Services page from the list of pages, and click on the Edit link.
You can paste the code into the visual editor now, and before you click Update you want to add
" itemcolumns=4 size=300 x 300" into
the code, so the code now should look like this:
[spaceboxes id="xxx" itemcolumns=4 size=300 x 300] Than you
can click the Update button.
When you go to the Services page of your site and refresh it, you will see that you have your four images with the names and starting prices of your services, and when you place your cursor over each one of the images, you will see that they are all active and linked to a page. For instance, if you click on the Board Rentals image you will be sent to the Board Rentals page.
In the next step, you will use the same technique to add images of the surfboard category types to the Board Rentals page.
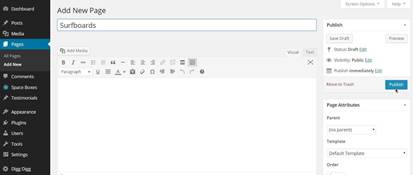
Go to Pages/Add New, and create a page named Surfboards, then click Publish.
Make tree more pages named Paddle Boards, Windsurf Boards, and Kytesurf Boards.
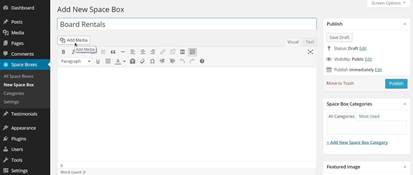
When you are done, go to Spaceboxes/New Space Box, name it Board Rentals, and click the Add Media button.
Go to Upload Files to select and upload the images you are going to use, to your Media Library.
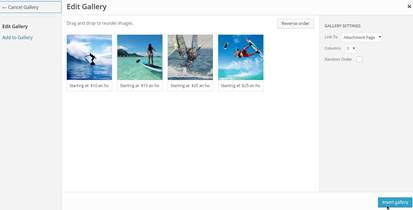
Select the first image and change the title to Surfboards, then add the caption Starting at $10 an hour. Type in the permalink address of the Surfboards page to the Image link field of your Surfboards picture. It should look like : yourdomainname.com/surfboards
You can also go to Pages/All Pages find the page Surfboards click Edit and copy the permalink, located under the page name, and paste it into the Image Link field.
Do the same for the Paddle Boards, Windsurf Boards, and Kite Surf Boards images, but use different starting prices.
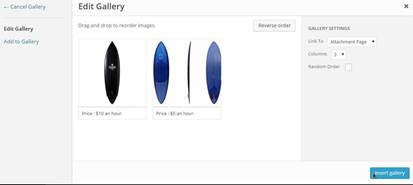
When you are done, click on Create Gallery. Select the Surfboards, Paddle Boards, Windsurf Boards, and Kyte Surf Boards, pictures, click on Create a new gallery
Insert Gallery
Publish the Space Box.
Go to All Space Boxes select and copy the short code of the Board Rentals Space Box.
Under Pages/All Pages find the page Board Rentals click Edit, and paste the code to the visual editor Insert "itemcolumns=4 size=300 x 300" into the code, and click Update.
When you go back to your Services page and click on the Board Rentals picture you will be sent to the Board Rentals page where you can see the four different categories of boards, and each one will show the starting rental price.
In the next step, you will use the same principle to insert some inventory to the Surfboards page.
For this example, you are going to add a couple of pages under the Surfboards page. However, you can use this technique to add as many as you want.
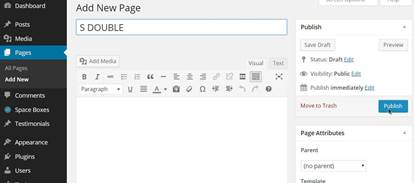
First, go to Pages/Add New. Title the first page BLUE BIRD, and the second one S DOUBLE.
Next go to Space Boxes/New Space Box and name it Surfboards. Click on Add Media.
Upload your images and for the first one change the title to BLUE BIRD, add the caption Price : $5 an hour, and type in, or copy the permalink of the Blue Bird page into the Image link field for the BLUE BIRD picture.
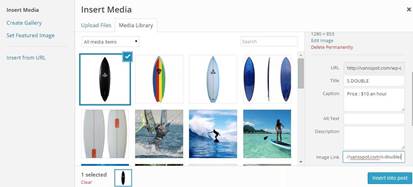
For the second image, type S DOUBLE for the title and add the caption Price: $10 an hour. Type in, or copy the permalink of the S DOUBLE page into the Image Link field.
When you are ready, click on Create Gallery link, select BLUE BIRD and S DOUBLE, then click on Create a new gallery.
Click on Insert gallery
Click on Publish to create your Surfboards Space Box.
After that, go to All Space Boxes, and select and copy the code for the Surfboards Space Box.
Go to Pages/All pages. Find the Surfboards page and click on Edit. Paste the code into the visual editor and add "itemcolumns=4" into the code and click Update.
Before you go back to your site, you are going to add some content to the BLUE BIRD and S DOUBLE pages.
Under Pages/All Pages find the BLUE BIRD page and click on Edit and Add Media. Find and insert the BLUE BIRD picture into the visual editor.
Along with the image I also saved the text that I found in a blog post. I am going to paste the text in parenthesis and mention the authors name and the date posted.
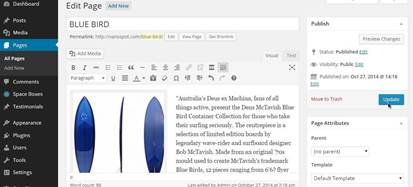
When you are done click the Update button, and follow the same steps to add content to the S DOUBLE page.
Refresh your site and you will see that now you can go from the Services page to the Board Rentals page and under the Surfboards category page, you can click on either one of the boards to see a larger image along with detailed information about it.
Also, you probably have noticed already that for example, you can only navigate to the BLUE BIRD page by clicking on Services from your navigation menu than on the Board Rentals picture, than the Surfboards picture and finally on the BLUE BIRD picture to access the BLUE BIRD description page.
If you want to, you can create a drop menu for the Services link in the Main navigation menu.
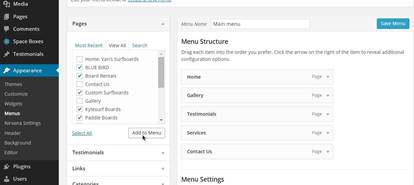
Under Appearance click on Menus. Under the pages section on the left click View All. Than check the box next to all the new pages which you created, then click on Add to Menu.
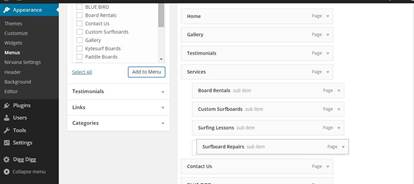
Drag the Board Rentals, page underneath the Services page, but shift it a little bit to the right until you see the punctured line, and then drop it in there. Than align the Custom Boards, Surfing Lessons, and the Surfboard Repairs pages straight under the Board Rentals, page, without shifting them to the right.
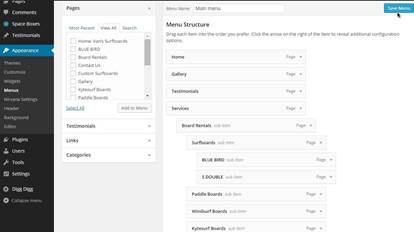
Than using the same technique to drag and drop the Surfboards, Paddle Boards, Windsurf Boards, and Kite Surf Boards pages under the Board Rentals, page shifted little bit to the right. And finally do the same with the BLUE BIRD and S DOUBLE pages by placing them under the Surfboards page. If you have more pages, follow the same idea to organize them. When you finish click Save Menu.
Now when you refresh your website and go over the Services in your Main menu, you will see
that you have a drop menu where you can choose the category you want and find the specific product from the list and click on it to see the page with a detailed description for that product.
So by using this plugin and the techniques that you just learned, you can add as many categories and as many products as you want to your website, and display them whichever way you like.
Next thing you are going to do is to add a map and your contact information to the Contact Us page.