Building a mailing list is an important tool amongst bloggers and small business owners.
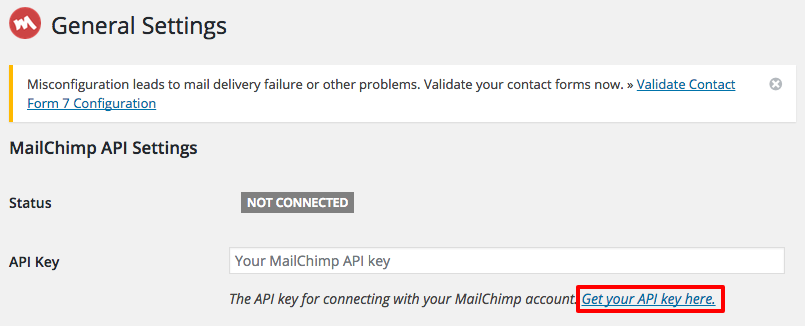
Navigate to the MailChimp section your WordPress dashboard

Click on the link ‘Get your API key here’
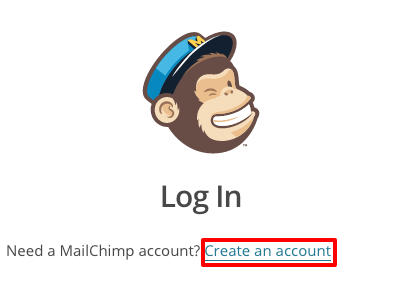
This will take you to the MailChimp website, create an account.
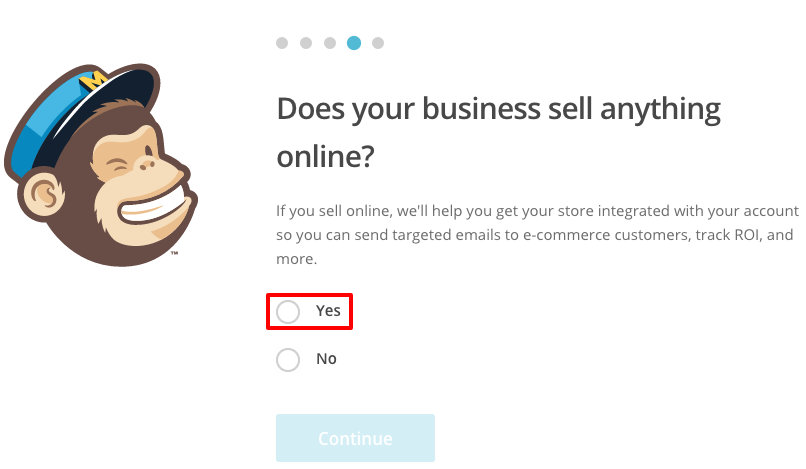
When prompted, select Yes on the Does your business sell anything online? Page. This will be useful if you decide to sell products through your website in the future. You will need to activate your account through the email provided.
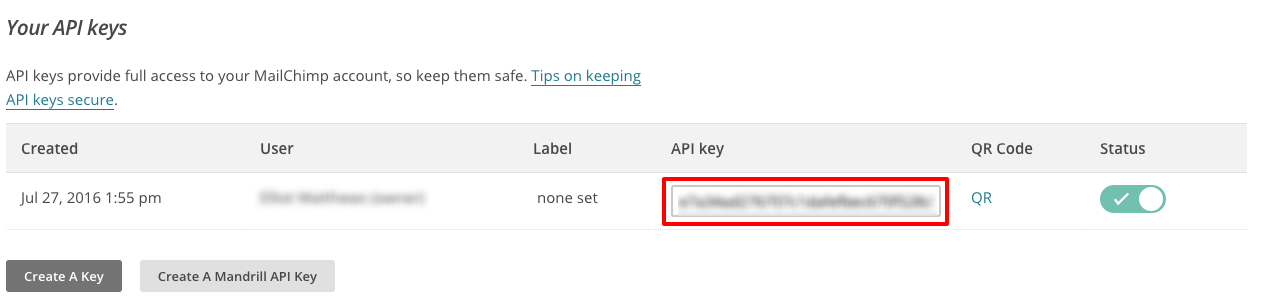
Once you have entered your details and clicked continue, you will be taken to the MailChimp dashboard. Select Create a Key.
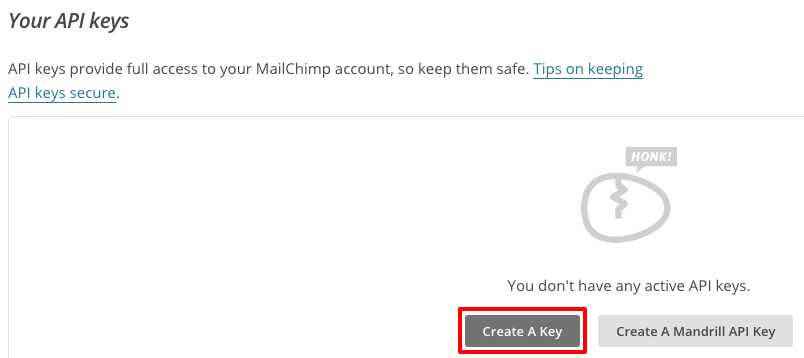
This will generate a key that you will then enter in the MailChimp WordPress section.
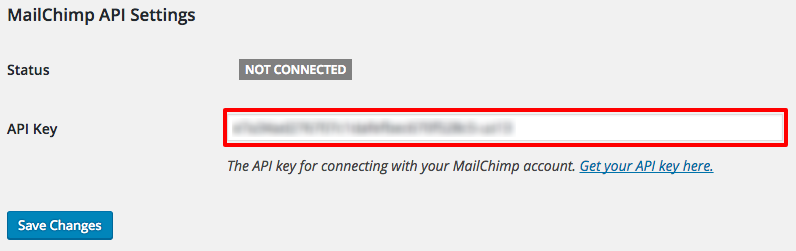
Copy and paste the key into the text box next to API Key and click Save Changes.
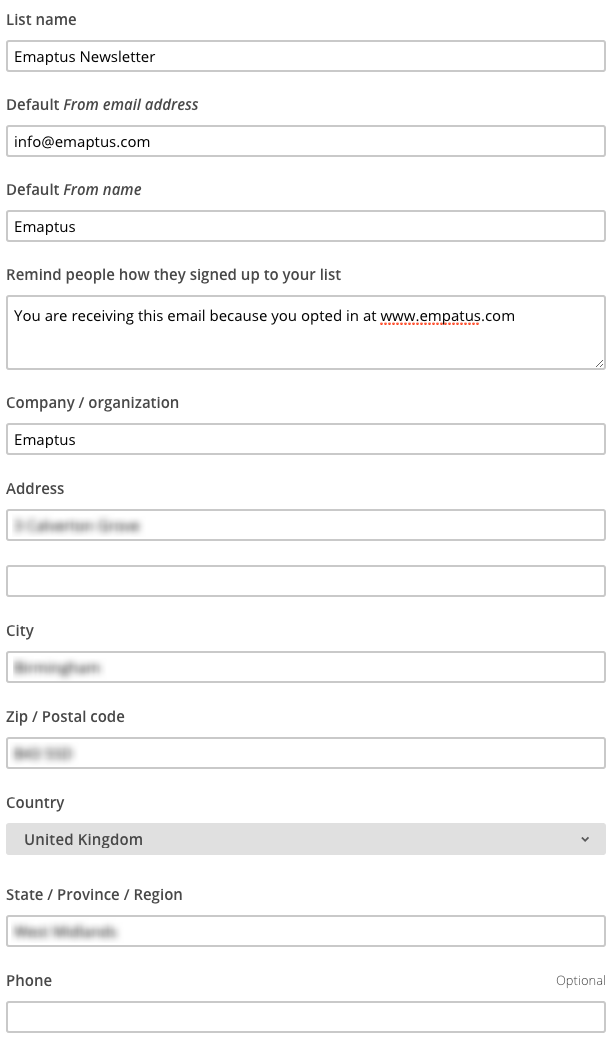
Head back to the MailChimp website and navigate to Lists at the top of the page. Select Create List,

Enter details for your mailing list as shown below.
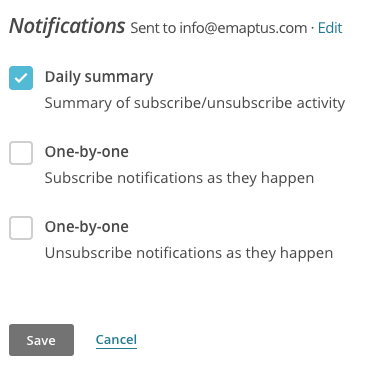
Select your notification preferences and click Save.
After you have created your list, it’s time to learn how to create subscriber popups to increase your opt in numbers.
Creating your popup
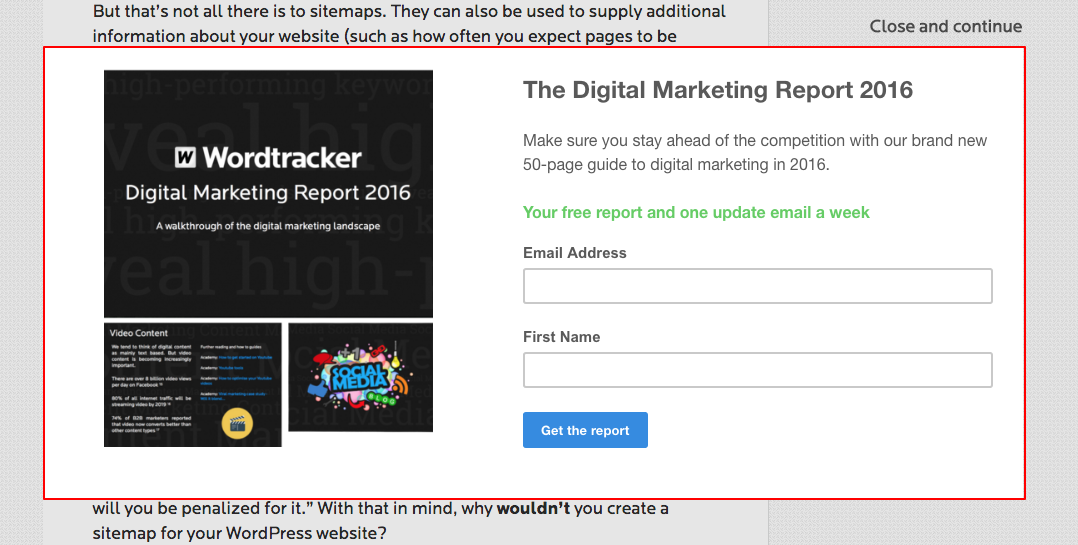
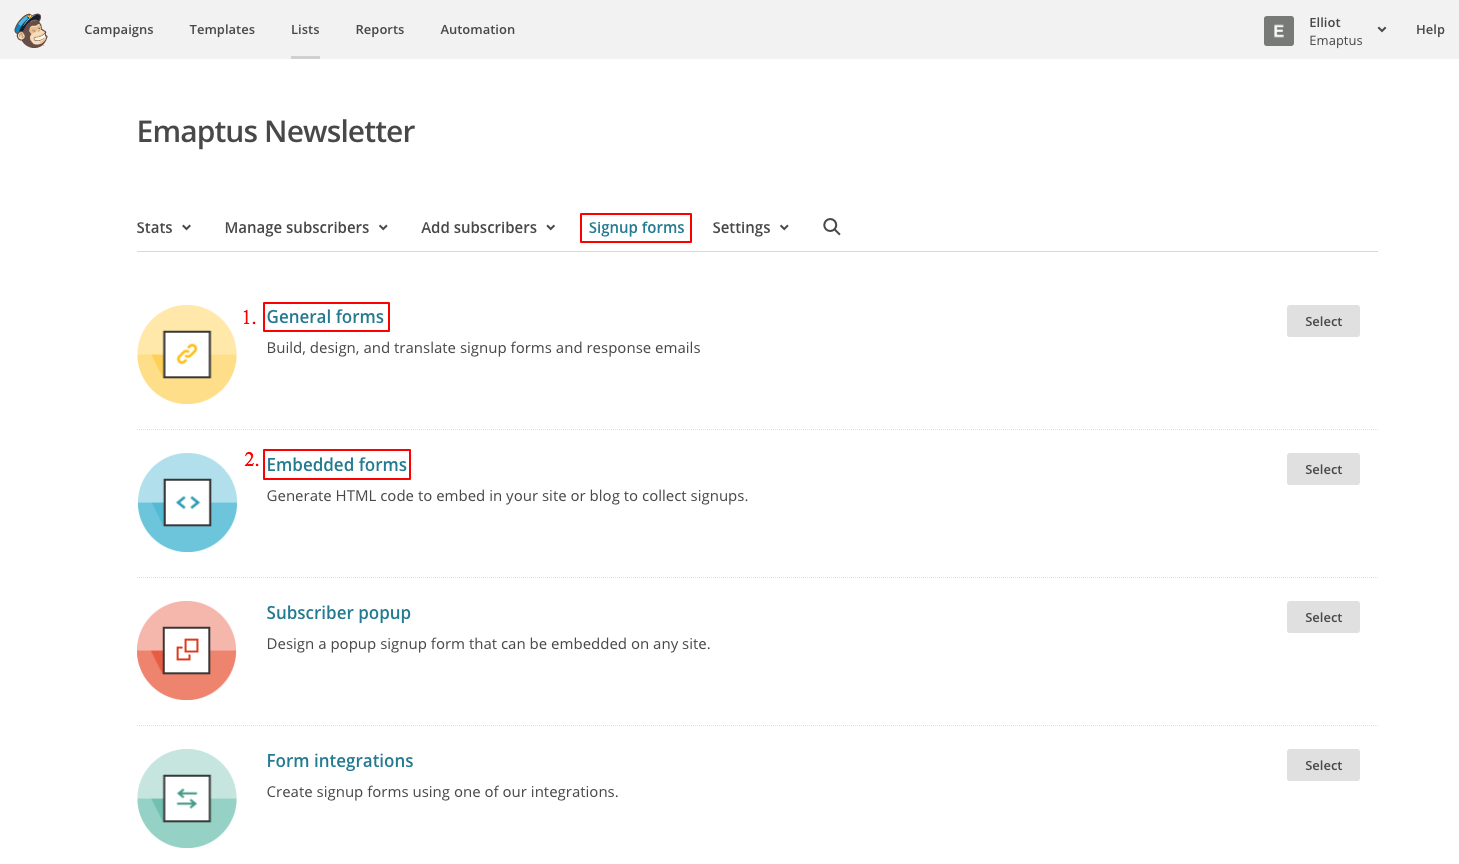
You will have probably noticed that many blogs and websites have popups asking you to sign up for news, updates or to receive free digital goods. You may have given in and opted in to a few of these. To create your own opt in form, select your list and navigate to signup forms and then to ‘General forms’.
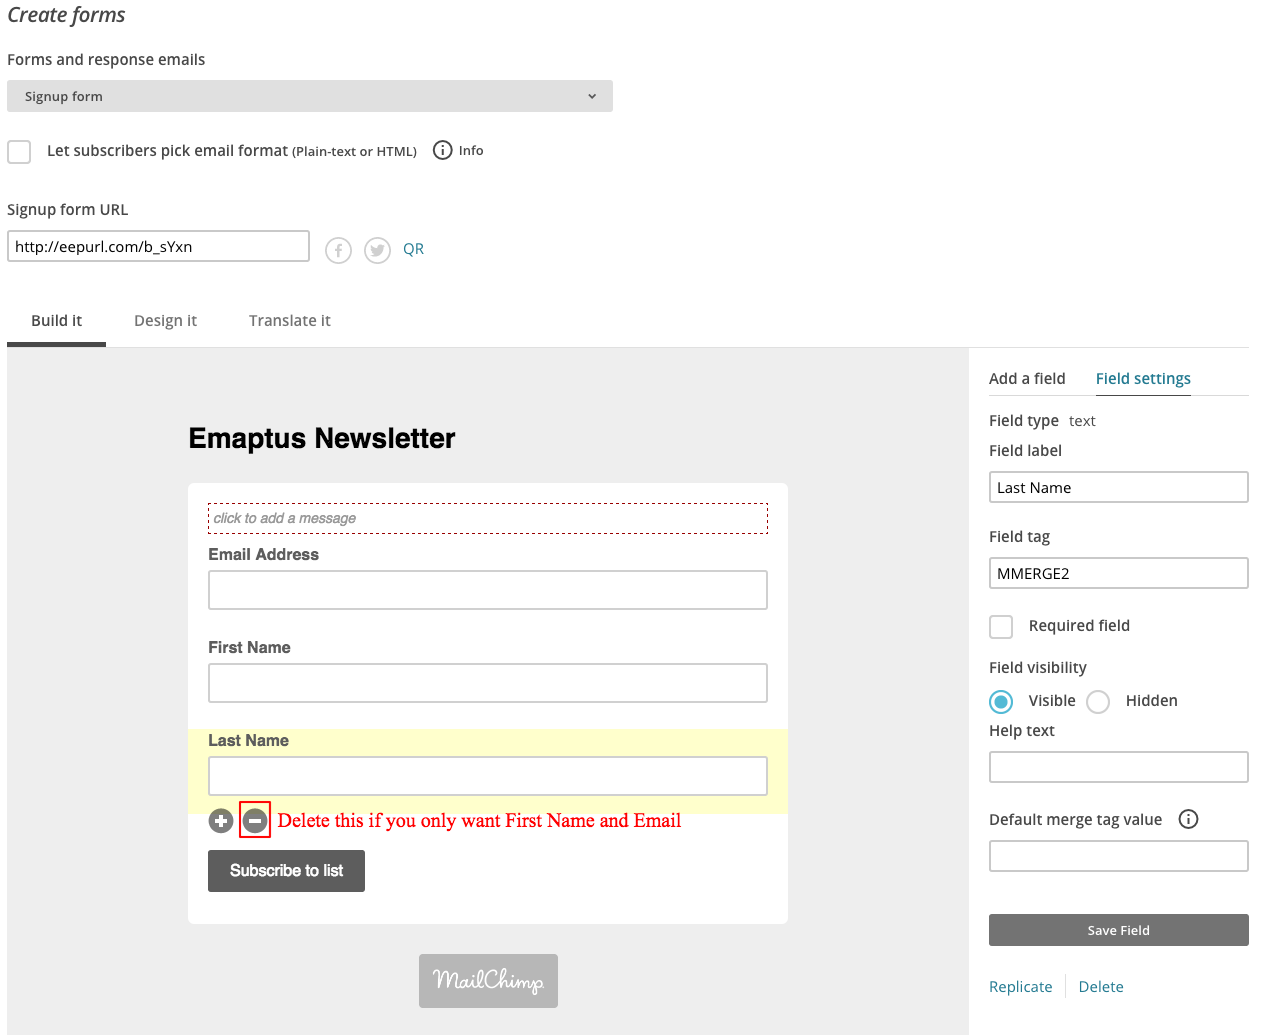
All we are doing in this window is deleting the last name field but you can choose to keep it if you prefer.
Head back to Lists  Newsletter Signup forms and into 2. Embedded forms.

Copy the lines of code from the text box as shown

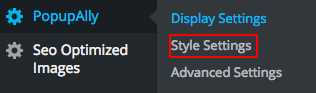
On your WordPress dashboard, click on PopupAlly and select Style Settings
Paste your code into the text box as shown and adjust settings to change the appearance of the popup box.
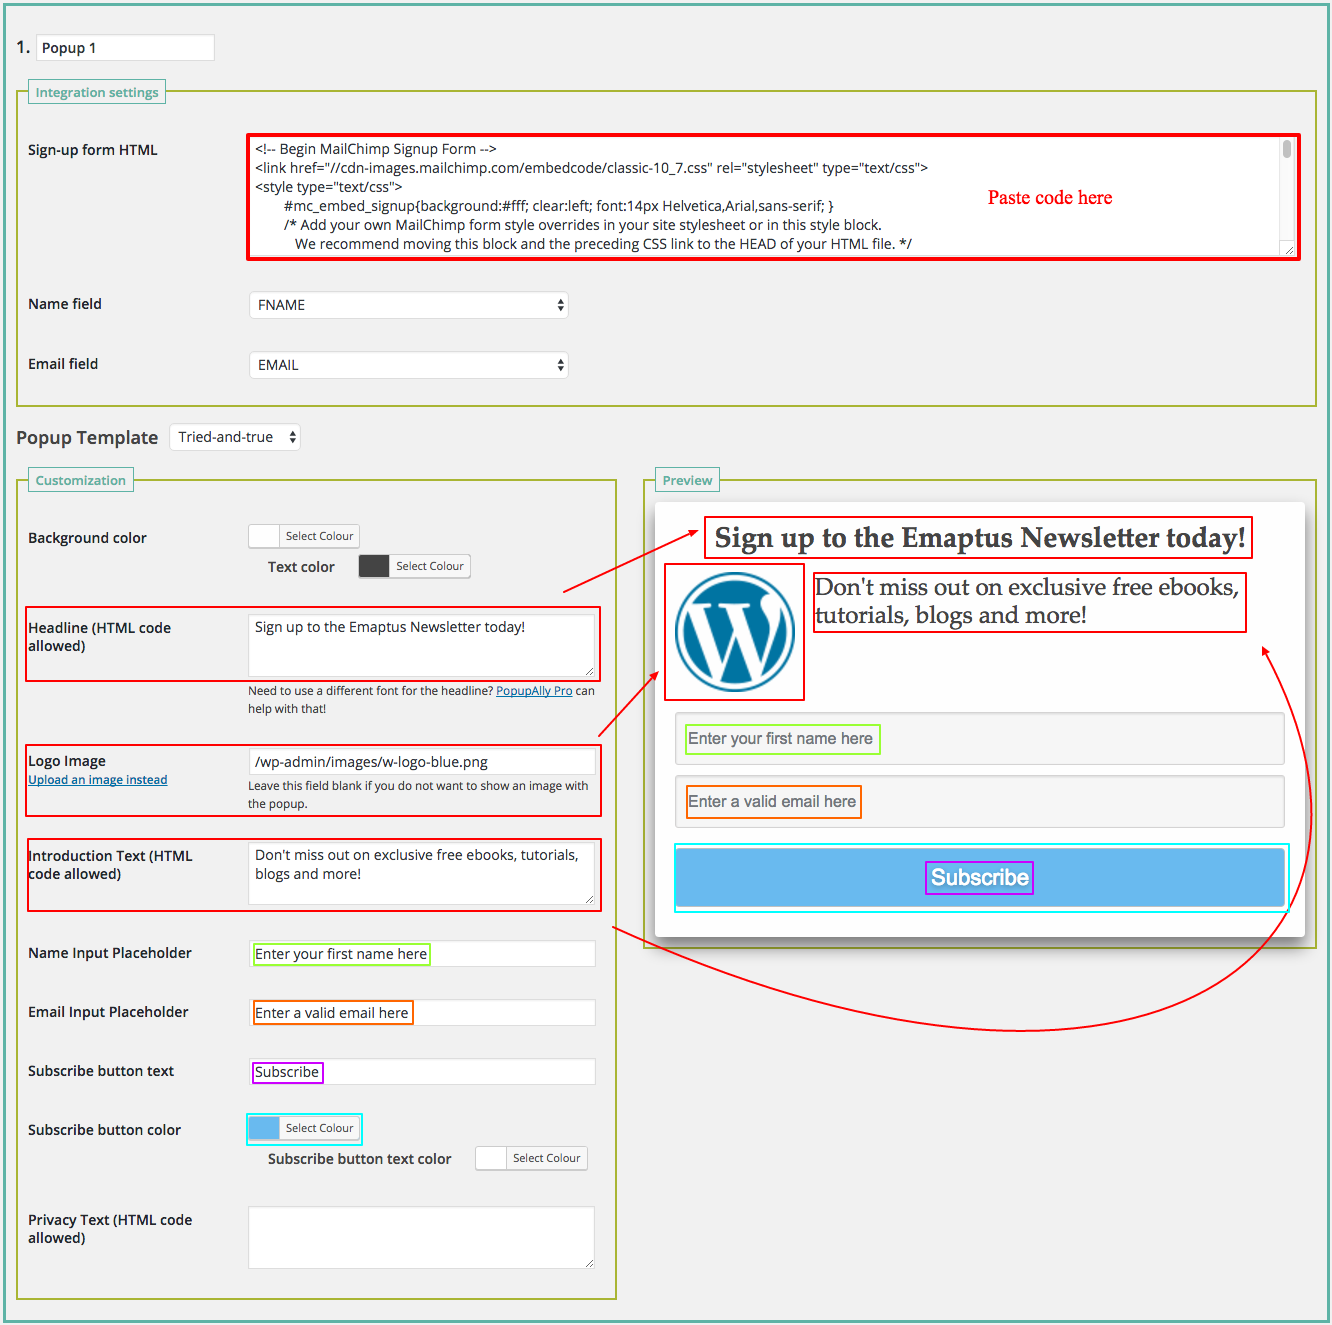
Once finished, go to the bottom of the page and click Save Changes.
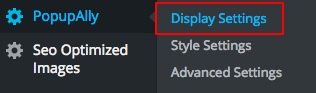
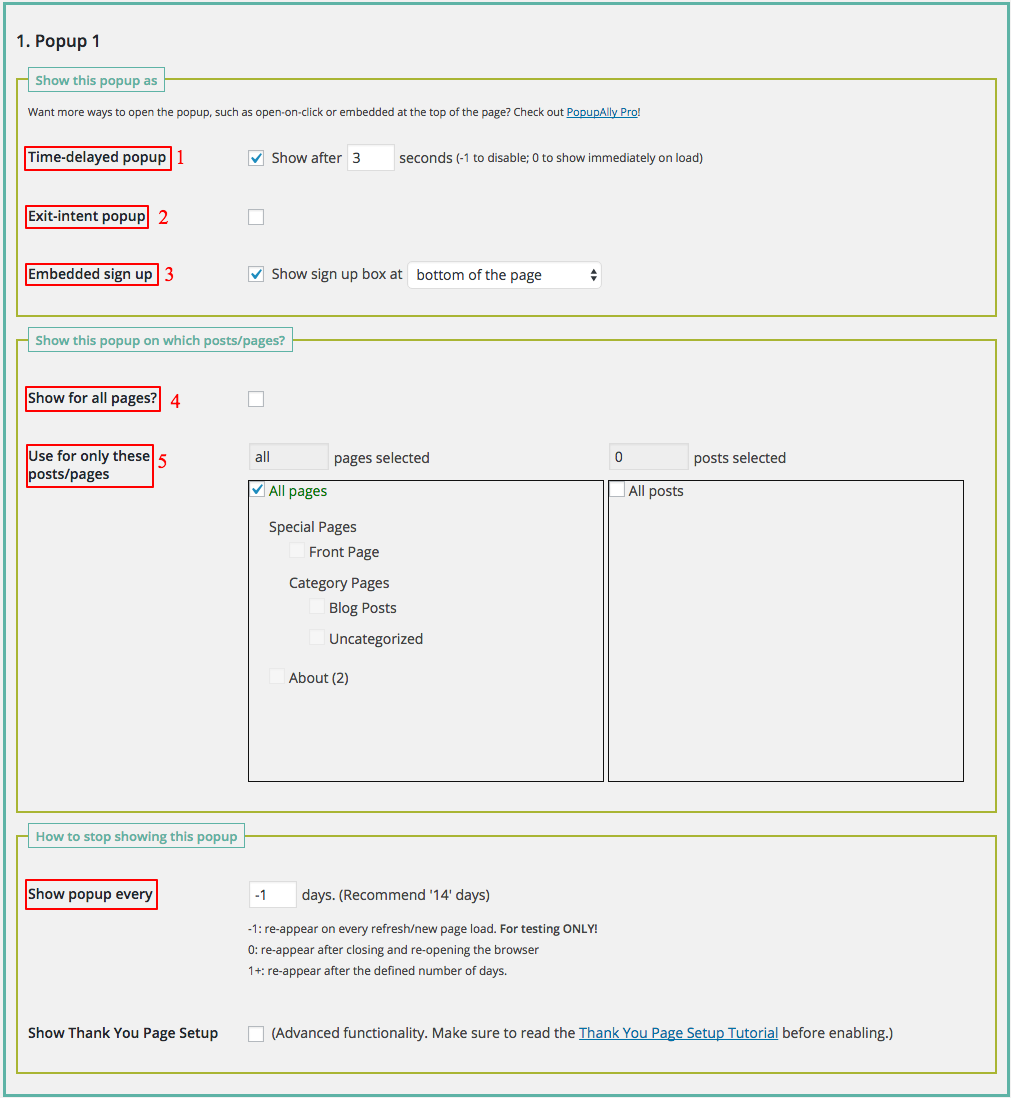
Now head to the Display Settings section. This is where you will adjust the settings for the popup.
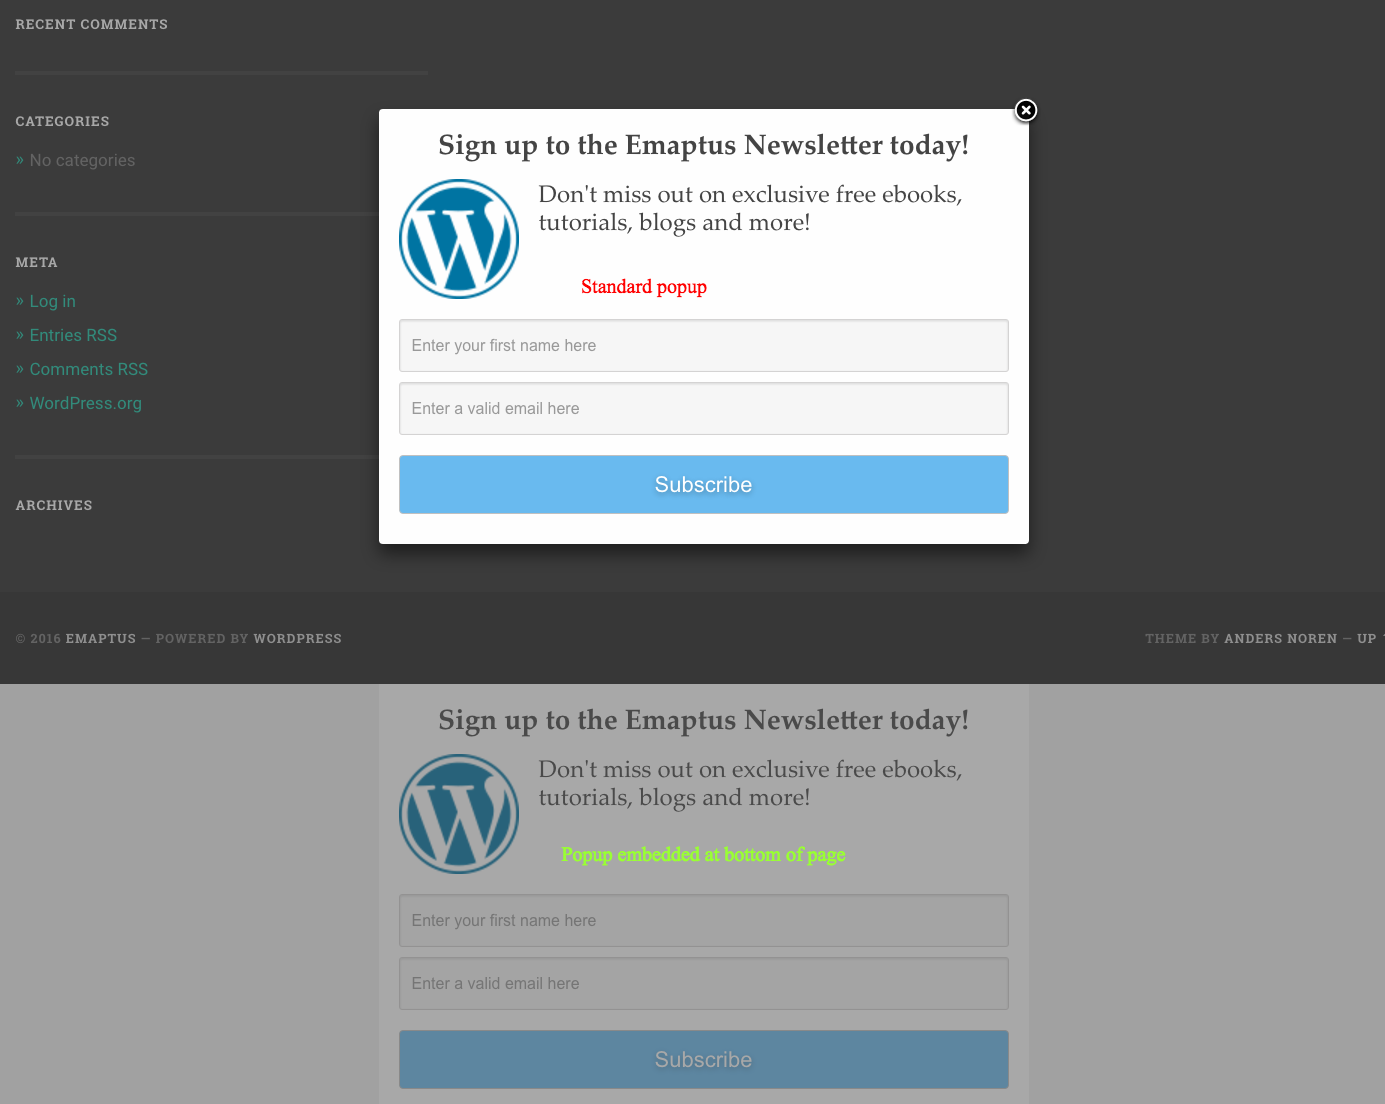
Also, with PopupAlly, you can have two popups set up at the same time if you want a different design embedded somewhere on your website.
Evergage – the secret to pleasant popups: http://www.evergage.com/blog/secret-pleasant-pop-ups/
Unbounce – increase your email opt ins and subscribers: http://unbounce.com/email-marketing/increase-your-email-opt-ins-and-subscribers/