Now it's time to modify your template to contain your links for your affiliate and account IDs.
1. Open a new notepad window (as explained above)
2. Copy the Blogger Template (as explained in the link above)
3. Paste (CTRL+V) the Blog Template into your notepad.
4. Save the file on your hard drive somewhere with the filename "BloggerTemplate.txt"
5. Keep the notepad window open, so you can edit it.
Now that you've acquired a new template for your blog, saved it to disk, and created the accounts necessary to produce revenue, it's time to make a few modifications to the template and install your new template.
1. Inside your notepad with the template, scroll to the very top and click on the word TOP. This will place your cursor at the top of the document, so you can perform a downward search.
2. Inside the notepad window with the template Press CTRL+F to bring up the search
 window .
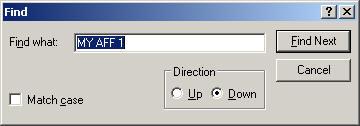
 3. With the search window (or Find dialog) open search for the words "MY AFF 1".
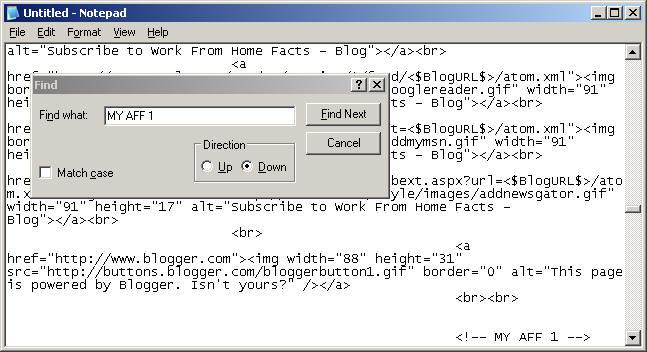
Repeat the search until you locate the <!-- MY AFF 1 --> text in the document. It should look something like the image above. Once you locate this section of the template, it's time to insert your LinkShare 120*240 Vert Banner code, between the <!-- MY AFF 1 --> and the <!-- END MY AFF 1 --> lines of text.
Your 120*240 Vert Banner code should be in the other notepad window you opened when you copied the text link from your LinkShare account. If you've lost that window or do not have the link text, you will need to go back to LinkShare and get it again. Refer to Step 4) of this document for information how.
Next, repeat this same process, only this time search for and edit the MY AFF 2 section of the template. The procedure is exactly the same as with MY AFF 1. The only difference is, you are inserting the 250*250 banner instead of the 120*240 banner.
With any luck, you were able to follow these instructions to modify your template to include your affiliate banners. Once you have established your Google account, simply follow the same procedure to include your Google banners and text advertisements. There is additional information next to each of the areas where you are supposed to enter your Google links, to assist you and to help you blend in your links and banners with the look and feel of the template.
Next step?My Links: Or rather, your links. To add and modify the text links on your blog template, perform the same search techniques within your template for the keywords MY LINKS. Once you find the MY LINKS area, you will find a link that looks something like this.
<!-- MY LINKS -- Copy and Paste a link, then edit it to meet your desired link destination --> <tr align="left"><td><a rel="nofollow" target="_blank" href="http://www.WorkFromHomeFacts.com/" class="mainlevel" id="active_menu"> Link 1</a></td></tr>
<tr align="left"><td><a rel="nofollow" target="_blank" href="http://www.obotix.com/" class="mainlevel" > Link 2</a> </td></tr>Once you have located this section, you will only need to modify the areas highlighted in blue. The link information above is our "before" modification, and the text below is the "after" modification. We will ad links to Blogger and Yahoo as an example.
<!-- MY LINKS -- Copy and Paste a link, then edit it to meet your desired link destination --> <tr align="left"><td><a rel="nofollow" target="_blank" href="http://www.blogger.com/" class="mainlevel" id="active_menu"> Blogger</a></td></tr>
<tr align="left"><td><a rel="nofollow" target="_blank" href="http://www.yahoo.com/" class="mainlevel" > Yahoo!</a> </td></tr>Now. See how easy that was to modify the links section of your template? Hopefully, things are going smooth for you and you're able to follow along and make the modifications as we go along.