Day Three
Task One: Upload your new sales page to your hosting account and have it go live !
Now that your sales page is clean-looking and personal, it's time to upload it to the web for everyone to see.
This step is fairly easy, as you should have every file you need in your reseller product folder. Watch my videos to see how I do it, as it is easier to understand with a visual support.
This step can vary slightly depending on what hosting provider you're using. I will be demonstrating the upload on hostagator with a sales page for the ebook gateway to success. By the time you read it, it should still be live at gatewaytosuccessmethod.com.
Login to your control panel.
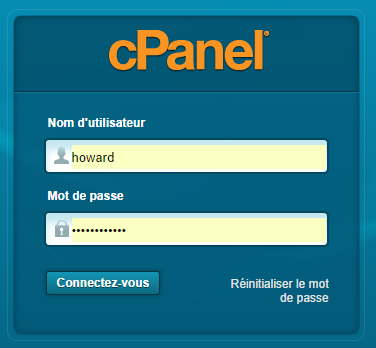
You typically receive connection information by email when you register a hosting account, including the link to your cpanel as well as your password.
Once you've logged in, head to your “FILE MANAGER”, which will be present regardless of which service you're using.

Now you will land on a page that might seem confusing in it's layout. File Manager is a complex application but our use of it will be minimal, as we will simply upload our files.
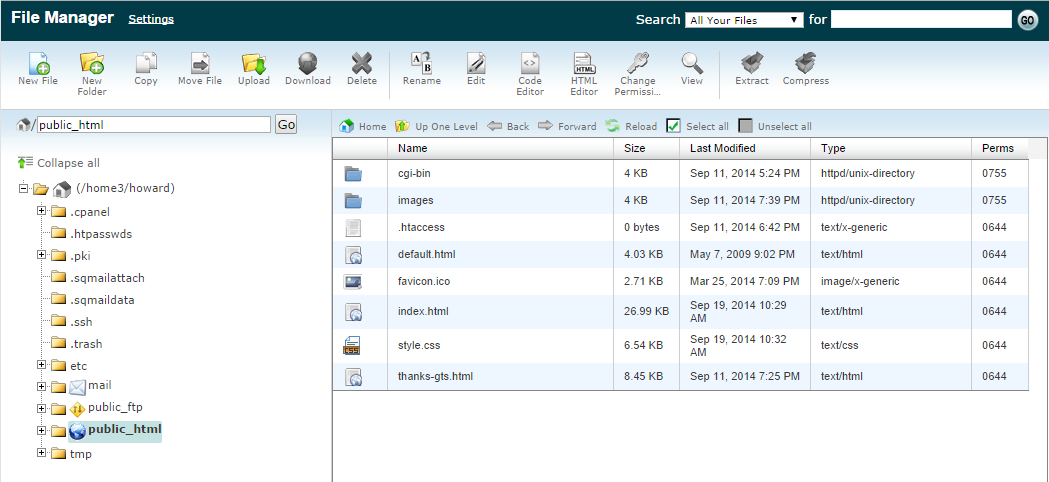
I want you to select “public_html” on the left bar then click “upload”. You will be brought to a page where you can select files. Now select Index.html(your custom sales page) and your css file(if you have one), then upload them. Now come back to your files manager and click on the “images” folder, which should be empty.
You will now have to upload every image present on your sales page. The readymade businesses I provided you with will have all of them ready. That's it.
Now close your files manager, wait a couple minutes then try typing your domain name url in a search browser, and everything should function properly. If it doesn't, you might have forgotten a file.
If that's not the problem, feel free to send me an email and I'll get back at you.
Task Two: Create an email address and update your JVZoo product
Now that you have uploaded your page, I want you to create an email address. This will be the address you will use for money back requests as well as for support, and for any message that's relevant to your product and website.
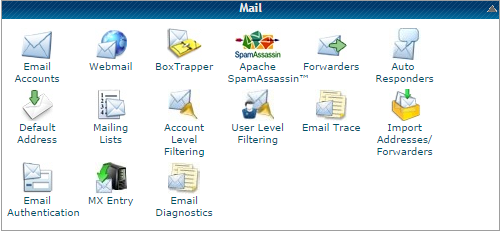
Head to your control panel and select “Email Accounts”.
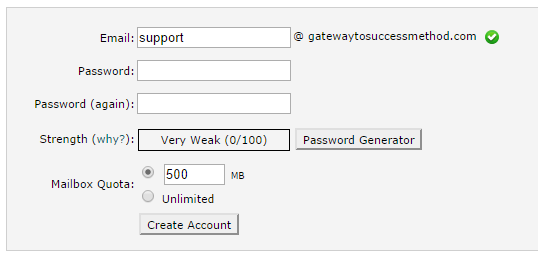
Now just enter whatever email address you would like. I recomment “support@yourdomainname.com” or “help@yourdomainname.com” as it looks really clean and professional. Select a password and you're good to go.
Now head back to your JVZoo account and head to your seller's dashboard. Next to your product, click “edit” and start making changes. Update your support email address, update your product's availability (allow sales AND show in marketplace) and click “Save”.
That's it for today. On day four and five we will focus on bringing traffic to your new internet business. Traffic is arguably the most important part of the operation, as it will define wether or not you make sales, and therefore money. If you sell your product around 20$, your aim should be to sell 10 a day to make a livable income. It is very possible to do so, even if you might not reach these numbers right away.
So come back tomorrow and let's get going.