Okay, one more tutorial because static images are rather boring. Let’s liven things up, and animate the cube.
No need to create a new project, as this tutorial is an extension of the last one. Instead, add the following include to the top of Main.cpp:
#include <glm/gtx/transform.hpp>
It adds some extra transformation functions that are useful.
Up till now all tutorials have rendered a single image and then waited for the user to quit via SDL_WaitEvent(). To animate the cube we need to regularly generate new frames (image) to display. So, we need to switch to a loop.
The new loop will:
The first step is to replace SDL_WaitEvent() with SDL_PollEvent():
// Handle events
SDL_Event event;
if (SDL_PollEvent(&event) != 0) {
if (event.type == SDL_QUIT) {
// User wants to quit
quit = true;
}
}
SDL_PollEvent() also checks if an event has occurred, but will return immediately if there was no event. So our main loop now regularly checks (polls) for new events.
Next, shift rendering of the image into the polling loop. To do this, copy the glClear(), glDrawElements() and SDL_GL_SwapWindow() calls into the main loop:
// Redraw
glClear(GL_COLOR_BUFFER_BIT | GL_DEPTH_BUFFER_BIT);
glDrawElements(GL_TRIANGLES, numIndices, GL_UNSIGNED_SHORT, (GLvoid*)0);
// Update the window (flip the buffers)
SDL_GL_SwapWindow(window);
If you run the program now, then you’ll see exactly the same cube. However, it’ll be redrawn many times a second. You can’t see that, though, because it’s not animated yet.
The animation will be really simple; the cube will rotate at a constant rate. We want it to rotate at the same speed regardless of how fast or slow the machine is, or what else the computer is doing. So, time must be measured.
Add the following just above the main loop (so above while(!quit)):
// Prepare the animation
float cubeAngVel = 0.75f;// Radians/s
glm::vec3 cubeRotAxis(1.0f, 0.0f, 0.0f);
Next, add the following after the event checking code (so after the section starting with SDL_PollEvent()):
// Animate
Uint32 currTime = SDL_GetTicks();
float elapsedTime = (float)(currTime - prevTime) / 1000.0f;
prevTime = currTime; // Prepare for the next frame
SDL_GetTicks() gets the time since the SDL library was started in milliseconds. The code above calculates the elapsedTime in seconds since the last time this code was executed.
Now for the actual animation code. Insert the following code directly below the time measurement code you just added:
modelMat = glm::rotate(cubeAngVel * elapsedTime, cubeRotAxis) * modelMat;
mvMat = viewMat * modelMat;
normalMat = glm::inverseTranspose(mvMat);
glUniformMatrix4fv(mvMatLoc, 1, GL_FALSE, glm::value_ptr(mvMat));
glUniformMatrix4fv(normalMatLoc, 1, GL_FALSE, glm::value_ptr(normalMat));
The code above rotates the model by cubeAngVel radians/s, then recalculates the MV and normal matrices and uploads them to the GPU.
Here’s the entire main loop with the changes made above:
// Prepare the animation
float cubeAngVel = 0.75f;// Radians/s
glm::vec3 cubeRotAxis(1.0f, 0.0f, 0.0f);
// The main loop
bool quit = false;
Uint32 prevTime = SDL_GetTicks();
while (!quit) {
// Handle events
SDL_Event event;
if (SDL_PollEvent(&event) != 0) {
if (event.type == SDL_QUIT) {
// User wants to quit
quit = true;
}
}
// Animate
Uint32 currTime = SDL_GetTicks();
float elapsedTime = (float)(currTime - prevTime) / 1000.0f;
prevTime = currTime; // Prepare for the next frame
modelMat = glm::rotate(cubeAngVel * elapsedTime, cubeRotAxis) * modelMat;
mvMat = viewMat * modelMat;
normalMat = glm::inverseTranspose(mvMat);
glUniformMatrix4fv(mvMatLoc, 1, GL_FALSE, glm::value_ptr(mvMat));
glUniformMatrix4fv(normalMatLoc, 1, GL_FALSE, glm::value_ptr(normalMat));
// Redraw
glClear(GL_COLOR_BUFFER_BIT | GL_DEPTH_BUFFER_BIT);
glDrawElements(GL_TRIANGLES, numIndices, GL_UNSIGNED_SHORT, (GLvoid*)0);
// Update the window (flip the buffers)
SDL_GL_SwapWindow(window);
}
Run the new code, and you’ll see the animated cube rotating complete with realistic lighting (Figure 16). Congratulations! You just rendered your first animated scene.
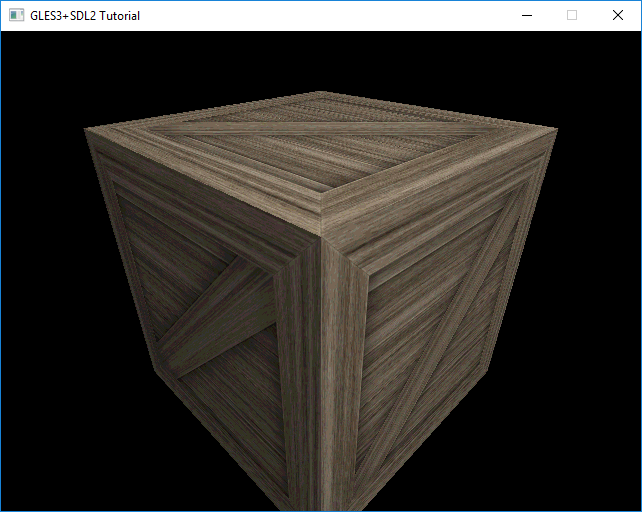
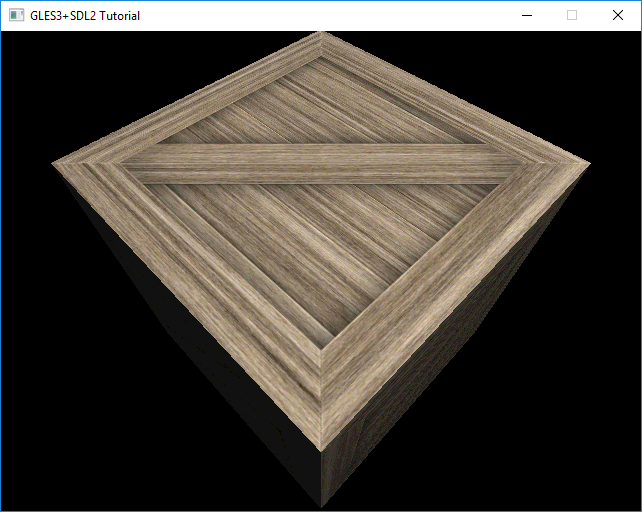


Figure 16: Four frames of the animated cube.


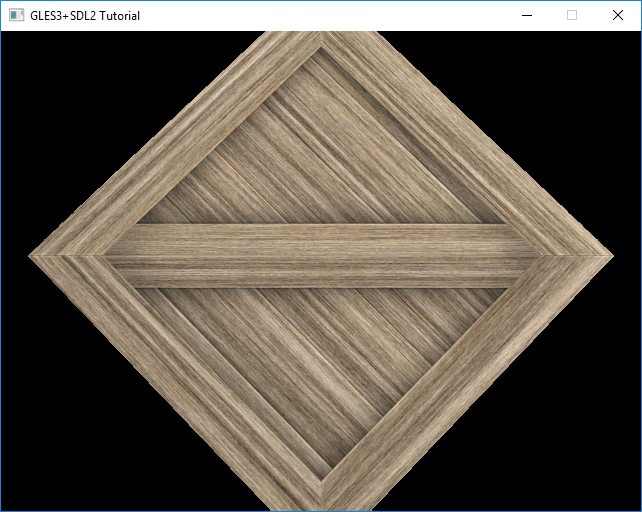

Figure 16: Four frames of the animated cube.
Try to do the following:
Congratulations on completing this tutorial! It’s taken you from nothing to rendering a simple 3D scene. So, what to do next? Here are a few suggestions...
First up, here’s a new Visual Studio template for you to use:
https://keasigmadelta.com/assets/GLTutorials/GLES3SDL2-Application-Extra.zip
This includes SDL2_image and GLM, so you don’t have to set those up every time.
There are plenty of OpenGL (ES) tutorials out there. I haven’t found any ones for OpenGL ES 3+ that I’d recommend. The same goes for books. There are plenty of books out there, but they tend to be rather heavy. I have yet to make a shortlist. So for now, do your own search. If you find something great, then let me know.8
IMPORTANT: If you see any tutorials with glBegin()/glEnd(), then run away as fast as you can. The same goes for any tutorials using the old fixed pipeline (e.g., glLight()).
It’s worth reading through the rest of the Modern Graphics Programming Primer. In particular, you’ll find the cheat-sheet and resources sections at the end to be quite handy. You can get the Primer here:
https://keasigmadelta.com/graphics-primer
I’d love to hear from tutorial “graduates” who have made something interesting/awesome. So if that’s you, then send me a message: https://keasigmadelta.com/about-us/contact-us/