We are going to start by adding your Page Title and Tag Line and if you see in the example above, I have added an arrow pointing to the settings in the left hand column.
Please click on that and you will come to this page:
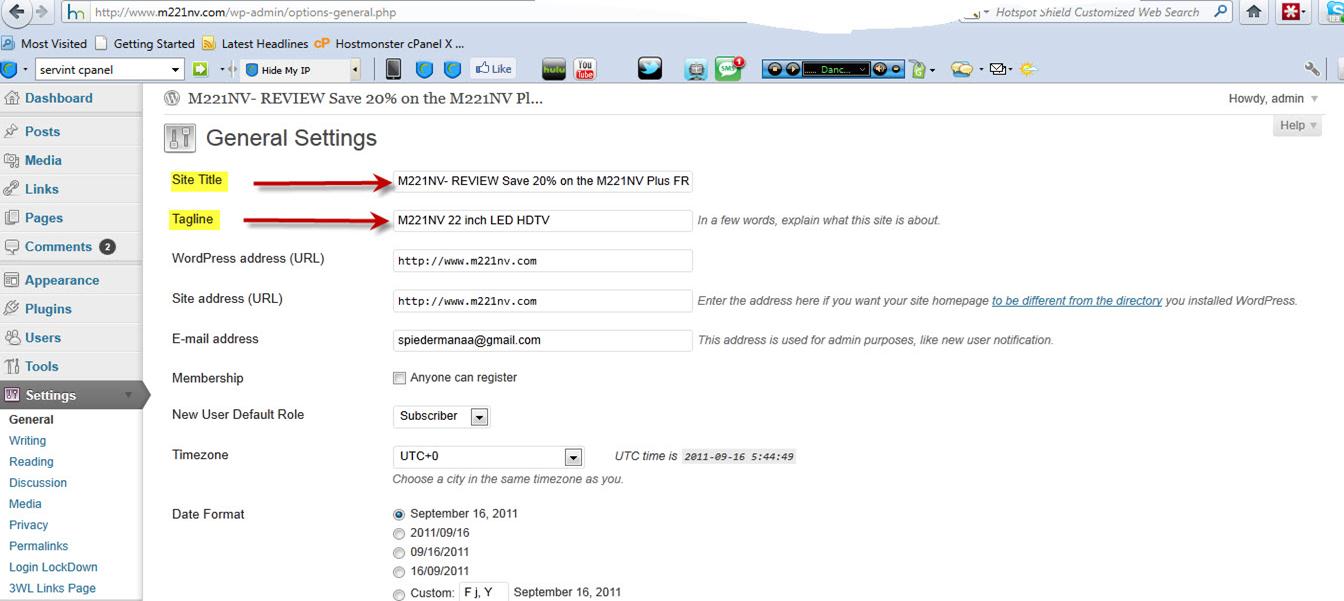
I have highlighted and added an arrow to the 2 fields you need to fill in here. This information is what will appear at the top of the website when it is loaded and also the title of what will appear on a Google search, just like the actual title of this example which I have shown you below.
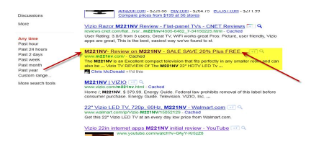
So be sure when you write it that you use your keywords and enticing words to make you stand out from the others on the page. To see it for yourself, do a Google search for “M221NV” and see all the examples. Here is a screen shot to show you below.
In the tag line area, be sure to use your product keywords in it. This will show just below the title on your website and so it is vital that you have your keyword here. Once you are happy with your Title and Tag line Click “Save changes”
Yes I know, you're thinking, “WHAAAAT, what the heck are permalinks?” Don't worry, just follow the steps, I assure you it is very easy.
All permalinks do is change how the page address is shown. For example, right now your permalink structure will look like www.YourSite.com/pg27 . We are going to change it so it looks like www.YourSite.com/keyword which will help a lot with ranking in search engines.
Don't worry it is very simple!
First step, in your left side toolbar click on, “Settings” and then “Permalinks”.
See an example below:
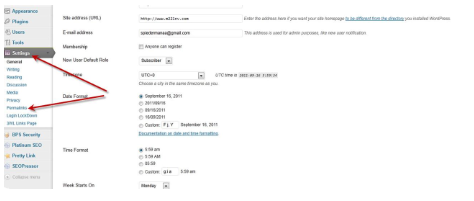
You will then come to this page:
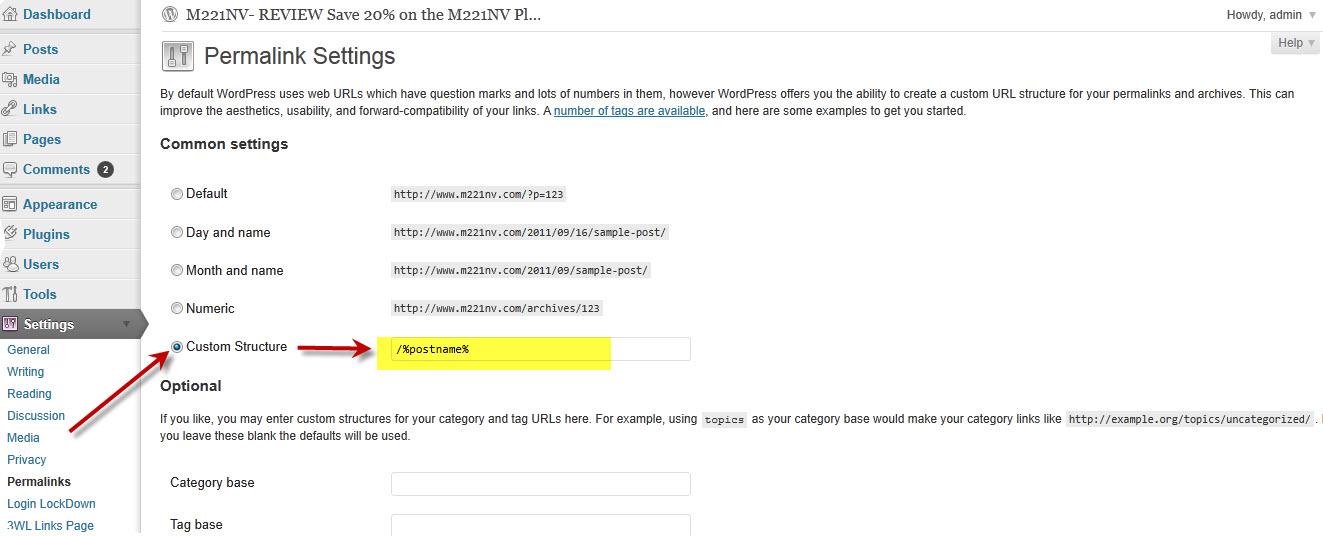
It will be set to default so you need to change it to “Custom Structure” by checking the button where I have indicated with the angled arrow.
Then you need to change or add the following into the custom structure box: /%postname%
Make sure it is EXACTLY like I have set out above.
Now Click “Save changes” and move on to the next step :)
I hope you're finding it easy to follow?
It really works great with my step by step video course 21 Steps to your first Amazon Cash King Website which can be accessed via the Amz Training Academy Members Area.