LESSON 05 – ADDING LETTERS
If you just wanted a simple campaign that sends out a single piece of information such as instructions on how to download something, then what we have covered so far is enough. However there are times that you want to send more than one letter. Maybe you have created a newsletter and you want to mail it monthly to your subscribers, or maybe you want to set up a regular mailing such as an email course or a set of follow up letters to persuade your subscribers to visit your website.
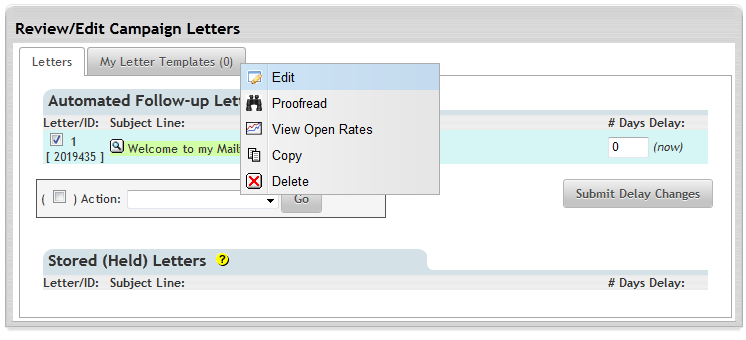
In this lesson we shall amend the welcome letter in the “mylist” campaign and add an extra letter. Log into Trafficwave and enter the campaigns section. From the list of campaigns enter the “mylist” campaign by clicking on the “mylist” link as before. Now select “Review/Edit Letters” from the Letters tab drop down menu as shown below.

EDITING THE WELCOME LETTER
In the “Letters” section you will see the welcome letter you created before. To edit it click on the subject line that says “Welcome to my Mailing List” and select “Edit” from the menu as shown below.
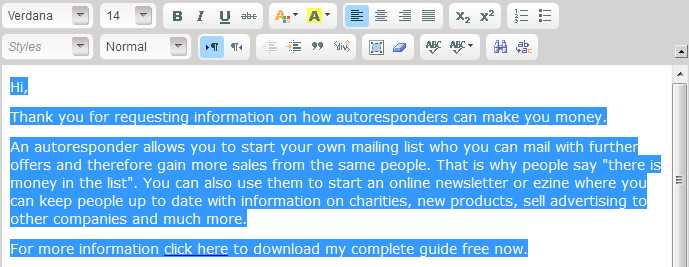
Since this letter is going to be a free report about autoresponders then you need to change the text in the Letter Box to the following.
Hi,
Thank you for requesting information on how autoresponders can make you money.
An autoresponder allows you to start your own mailing list who you can mail with further offers and therefore gain more sales from the same people. That is why people say "there is money in the list". You can also use them to start an online newsletter or ezine where you can keep people up to date with information on charities, new products, sell advertising to other companies and much more.
For more information click here to download my complete guide free now.
http://www.myname.com/autoresponders/
Yours Truly,
Dean Sharples
Now we need to make the URL clickable. To do this highlight the URL then press the “Ctrl” and “C” keys on your keyboard to copy it. The reason for this is that on some browsers you may not be able to copy and click with the mouse. Now click on the first icon in the picture below with the word “link” underneath.

Now paste the URL into the URL box below by using “Ctrl” and “P” to paste.
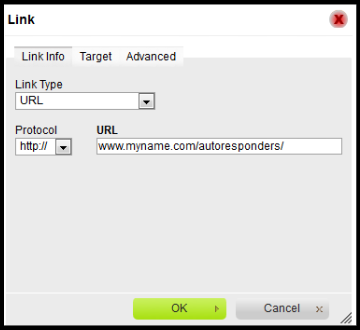
Now click the “OK” button and you will see that the URL is now an active link.

In this example I highlighted the actual URL in the letter and make it clickable. Using the same method I can make a word or phrase clickable. For example, by highlighting the phrase “click here” and repeating the “add link” process I can actually make “click here” an active link as below.
![]()
CHANGING FONT STYLE AND SIZE
If you want to improve the look of your letter then you can change the font style and size from the menu above the letter. To do this highlight all the text in the letter with the mouse (or click anywhere in the letter and select “Ctrl” and “A”. Now select the font and size you want in the menu. In the screenshot below I have selected the Verdana style with Size 14.
There are many options you can use to improve the look of your letter which I will show you in a later lesson. But for now we have finished with this letter so click the “Save This Letter” Button.
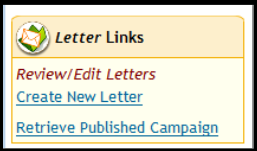
I am hoping that my subscriber has downloaded my guide after reading my welcome letter, but just in case I am going to send him/her a reminder. Click on “Create New Letter” from the Letter Links menu.
Enter the following information.
Subject: Hello Again!
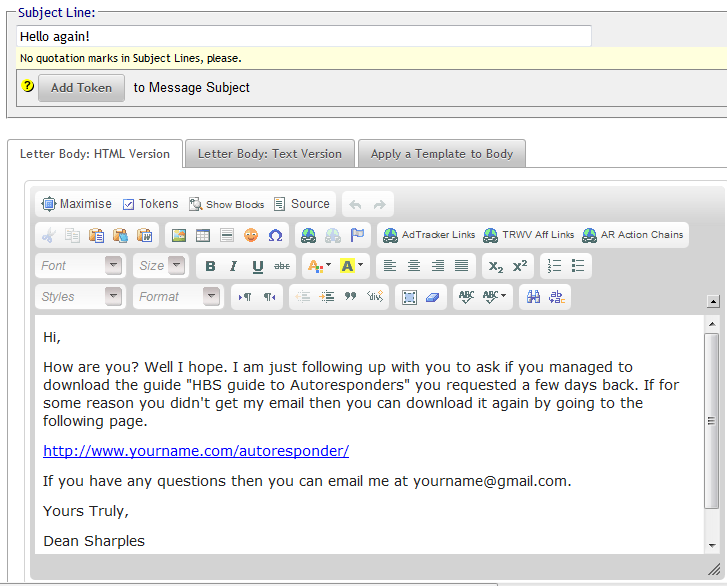
Hi,
How are you? Well I hope. I am just following up with you to ask if you managed to download the guide "HBS guide to Autoresponders" you requested a few days back. If for some reason you didn't get my email then you can download it again by going to the following page.
http://www.yourname.com/autoresponder/
If you have any questions then you can email me at yourname@gmail.com.
Dean Sharples
The email looks like this.
Now click on the “Save This Letter” button. This will return you to the Letters Page where you will notice that the letter appears in the “Stored” section. Letters in this section can’t be sent unless they are either broadcast letters or they have a Day Delay value. I am going to give the newly created letter a value of “4” as I want it to be sent “4” days after the first letter.

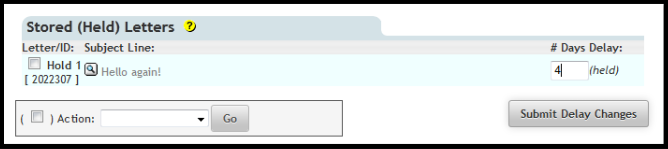
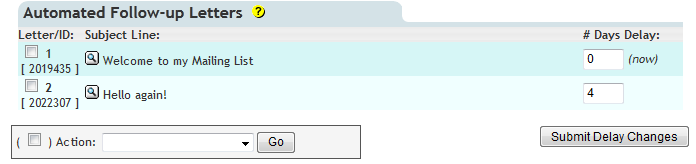
Enter “4” into the “Days Delay” box as shown above. Now click the “Submit Delay Changes” button. Now you will see that the letter has gone under the “Automated Letters” section. Note you can change the delay to something else even if it is under this section. Just change the number and click the button.
TESTING YOUR CAPTURE PAGE
Now it is time to test your campaign to see how it all works. To do this you will need to subscribe yourself by going to your capture page. To do this, click on the “Profile Tab” to go to your Campaign Profile Page.
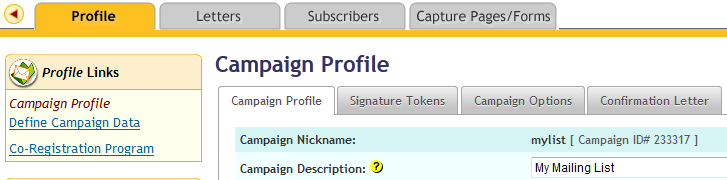
On this page locate your capture page URL which will look like this except it will have your username instead of mine.
![]()
Run this URL in your browser and enter your name and email address. Now log in to your email and look for the confirmation mail. Click the link to confirm and you will receive your welcome letter. If all goes well then great, you have a successfully working campaign.