LESSON 04 - CREATING A NEW CAMPAIGN
When an autoresponder is set up to send letters it is called a “campaign”. To see an example of how the whole thing works click on the link below to be taken to a capture page created in Trafficwave. Enter your name and email address and you will receive more information on autoresponders and how they can benefit you. Remember you can unsubscribe at any time.
SUBSCRIBE TO AUTORESPONDER CAMPAIGN
In this lesson I will show you how to set up a Trafficwave Campaign which consists of the information you need to send to your target audience. You will enter the general campaign information then you will create some letters. First you need to log into your back office and select the Campaign Manager from the main screen. You can do this from the toolbar by selecting Manage my Campaign from the Autoresponder menu or click on the link next to Campaign Manager on the home page.
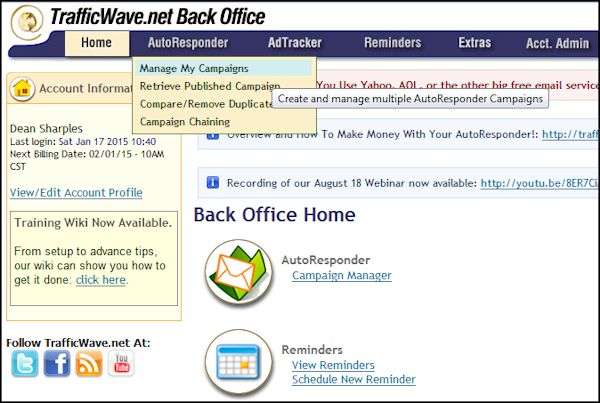
The campaign manager will display all the campaigns you have created. At the moment you should only see the default Trafficwave campaign. Notice that it tells you that there are thirteen letters and no subscribers at the moment. On the left hand side you will see a menu which has the heading Autoresponder Links. Click on the link that says Create New Campaign. The campaign can now be created in five steps which I will take you through. After you complete each step click on the button below that page in order to move to the next step.
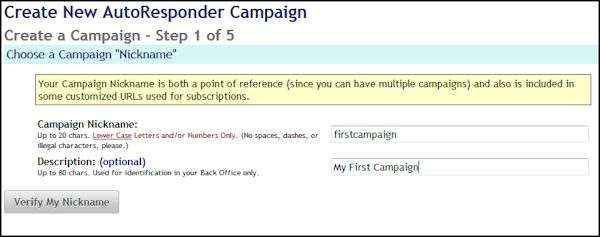
STEP 01 – NAME YOUR CAMPAIGN
Here is where you enter a nickname and a description for your campaign. Your nickname is the title of the campaign so you can recognise it in your campaign manager. The description is optional and used for identification in your back office. Enter “firstcampaign” for the nickname and “My First Campaign” for the description (without the quotes). Click on the button that says Verify my Nickname. You will be asked to confirm if you are happy with the nickname.
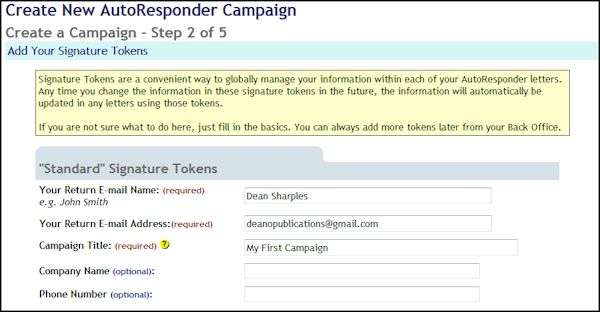
STEP 02 – ADD SIGNATURE TOKENS
If you are a programmer you can think of tokens as variables. For everyone else you can think of a token as a box with a label on it. In this step you need to define three tokens. Your name, your email address and the title of your campaign. The campaign title is displayed to people who subscribe (i.e. Church Newsletter). Enter your own name and email address and “My First Campaign” as the title.
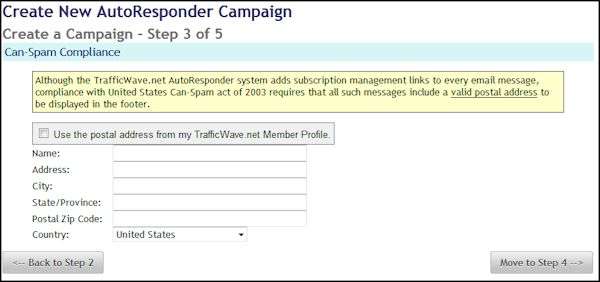
STEP 03 – ADD YOUR ADDRESS
Due to a law it is required to enter your home address which will be displayed at the bottom of every letter you send out. You can type it out manually or tick the box to import it from your Trafficwave Profile. I will leave the choice to you whever you want to add a false address or not. But you really have nothing to worry about by revealing your true address. I don’t think you’ll be getting any visitors.
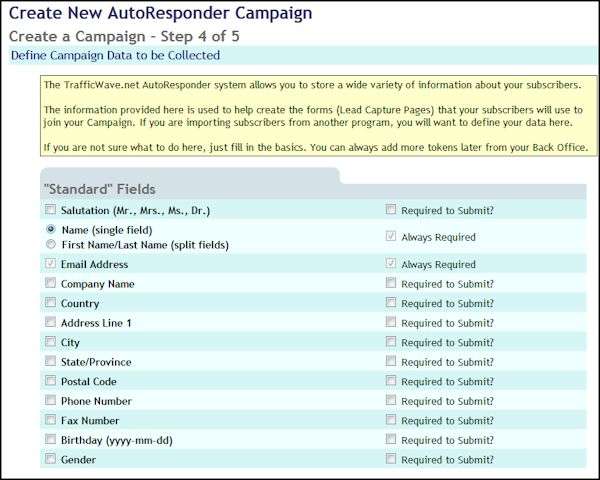
STEP 04 – DEFINE CAMPAIGN DATA TO BE COLLECTED
When someone visits your capture page they are usually asked for their name and email address. But you can ask for any information you like such as their postal address, phone number, birthday or you can even create a custom question. This will come in useful if you were using your page to sign up new members to a club and you needed certain information. For the average campaign you only need their name and email address.
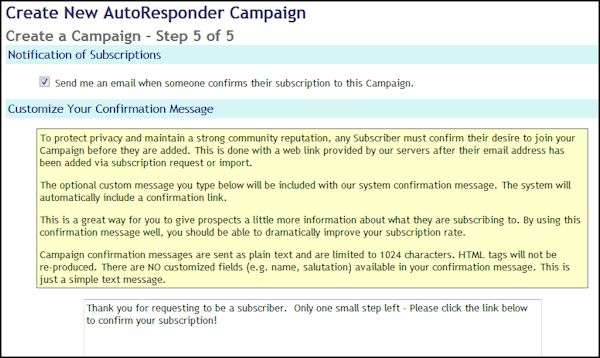
STEP 05 – NOTIFICATIONS OF SUBSCRIPTIONS
Once someone enters their details on your capture page they receive a confirmation message asking them to confirm their email address. This is to make sure that they have entered a valid email address and that the owner of the email address wants to go ahead and receive letters from you. On this page you can see the message that goes out. You can change this message to something else but you must say something similar and you must not add any URLS or email addresses as the message is sent out as text not HTML. Tick the box to receive an email each time someone confirms their email.
Finally you need to scroll down to the bottom of the page and check the box to say you have read and agree to the requirements. Now click the Finish button and your campaign is complete.
On the next page you will be given the option to go to the letters tab. In the next lesson I will show you how to start creating letters for your campaign.