As with Inputs, you need to activate the Output Buses you want to use, and assign each Bus to an output pair on your audio hardware. This is done in the Master window:
1. Pull down the Panels Menu and select VST Master Mixer.
Aside from the regular Master panel, the window will contain a number of additional stereo “channel strips”, one for each Bus:
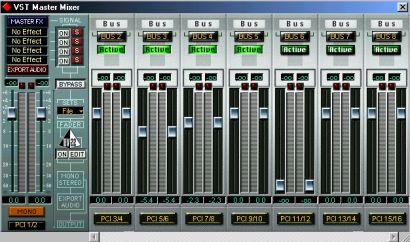
P The total number of Buses (including the Master Bus) is equal to the number of stereo output pairs on the audio hardware. The picture above shows a system with sixteen outputs (eight stereo pairs) and eight Buses, where Master is considered to be the first Bus.
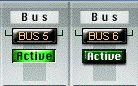
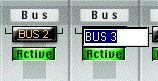
2. Activate the Buses you need, by clicking on their Active buttons.The indicator in the button lights up to show that the Bus is active.
 To possibly conserve processor power, you should avoid activating Buses that you don’t need to use. The Master Bus, however, is always activated.
 P
The Bus settings are saved with the Song. However, if you select another ASIO Device and then open the Song, you will be alerted that the Bus settings saved in the Song will be ignored.
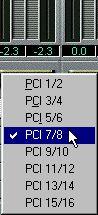
3. Use the pop-up menus at the bottom of the window to route each active Bus to an output pair on your audio hardware.
 P
Two Buses cannot be connected to the same output pair.
P
Two Buses cannot be connected to the same output pair.
5. Set the output levels for each active Bus, in the same way as with the Master Bus. Dragging one of the faders for a Bus will automatically move the other fader as well. To move the left or right fader for a Bus independently, hold down [Alt] and drag.