Making Setting for the Objects
Editing the Settings for one Object
1. Select the Edit tool from the Toolbox.
2. Hold down [Alt Gr] and double click on the Object.
The same dialog box appears as when you create a new Object. See page 21.
3. Fill out the dialog and click OK. Editing the Settings for several Objects at the same time
You can change one ore more settings in the Object dialog and “copy” this setting to all selected Objects.
1. Select all the Objects you want to make settings for.
2. Select the Edit tool, press [Alt Gr] and double click on any of the selected Objects.
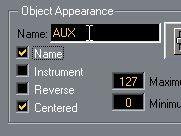
3. Hold down [Alt] and change the value.
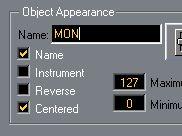
You have to keep [Alt] down when finishing editing the value. For example for naming and typing in values you must click outside the value field so that it closes, before you release [Alt].


 4. Click OK.
Double click on the current value... ...and the box opens for editing. Type in the new value.
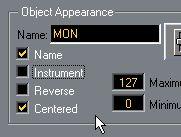
Hold down [Alt] and click outside the value to finish
the editing.
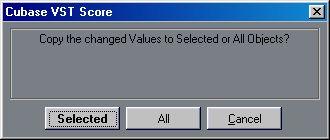
• If you have several Objects selected, you will be asked whether you want to copy the edited parameters to those Objects.
 5. Click “Selected” or “All” in the dialog.
P
Please note that only the parameters you actually edited will be copied. Changing the MIDI Channel and/or Output for one or more Objects
In the ready-made Mixer Maps that come with Cubase VST, you might find useful Objects. However, they might be set to transmit to the wrong Output and on the wrong MIDI Channel, for your purposes.
You might also create your own Objects, but later move a device to another MIDI Output or change its MIDI Channel setting and therefore need to perform the following steps:
1. Select all Objects for which you want to change the MIDI Channel/Output.
2. Select the Edit tool, press [Alt Gr] and double click on any of the selected Objects.
3. Locate the Output menu and change it if needed.
4. Locate the MIDI Channel setting and change that if needed.
The MIDI Channel and
Output settings
 P
Do not change any other settings.
 5. Click OK.
6. In the dialog that appears, click ”Selected”.
7. Set the Mixer to Local Mode (see page 9), select the Play tool and try out the Object.


