Add A Contact Form To A Page or Post
(Using Contact Form 7)
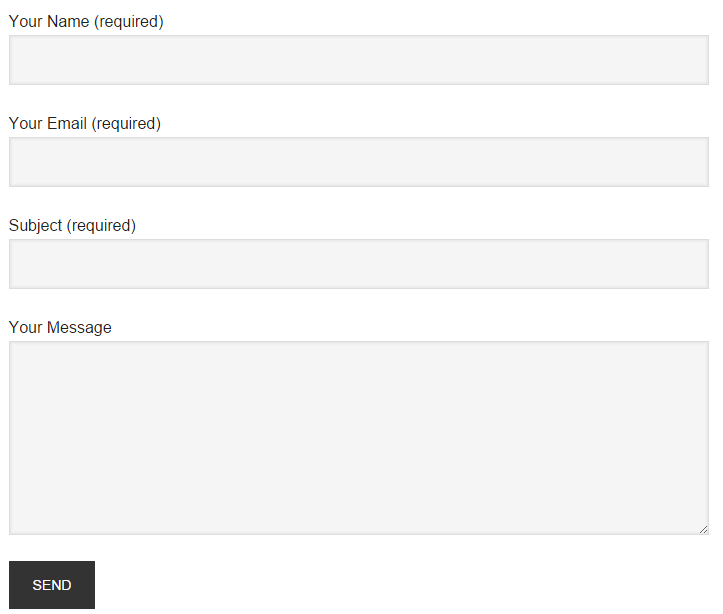
The "Contact Form" we are going to be adding is the default form that comes pre- installed when you install the "Contact Form 7" plugin, this form asks for the Visitors Name, Email Address, Message Subject & Message - This is perfect in most cases!
Please Note - If you need to customise the form I suggest searching for a tutorial on YouTube as it could get a little confusing trying to explain it to you in this guide.
1. To add the pre-installed form, just click where it says "Contact" on the left hand side of the "Dashboard".
2. Copy the code under where it says "Shortcode".

Now that we have the "Shortcode" copied, we will add a page in the same way as before (refer back to the "Add A Page" section if needs be) and name it something like "Contact" or "Contact Us".
3. Once you have written your text (if your planning to write any), paste the shortcode we copied from the "Contact Form 7" Plugin after the last thing you wrote, or if you didn't write anything just paste it at the very start.
Make sure at this point your editor is in "Visual" mode and NOT "Text".
Please Note - Before the "Contact Form" is a great place to put your postal address, phone number, alternative email addresses or any other way that you want your visitors to be able to contact you.
4. Once you are happy with everything, click "Publish".
(you will not see the contact form at the moment, just the Shortcode).
Now if you visit your site, you will see the form is on your page and you can actually fill that form out right away, check your email inbox and your message will be waiting there for you - it doesn't take any further set up!
The steps shown above apply to both posts and pages. (you can add contact forms to either).
Now we are going to cover how to turn comments on or off.