From your Dashboard, go to Appearance and click on Nirvana Settings.
Since you already set up your LAYOUT and HEADER settings, look at the PRESENTATION PAGE settings. If you have noticed earlier, in the theme settings every option has a little question mark next to it. For example if you place your cursor over the question mark next to the ENABLE PRESENTATION PAGE, you will see additional information regarding that option.
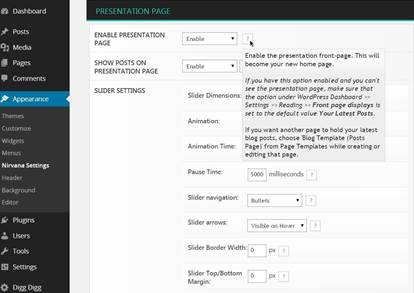
Since in this guide you are not using a presentation page you can skip this section. And off course
if you decide to use presentation page for your website, you can explore and experiment with the options in this section, but make sure that you go back to Settings/Reading and change the Front page displays setting back to the default Your latest posts.
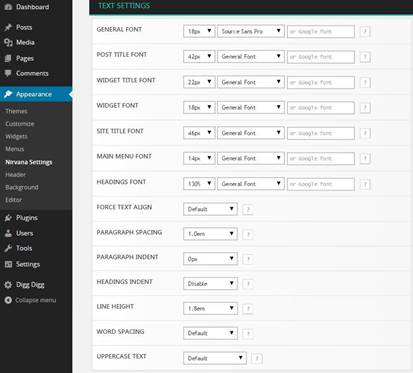
Under the TEXT SETTINGS, you have a list of settings where you can specify the size and the type of font you want to use for all the different sections in your website. You can also change the FORCE TEXT ALIGN,PARAGRAPH SPACING,PARAGRAPH INDENT, HEADINGS INDENT,LINE HEIGHT,WORD SPACING and UPPERCASE TEXT.
I will leave this section by default. However if you decided to experiment with the options in this or any other section, you can always refer to the little question marks in case you are not sure about certain option.
The first option in the COLOR SETTINGS is the BACKGROUND IMAGE. If you decided to have one simply click on DEFINE BACKGROUND IMAGE and use the steps that you learned to add a header image to your site.
As you can see the COLOR SETTINGS, also have a pretty reach variety of options where you can change virtually any color in any part of your website. To change a color just click on the box for the color you want to change and select the one that you like.
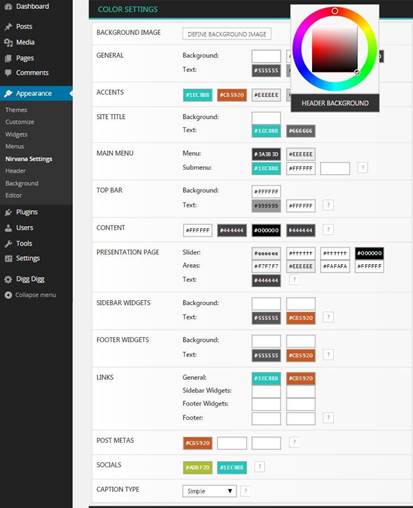
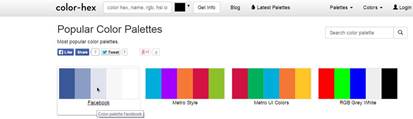
You can also change the colors by using HEX code numbers. For color combination ideas you can go to: http://www.color-hex.com
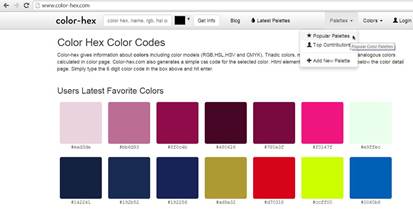
Under Palettes select Popular Pallets, than find the one you like and click on it.
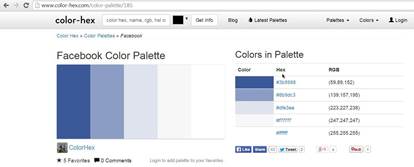
You will see the Hex color number for each color in the Pallet you selected. Simply copy the Hex code for the color you like, than go back to the COLOR SETTINGS and paste it the in the box for the color you want to change.
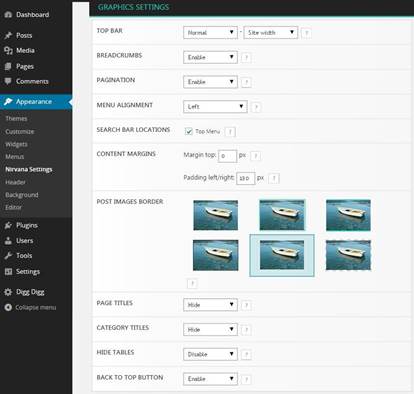
In the GRAPHICS SETTINGS you want to leave the options for the TOP BAR to Normal and Site width.
Than leave the options BREADCRUMBS, PAGINATION, and BACK TO TOP BUTTON to Enable.
The MENU ALIGNMENT should be Center, the Top Menu box next to SEARCH BAR LOCATIONS should stay selected.
Than for the CONTENT MARGINS set the Margin top to 0px and Padding left/right: 100 px
You can choose the POST IMAGES BORDER that you like. I decided to go with the fifth one.
For the PAGE TITLES and CATEGORY TITLES select Hide, and the option HIDE TABLES should stay Disable, and leave the BACK TO TOP BUTTON option Enable than scroll down and click on the SAVE CHANGES button.
If you decided to create a blog page for your website, in the POST INFORMATION SETTINGS, you can adjust several different options which will affect the way your blog posts will be displayed.
If that is the case refer to the question marks for each option.
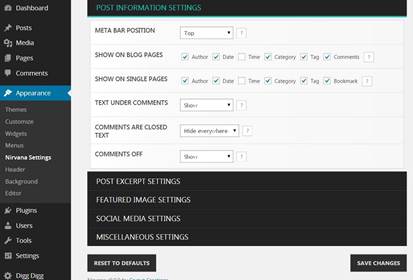
In the POST EXCERPT SETTINGS you want to select Full Post for the HOME PAGE, and leave the rest of the options by default than click SAVE CHANGES.

In the FEATURED IMAGE SETTINGS leave all options by default. And for the last section MISCELLANEOUS SETTINGS, select and delete all the text for the CUSTOM FOOTER TEXT
option, and click SAVE CHANGES.

Go back to your site and refresh it to see the changes.
Your next step is to set up your image gallery page. To do that you are going to find and install another plugin called Responsive Lightbox.