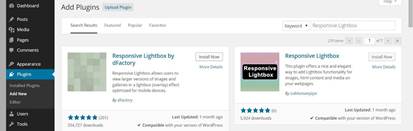
Go to Plugins/Add New/search for: Responsive Lightbox the first result should be Responsive Lightbox by dFactory, click on Install Now/OK/ Activate Plugin.
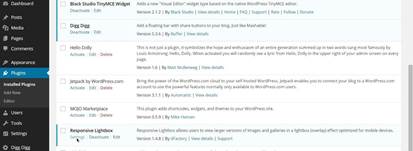
Now in the list of installed plugins find the Responsive Lightbox and click on “Settings”
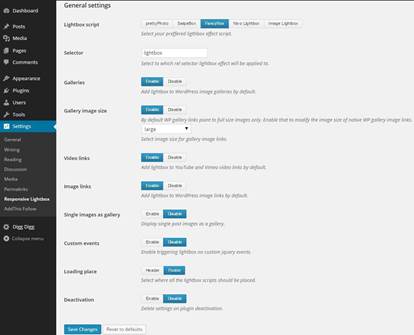
Under General Settings for the Lightbox script select Fancy Box. Make sure Galleries and Gallery image size stay Enable, and from the Gallery image size drop menu select large. Also video links and image links should stay Enable, and Single images as gallery, Custom events and Deactivation should stay Disable. Than change the Loading place to Footer and then click on Save Changes.
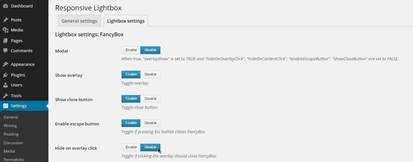
Click on the Lightbox settings
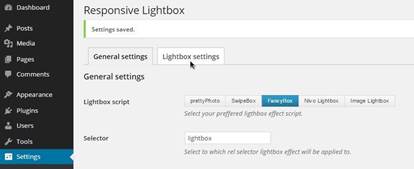
Change the option Hide on overlay click, to Disable, and leave the rest of the options by default and click Save Changes.
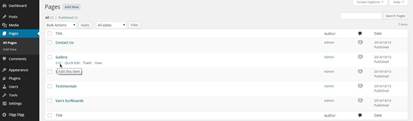
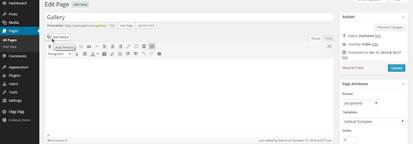
Now that you are done configuring your image gallery plugin you can go to Pages and find the Gallery page. Click on Edit, and then Add Media.
Now you want to go to Upload files, select or drag and drop the images from your computer which you want to be shown on your Gallery page.
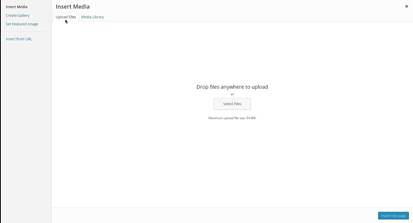
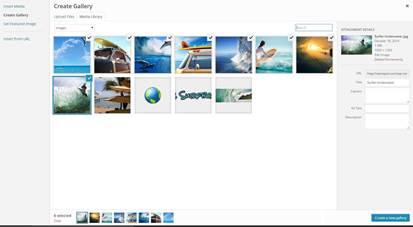
Once you upload all the images to your media library, go ahead and click on Create Gallery. Select all the images and then click on Create a new gallery.
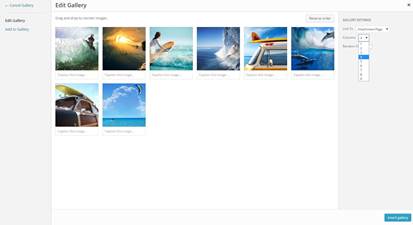
Under GALLERY SETTINGS change the columns to 4 and then click on Insert gallery.
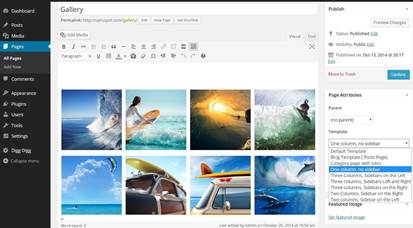
Than under Page attributes for Template select the option One column, no sidebar and click Update.
You can go to your website and refresh your Gallery page. All of your images should be organized in a four column grid. Click on the first image and place your cursor on the right side of the image. You will see an arrow. Once you click on it, it will sent you to the next image. When you are finished exploring the gallery, just click on the X button in the top right corner of the image.
In the next part of this tutorial you are going to install a plugin which will help you to add some testimonials to the Testimonials page of your website.